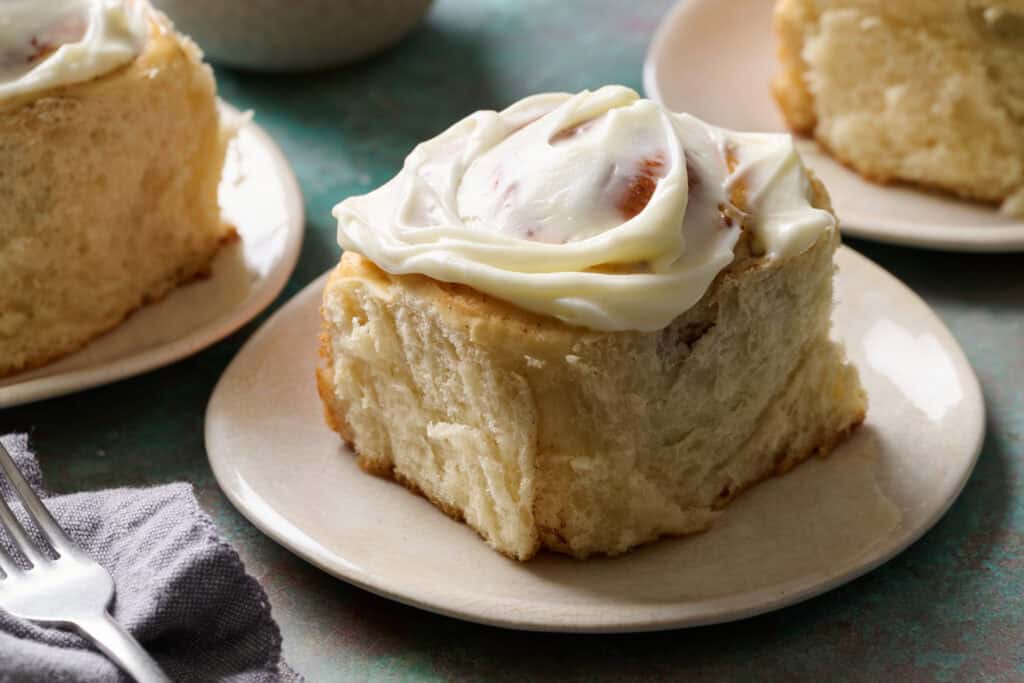
Dig into the fluffiest, gooey, sourdough discard cinnamon rolls with a cinnamon brown sugar swirl and cream cheese frosting.
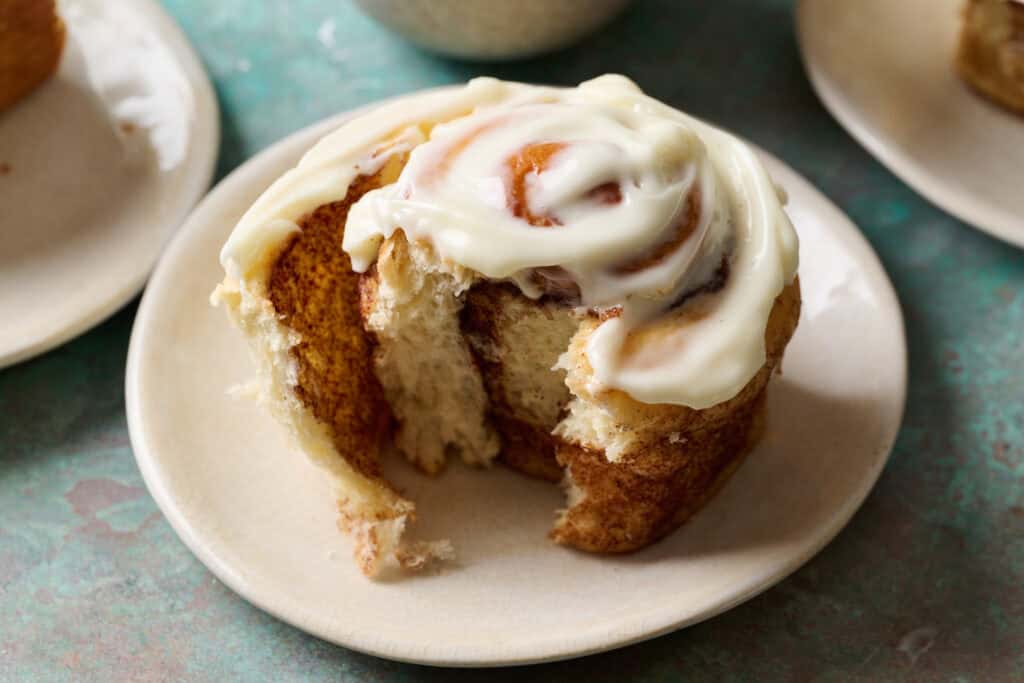
These beauties underwent months of testing and perfecting to meet the high standards of my cinnamon roll-loving family. We're the kind of people who don't just have cinnamon rolls on Christmas morning. For us, they're a year round treat.
These ones are just like traditional cinnamon rolls but with a hint of sourdough flavor.
What is Sourdough Discard?
An active sourdough starter needs to be fed with flour and water to stay alive. Each time you feed your starter it grows. You use a portion of the fed active starter to bake bread, and you hang on to a certain amount of starter to keep the starter going for years to come.
What inevitably happens, though, is that you end up with more starter than you need, so you discard the extra. Thus, sourdough discard.
While it is often considered waste, this tangy, nutrient-rich mixture can be repurposed in various sourdough discard recipes, adding depth of flavor to things like crackers, breadsticks, and bagels.
Want to dig into the world of sourdough bread? Check out this post all about discard.
If you don't have sourdough discard, head to a regular cinnamon roll recipe like this one from Butternut Bakery.
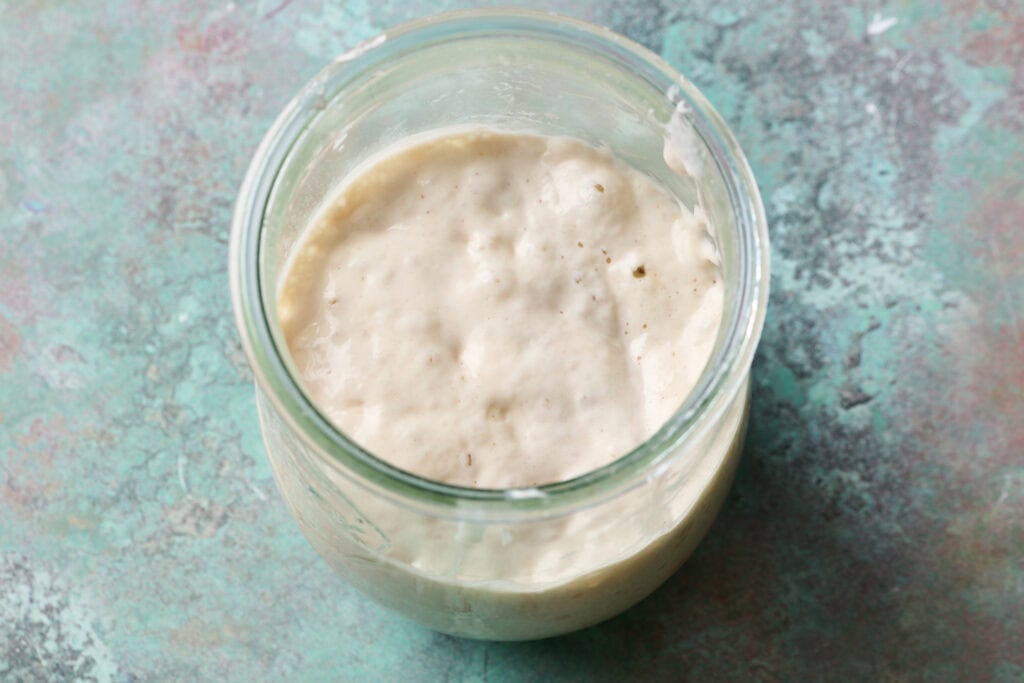
But, if you have discard and you want to use it up, this is one of my favorite ways to do that. I use discard that is a 1 to 1 to 1 ratio.
My starter came from Basil & Bloom and we affectionately call it Frodough.
Type of Flour for Sourdough Discard Cinnamon Rolls
I played around with bread flour and all-purpose flour in the development of this recipe. Unbleached all-purpose flour (King Arthur is my go-to) was the final choice for this recipe because it makes for a light and fluffy roll. Adding bread flour adds more protein, making for a chewier texture.
Steps for Making Cinnamon Rolls
Making these cinnamon rolls is an easy 6 step process. It takes around 2.5 hours from start to finish if you go straight through. Or, you can do the first 4 steps the night before you want your rolls, and do the last two the next day.
Step 1: Bloom the Yeast
Because you're using sourdough discard, which is NOT a fed active starter, you'll need dry active yeast to help with the rising action in this recipe. Combine the dry active yeast with 105 - 110F water in a large mixing bowl or the bowl of a stand mixer. Once it gets foamy on top, you know it's working and you can proceed on to the next step.
Step 2: Knead the Dough
You'll combine all the remaining ingredients for the dough into the bowl with the bloomed yeast and then knead. You can do this by hand or with the dough hook on the stand mixer. When using the stand mixer, I put it on medium speed for 8 minutes until the dough is smooth an elastic.
I experimented with a wide variety of ratios of dry to wet ingredients in the testing of this recipe. My personal preference is for a super light and fluffy roll.
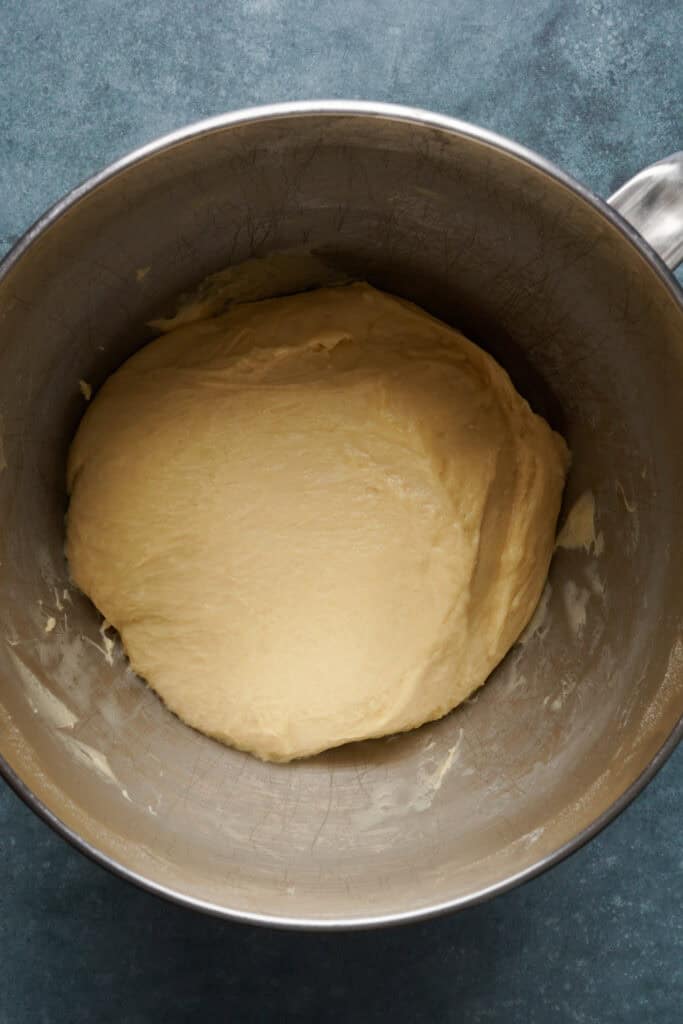
You can achieve that with a higher ratio of liquids, so this dough is very sticky after kneading it. Don't be alarmed. Just scrape the stuck dough off the dough hook using a dough scraper and then leave the dough to rise in the bowl.
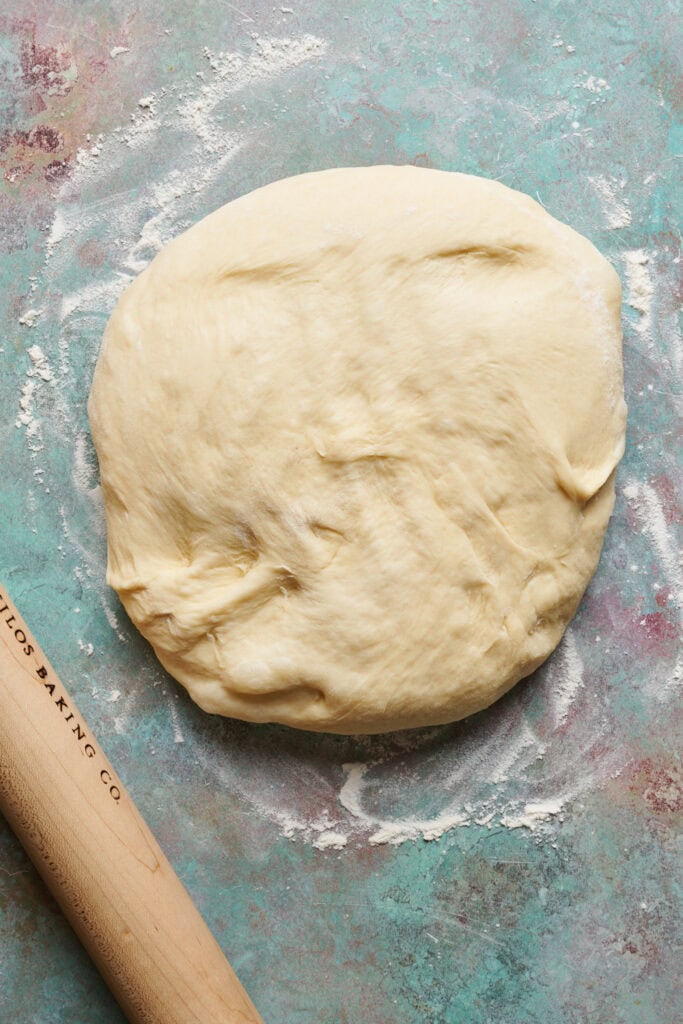
The good news is that while the dough rests for the first rise, the gluten bonds form and as long as you flour your work surface before rolling out the dough, it will be workable.
Step 3: First Rise
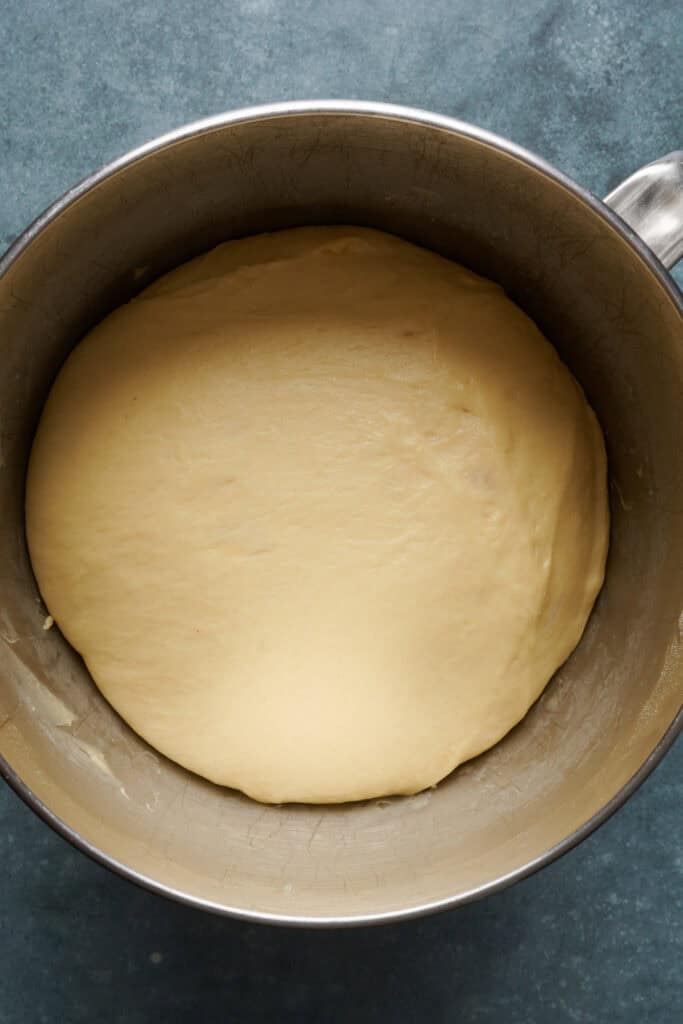
After the kneading, it's time for the dough to rise. The rise time can greatly vary depending on the temperature in your kitchen. If it's warm (75F or warmer) it will rise faster, possibly as quickly at 30 minutes. If it's cold, it could take up to an hour. Keep an eye on your dough and once it's doubled in size it's ready to roll.
Step 4: Rolling the Dough
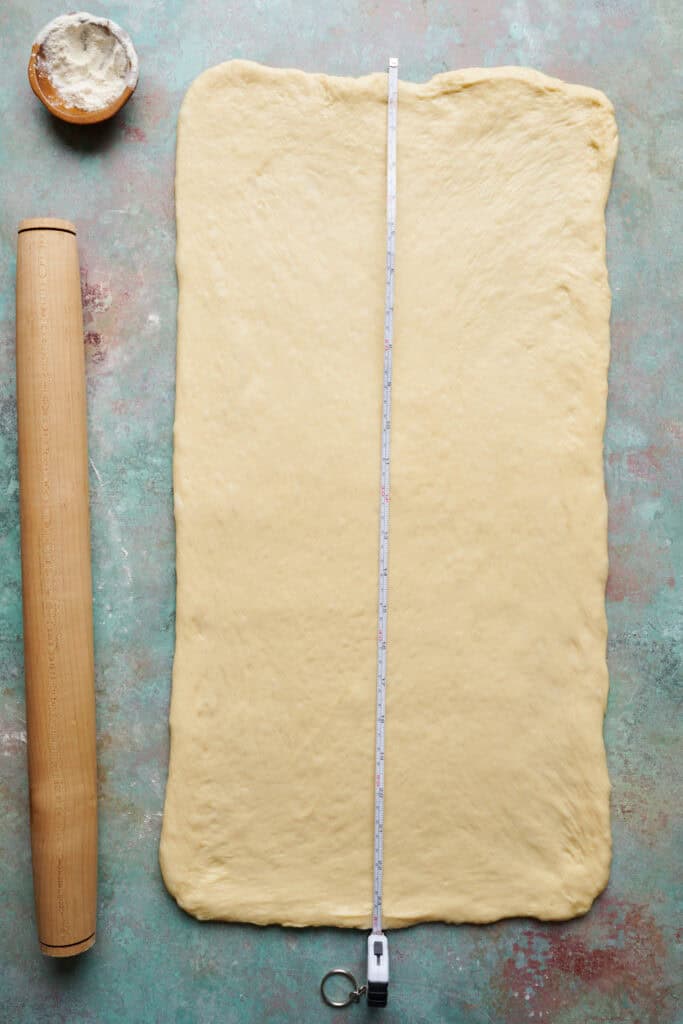
Rolling your cinnamon rolls is the trickiest part, in my opinion. But, also only if you're really into uniformity. I break out a tape measure and then use a rolling pin to roll the dough until it's 24'' long.
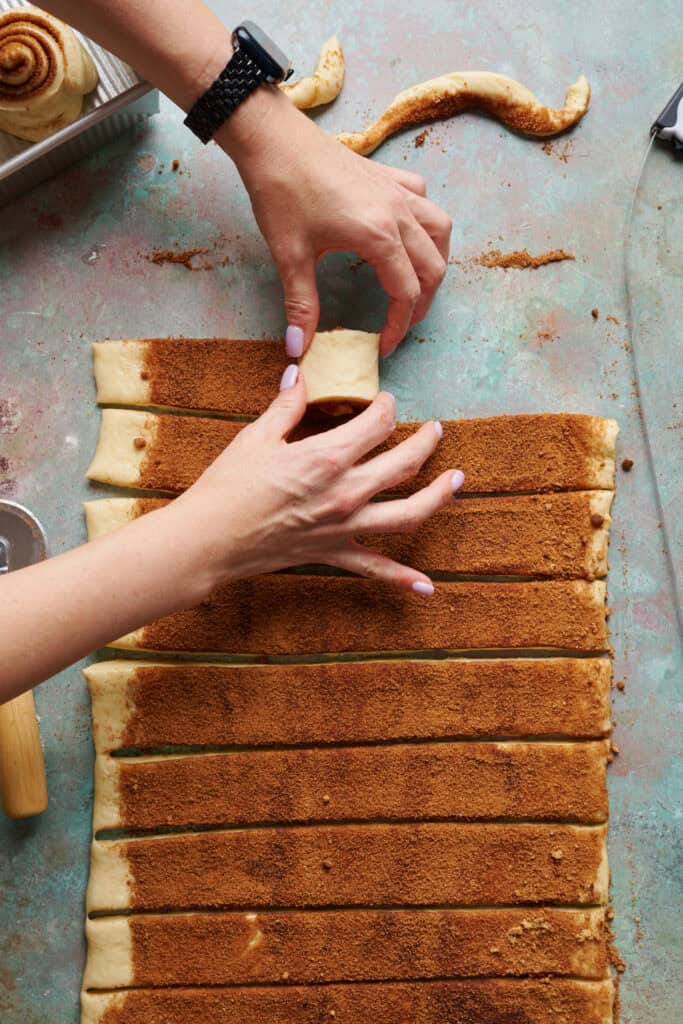
I go with 24 inches because I don't like math and it's easier for my brain when I go to cut my rolls. I automatically know they're each going to be 2 inches wide if I make 12 rolls. You absolutely can eyeball the slices if you'd like.
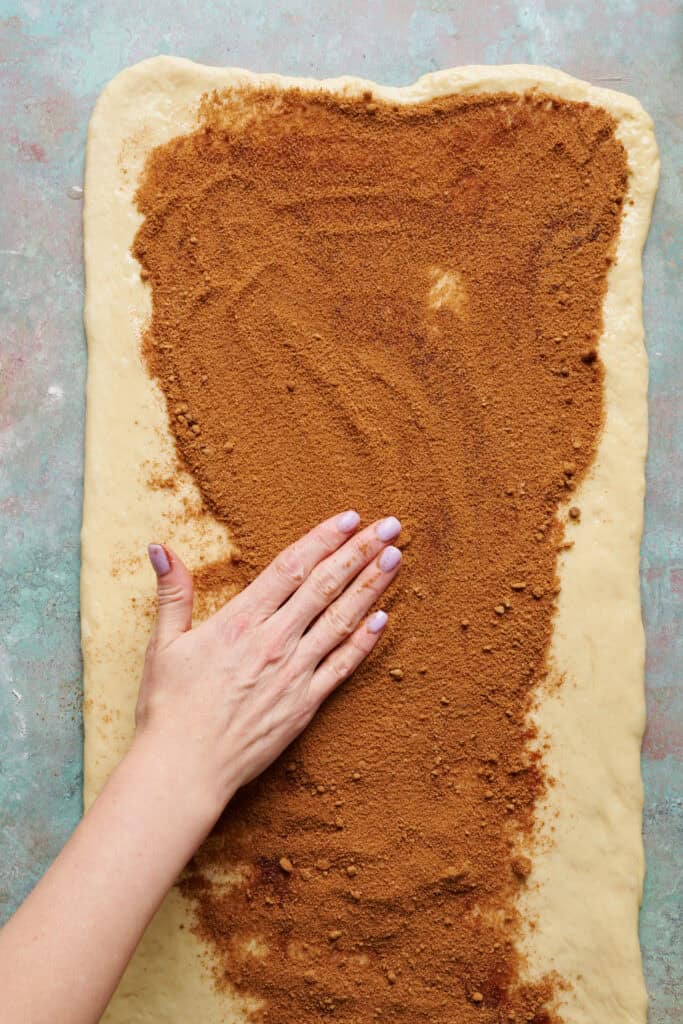
I also prefer to slice the dough with a pizza cutter or sharp knife and then roll up each roll individually. This helps me to get a tight cinnamon roll, which helps to create that signature swirl. Place all of your rolls into a 9 x 13 inch baking dish or pan.
Step 5 & 6: Second Rise and Bake
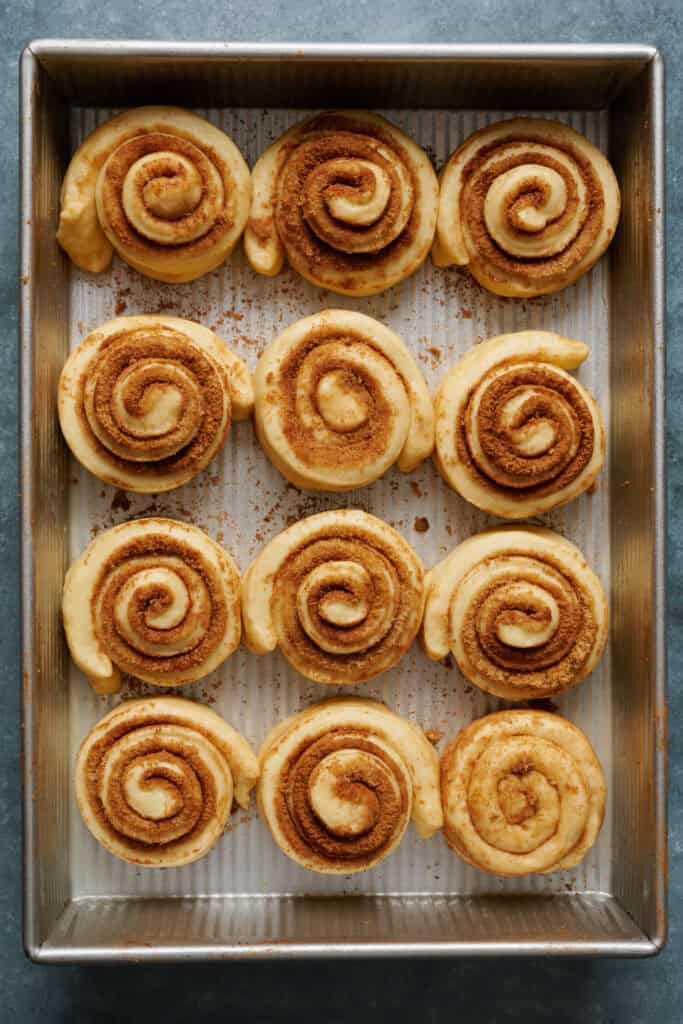
Once you've rolled your cinnamon rolls, you can choose one of two options. Either bake right away or go with the bake-ahead option.
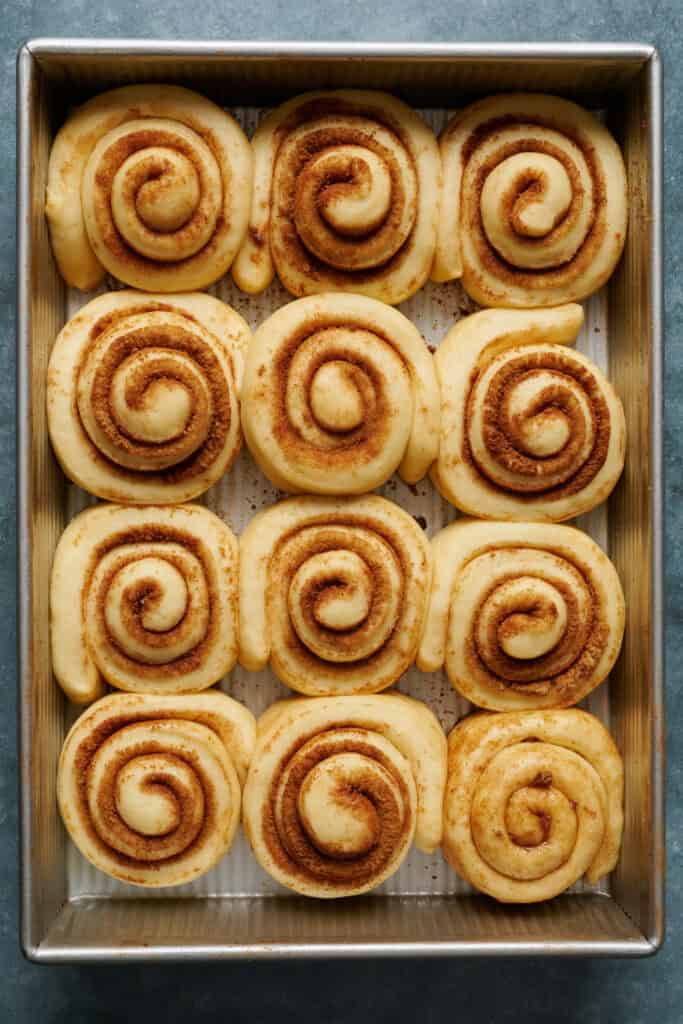
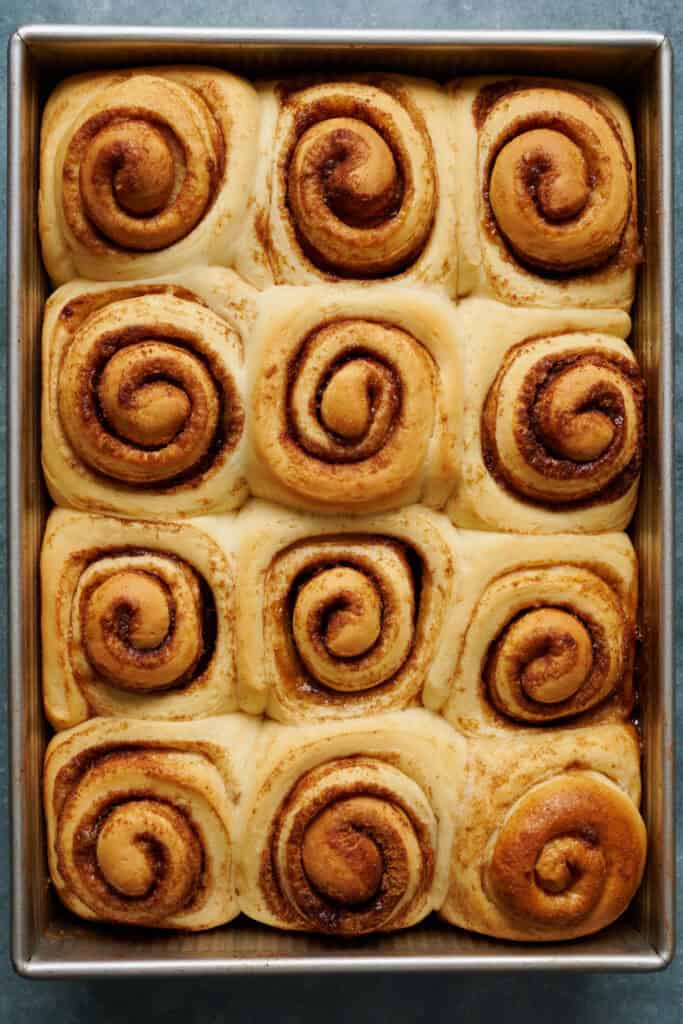
- If you want to bake the rolls right away, preheat the oven to 325F and cover the pan of cinnamon rolls with a kitchen towel or cling wrap, and let them rise another 30 to 60 minutes until they're puffed up and doubled in size. Again the rise time will vary depending on the temperature of the room. A warmer room means your rolls will rise faster. Once they're doubled, you pop them into the oven to bake for 30 minutes until they're golden brown.
- If you want to bake the rolls the next morning, just cover the pan with plastic wrap and put the rolls into the refrigerator. They can happily chill out there for up to 12 hours. When you're ready to bake them, pull the rolls out of the fridge, preheat the oven to 325F and let the rolls sit at room temperature for at least 30 minutes. From there, bake them for 30 - 35 minutes in the preheated oven.
Spreading on the Cream Cheese Frosting
Big fan of frosting? Me, too! But I don't like it too sweet. This frosting has that little bit of tanginess from the cream cheese and isn't overly sweet. The rolls are already sweet enough.
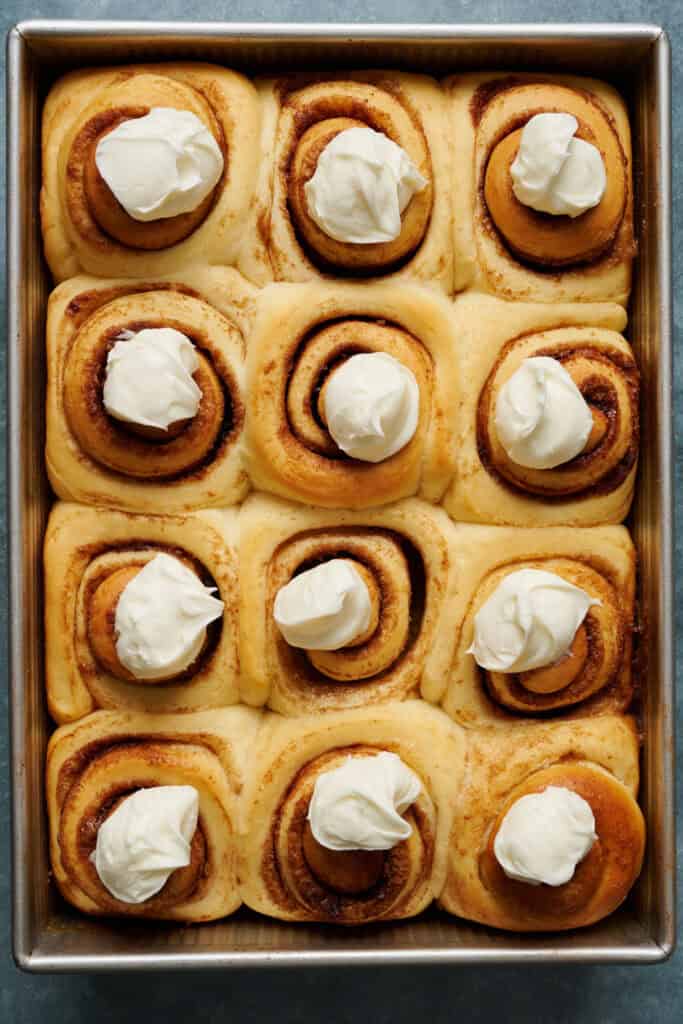
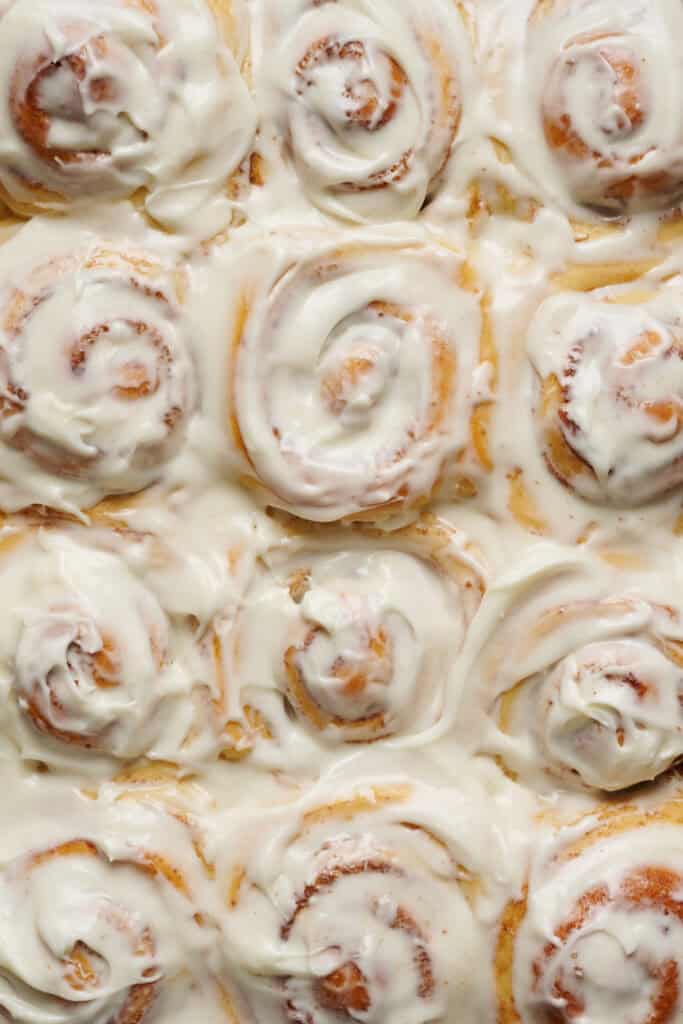
You can add the frosting about 15 minutes after the rolls have come out of the oven and have cooled a bit, but they're still warm so the frosting gets a little bit melty and soaks into the swirls.
Storing Sourdough Discard Cinnamon Rolls
These rolls are best the day they're baked and the day after. Once you get to day 2 and beyond they start to get a bit dry and not quite as soft.
I keep them at room temperature and cover the pan with plastic wrap or in an airtight container.
I love to serve these as a part of holiday brunch alongside my Green Chili Egg Casserole and Homemade Granola with fresh fruit and yogurt.

Sourdough Discard Cinnamon Rolls
- Prep Time: 90
- Cook Time: 35
- Total Time: 2 hours 5 minutes
- Yield: 12 rolls
- Category: bread
- Method: baking
- Cuisine: American
Description
The lightest fluffiest sourdough discard cinnamon rolls with a light cream cheese frosting, tested to perfection.
Ingredients
Make the Dough
- 2 ¼ tsp (7g) dry active yeast
- ¾ cup (180g) warm whole milk heated to 100 to 110F or 35 to 42C
- ½ cup (140g) sourdough discard
- ¼ cup (50g) sugar
- 3 large eggs, at room temperature
- 1 ½ Tbs (30g) honey
- 4 cups (500g) unbleached all-purpose flour
- 1 ¼ tsp (7g) fine grain salt
- 8 tablespoons (113g) unsalted butter, melted
Cinnamon Sugar Filling
- ⅔ cup (124g) light brown sugar
- 2 Tbs (14g) cinnamon
- 2 Tbs (28g) melted butter
Cream Cheese Frosting
- 2 oz (56g) cream cheese softened
- 4 Tbs (60g) heavy cream
- 1 ¼ cups (150g) powdered sugar
Instructions
- Combine the yeast and the warm milk in a large bowl or the bowl of a stand mixer and allow it to sit for 5 minutes until the yeast starts to form little foamy spots on the surface of the milk (also referred to as blooming).
- Next, add the sourdough discard, sugar, eggs, honey, flour, salt and butter into the bowl and start to mix using the dough hook attachment on a stand mixer on low speed.
- Once the dough starts to come together after about a minute on low, increase the speed to medium and knead the dough for 7 minutes. The dough will be rather sticky but will pull away from the sides and have a smooth elastic looking sheen to it which means you are done kneading.
- Lift the arm of the stand mixer and scrape off any dough that is still on the hook using a dough scraper and add it to the dough ball in the bowl.
- Cover the bowl with the dough with a kitchen towel or cling wrap and allow it to rise for 30 to 60 minutes until doubled in size. If the room is warm it will rise faster. If it is cold it will rise slower.
- While the dough is rising, combine the brown sugar and cinnamon in a bowl and stir it up, then set aside.
- Melt the 2 Tablespoons of butter in preparation for rolling and set aside.
- Grease a 9 x 13 inch baking pan with butter, shortening or non-stick baking spray and set aside.
- Once your dough has risen, sprinkle a few tablespoons of flour onto a clean work surface and dust your hands a bit then using a dough scraper, pull your risen dough out onto the floured work surface.
- Roughly shape the dough into a rectangle and then using a floured rolling pin, roll the dough out to approximately 24 inches by 8 inches. If you are about precision and want equally sized rolls, bust out a tape measure as this will make it easier when you go to cut the dough into individual rolls.
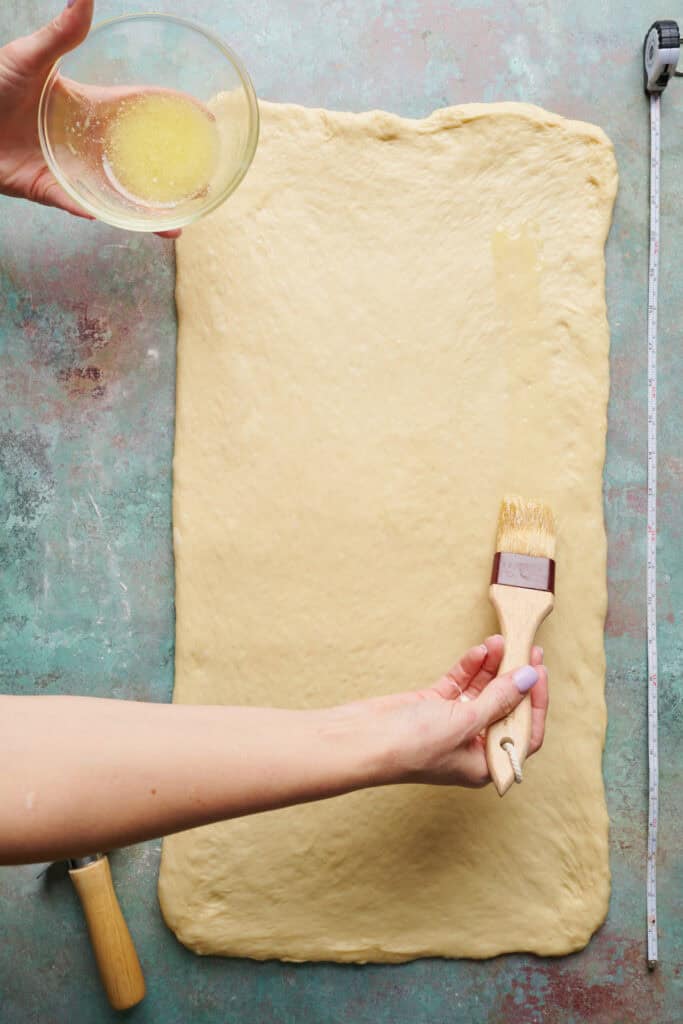
- Next, brush your sheet of dough with the melted butter all over.
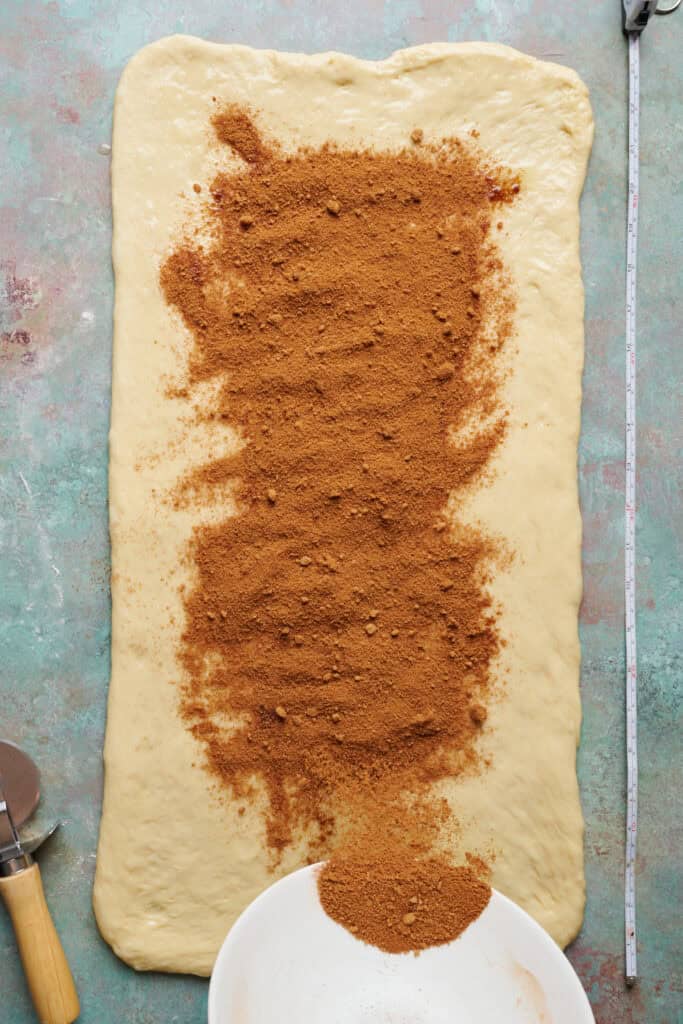
- Sprinkle the sugar and cinnamon mixture all over the top of the butter and spread it evenly across the surface of the dough with your hands so the whole sheet is covered.
- Using a knife or pizza cutter, cut the dough into 2 inch strips along the 24 inch side so that you get 12 equally sized dough strips.
- One strip at a time, start rolling up the dough starting at one end and roll it up to make a cinnamon roll. Place the cinnamon roll into your prepared 9 x 13 inch pan at one of the corners, keeping in mind that the rolls will rise and expand so place them a few centimeters away from the edges of the pan.
- Continue rolling the remaining strips of dough and placing rolls into your pan until you have rolled all 12 rolls.
- If you are ready to proceed with baking your cinnamon rolls, preheat the oven to 325F and cover the pan of rolls with a kitchen towel or cling wrap and allow them to rise for 30 to 60 minutes until they have puffed and doubled in size. Once they have risen, uncover the pan and bake the rolls for 30 to 35 minutes until golden on top and the internal temperature reaches 190F to 200F on an instant-read thermometer.
- If you want to bake your cinnamon rolls the next day, cover the pan of rolls with cling wrap and place them in the fridge for 6 to 12 hours. Less than 6 hours and the rolls will not have enough chance to slowly rise in the fridge. Going longer than 12 hours will lead to over-proofing your rolls and they will come out a bit flat when you bake them. When you are ready to bake, take the pan out of the refrigerator and let it sit at room temperature for 30 minutes while you preheat the oven to 325F. Then bake the rolls for 30 to 35 minutes until golden on top and the internal temperature reaches 190F to 200F on an instant-read thermometer.
- Once your rolls are baked, place them on a cooling rack to cool for 15 minutes.
- While the rolls cool, prepare your frosting by combining the cream cheese, heavy cream and powdered sugar in a bowl and using a stand mixer or hand mixer, start the mixer on low to combine the ingredients and then increase the speed to medium and beat for one minute so the frosting is smooth and there are no sugar lumps. If you want the frosting thicker, add a tablespoon more powdered sugar. If you like it thinner, add an extra tablespoon of heavy cream.
- Once the rolls have cooled for 15 minutes, place dollops of frosting on all of your rolls and then using the back of spoon or a spatula, spread the frosting all over, then your rolls are ready to enjoy.
Notes
- I love to use this instant-read thermometer to check the temperature on liquids like the milk in this recipe and to check the doneness of baked goods. If your milk is not warm enough the yeast will not bloom. If your milk is too hot it will kill the yeast.
Nutrition
- Serving Size: 1 Roll
- Calories: 415
- Sugar: 30.6 g
- Sodium: 288.1 mg
- Fat: 13.8 g
- Carbohydrates: 66.1 g
- Fiber: 2.1 g
- Protein: 7.5 g
- Cholesterol: 79.8 mg


Rosslyn Riddle says
I am excited to try out your recipe this week! Ild love to triple the recipe and put some trays in the freezer for later use. Have you had any experience doing that?
Joanie Simon says
Oooh, that's a great question. I've never tried freezing this recipe before, but something I'll have to try next time I make them. I also have never attempted doubling or tripling the recipe as my mixer isn't big enough for that. Wish I had better answers for you but great questions that I'll put on my future to do-list <3
Rosslyn Riddle says
We love your recipe so much that it has replaced my long time favorite and go to! I did end up doubling the recipe and it works perfect! I have not tried freezing yet but it’s still on my to do list. My old favorite is pioneer women’s recipe because she gives great instructions on freezing. I am going to try it out with her freezing tips!
Joanie Simon says
Yay! So glad you like it! And I've never tried freezing cinnamon rolls but I love that idea. I'll have to give it a whirl, too!
Lorilee Green says
Just made these,and they’re delicious! I did change up the cinnamon filling a little from an old recipe I’ve used before. Im sure it wasn’t necessary. This is going to be a go too one for Sunday morning for me! ( perfect with crispy bacon for brunch)
Joanie Simon says
So glad to hear it! And it's always fun to change up the filling. Experimentation is half the fun! Have a great weekend <3