A super easy and crowd-pleasing dessert, ice cream pie with rice krispie crust is light, takes minutes to make, and is a perfect treat for entertaining guests or celebrating something special.
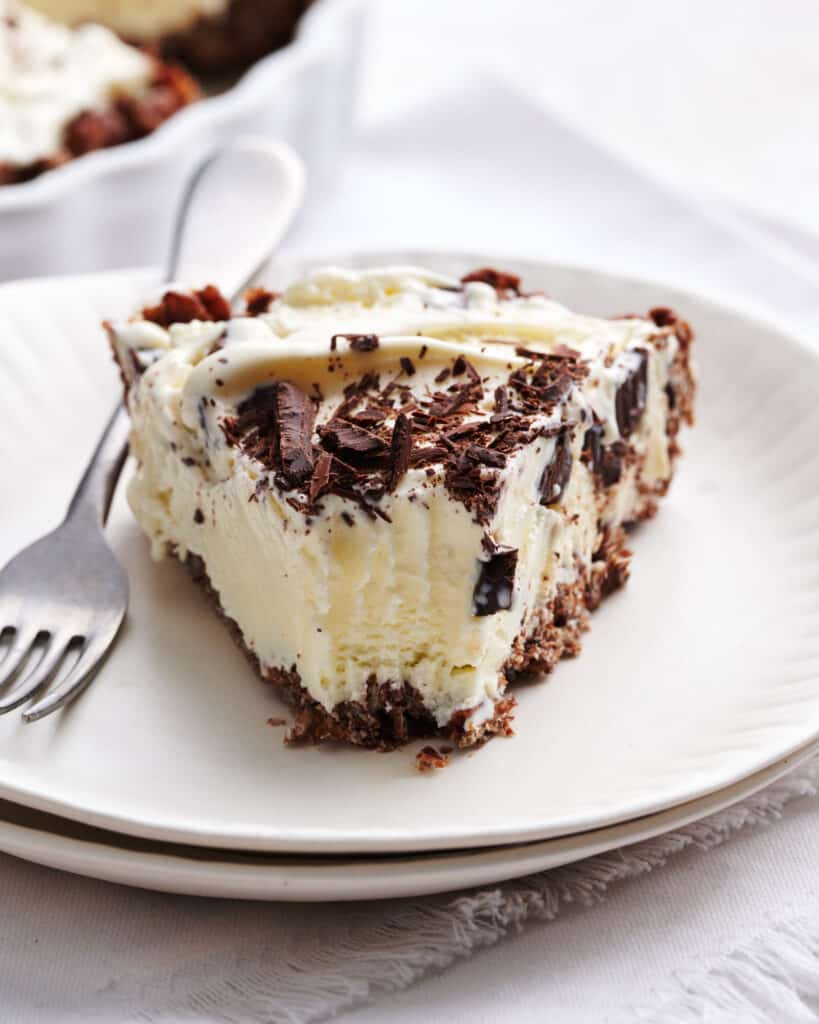
A Moment of Chocolate Inspiration
This recipe is basically ice cream in a pie crust. There are lots of variations out there and certainly you can customize this based on your tastes and preferences. You can use whatever ice cream you want, substitute a different crust, or add some sort of fancy toppings.
This version with the Rice Krispie crust was introduced to me by my mother in law. It’s a personal favorite of my husband’s and it has served as his dessert of choice for many birthday celebrations.
She traditionally makes it with mint chocolate chip ice cream and regular Rice Krispies, but in a moment of inspiration I though, “why not just make it extra chocolatey with Cocoa Krispies?” Extra chocolate always wins.
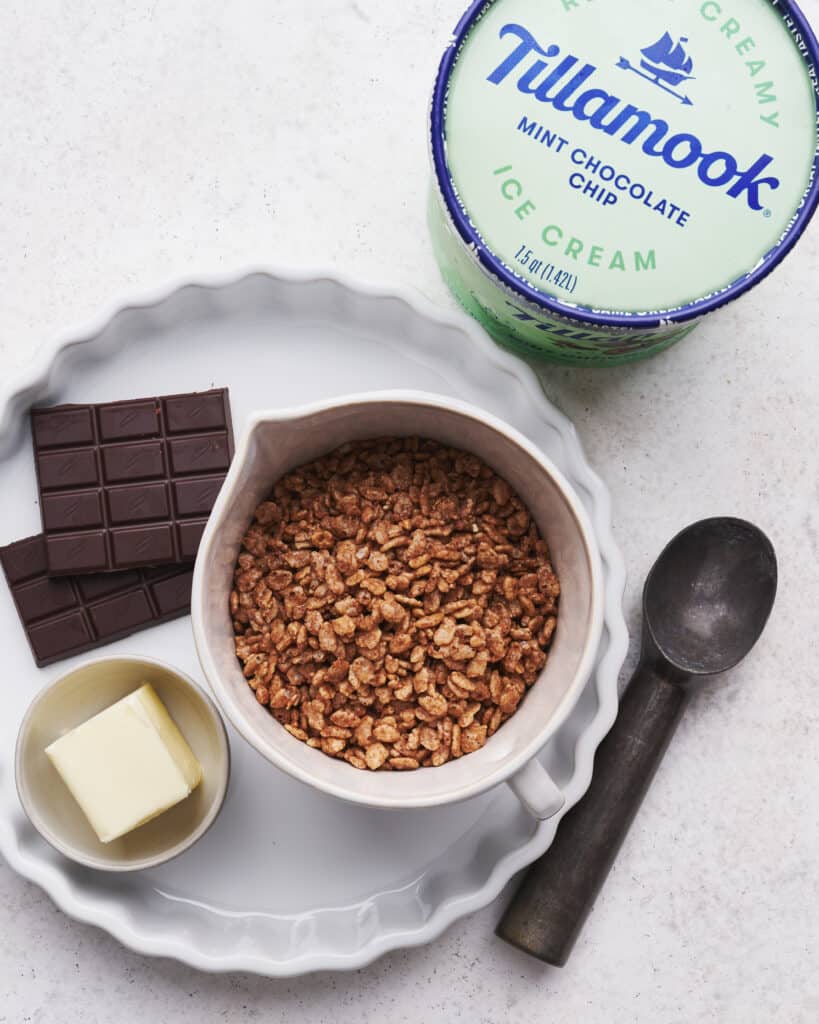
How to Make Ice Cream Pie
I love to make this recipe when having guests join us for dinner. It takes fifteen minutes to make and hangs out in the freezer until it’s time to serve. First, prepare the crust, freeze it for a few minutes, add the ice cream and then freeze the whole pie.
There are just three important steps to be mindful of to ensure ice cream pie success and they have to do with the crust.
First, make sure to grease the pie plate. You can use cooking spray or butter. You need to have something to prevent the crust from sticking otherwise you’ll massacre your slices when trying to pry them out of the plate.
Second, make sure to take the time to evenly press the edges up along the pie plate so that you get an even thickness of the crust throughout. There were a few times I made this recipe and the crust was too thick in spots. This makes it a lot harder to eat because the chocolate does get pretty firm. A big ol’ hunk of frozen chocolate crust is awkward to eat so keep things nice and even, especially the inside bottom edges of the pie.
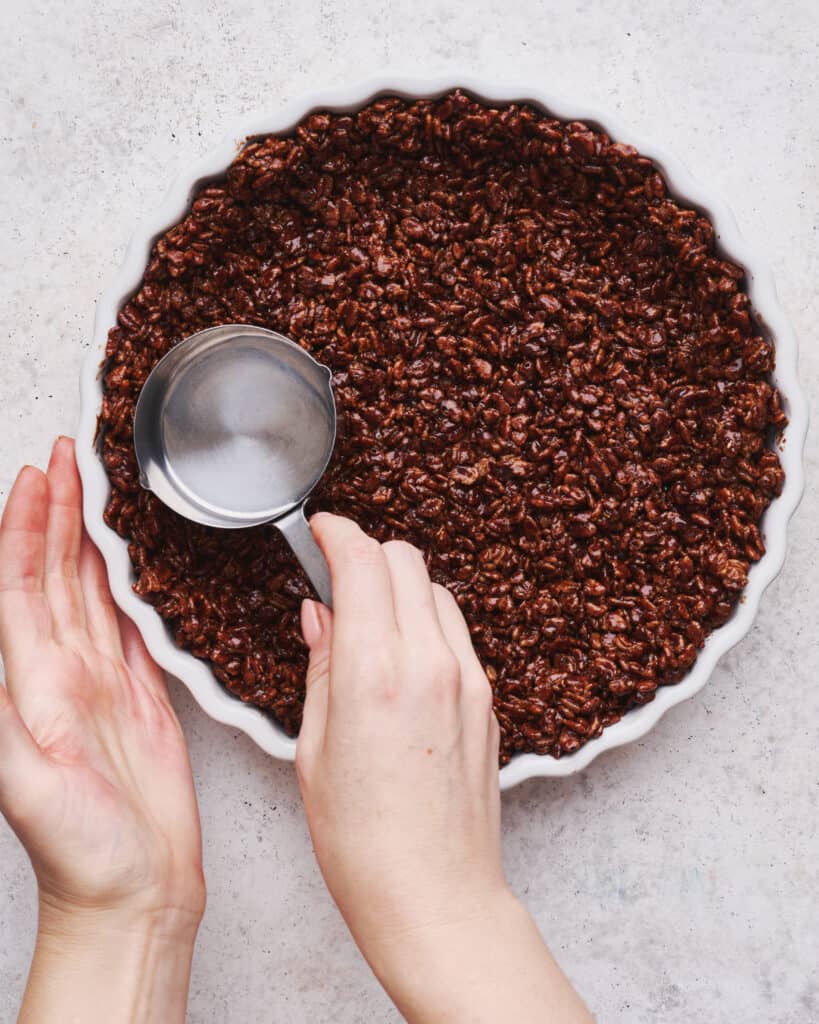
Third, give the crust a chance to set in the freezer before adding your ice cream so it holds in place when you add your scoops. I find that five or ten minutes in the freezer is plenty of time for the chocolate to firm up.
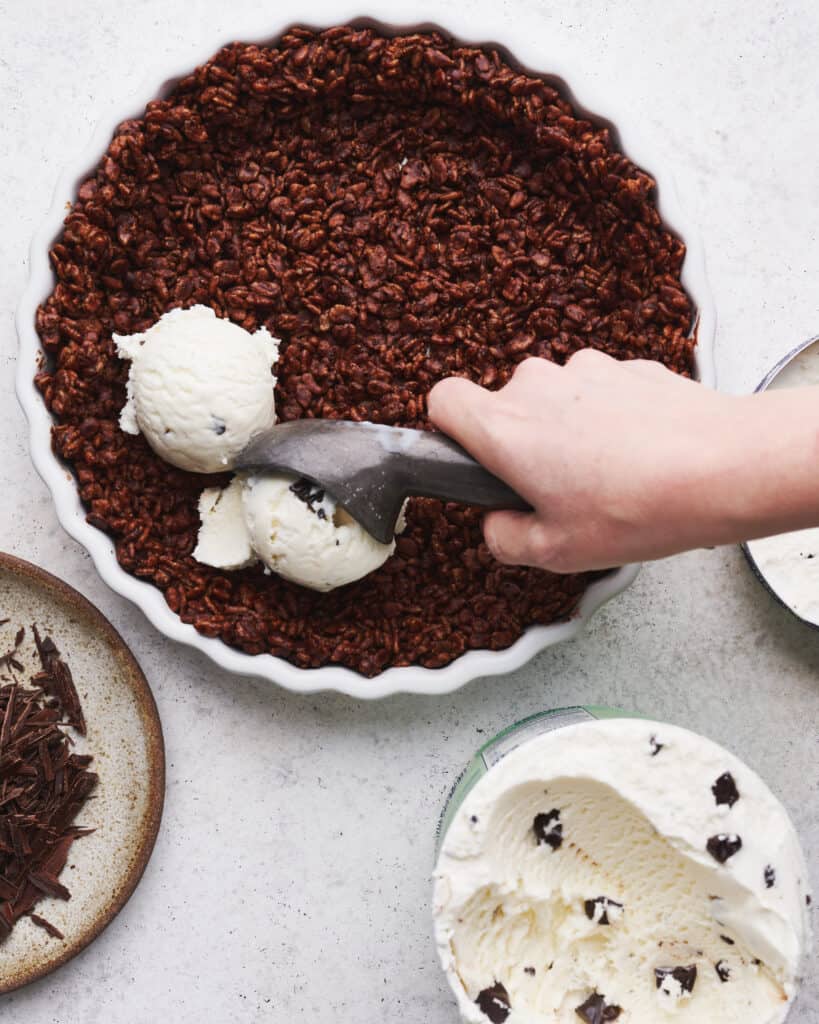
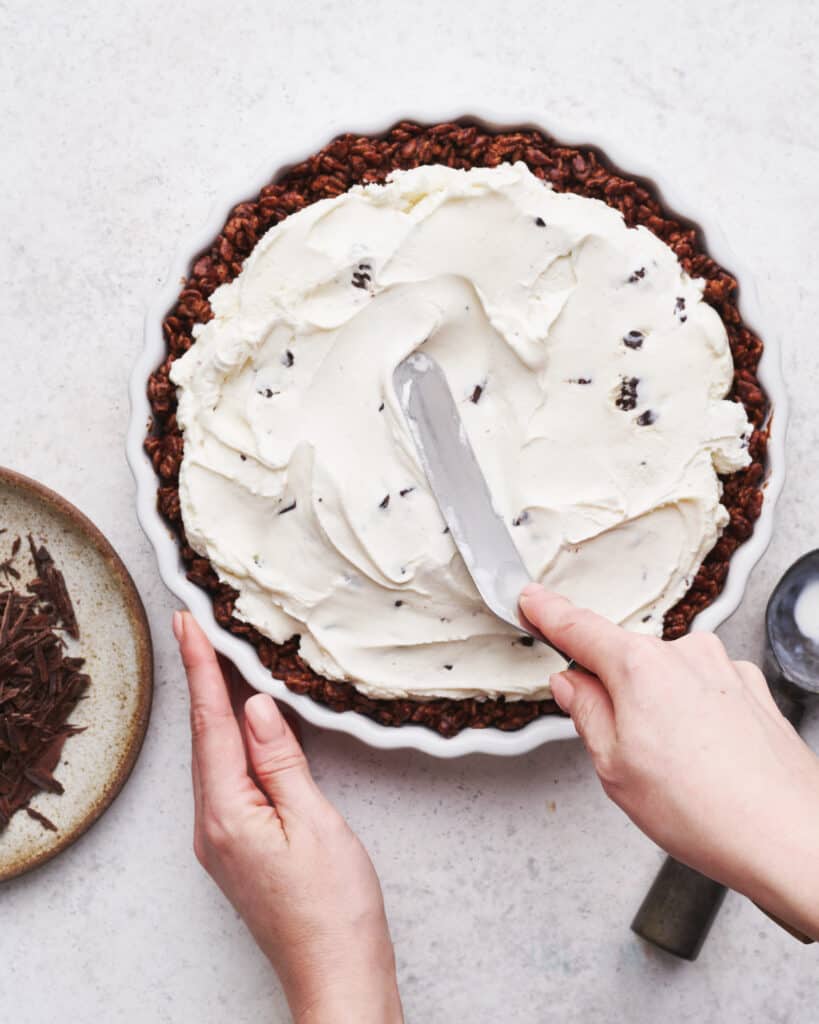
Once you’ve added your ice cream, spread it evenly, add any other toppings you like to the top, and then pop it back in the freezer until it’s time to serve.
Slicing Ice Cream Desserts
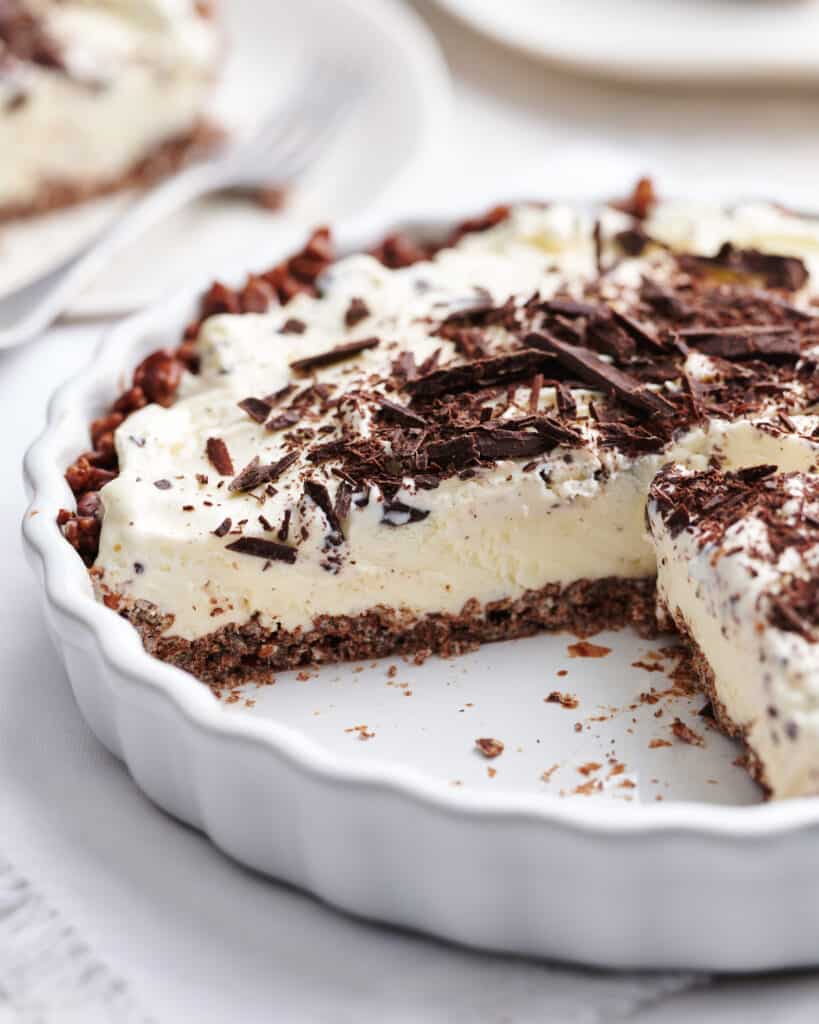
I find that some ice cream desserts need to be set out at room temperature for a few minutes to soften up a bit before slicing. This particular pie isn’t super thick, so I always slice it straight from the freezer without issue.
The only caveat to that is if you run your freezer super cold, then perhaps it might need a minute or two.
One thing that makes slicing easier is to use a serrated knife and have a cup of water and a dish towel handy. After each cut, rinse the knife and clean it before taking another cut. This helps to ensure each cut is clean and slices are easy to remove.
And that’s it! We hope you love this one as much as our family does.
Other Dessert Recipes We Love
- Super Fudgy Chocolate Cookies
- Flag Cake for 4th of July
- Homemade Waffle Cones
- No Chill Chocolate Chip Cookies
- Chocolate Cookies and Cream Cookies

Ice Cream Pie with Rice Krispie Crust
- Prep Time: 15 min
- Total Time: 15 minutes
- Yield: 8 slices 1x
- Category: dessert
- Method: frozen
- Cuisine: American
Description
An easy ice cream pie with mint chocolate chip ice cream and a chocolate Rice Krispie crust. It’s light, takes minutes to make, and is a perfect treat for entertaining guests or celebrating something special.
Ingredients
- 2.5 cups Rice or Cocoa Krispies (Cocoa Pebbles also work)
- 2 oz dark chocolate (plus extra for garnish)
- 1/4 cup butter
- 1/2 gallon mint chocolate chip ice cream
Instructions
- Spray a 9 inch pie plate or tart dish with cooking spray to prevent the crust from sticking to the plate when it’s time to serve.
- Place 2.5 cups of Cocoa Krispies in a medium mixing bowl.
- Place 2 oz of dark chocolate and 1/4 cup butter into a microwave safe bowl and microwave for 40 seconds at full power. Remove the bowl and stir to combine the chocolate and butter. Some of the chocolate won’t be fully melted, but because of the heat of the butter, as you continue to stir it will melt down. Stir until the chocolate and butter are fully combined and you get a smooth chocolate sauce.
- Pour the chocolate and butter mixture over the Cocoa Krispies in the bowl and stir until the Krispies are all coated in chocolate. Next, pour the Cocoa Krispie mixture into your prepared pie plate and using the back of a measuring cup or a flat-bottomed cup, press the Krispies into the plate, making a nice, even crust across the bottom and sides.
- Place the prepared crust into the freezer for at least 5 minutes to allow it to firm up and set
- Take the crust from the freezer once it’s set and then scoop in your ice cream to fill the crust. Smooth the ice cream with a spatula or knife so that it’s evenly filling the pie. If you like, you can then shave the remaining chocolate bar with a knife or grater and sprinkle it all over the top of your pie.
- Place the pie in the freezer and allow at least an hour for the ice cream to fully firm up again before serving.
- I find that the pie is thin enough that it’s easy enough to slice into straight out of the freezer, but if you find slicing it challenging, give it a few minutes at room temperature before slicing.
Notes
- If you don’t like to use cooking spray, you can instead grease the pie plate with butter.
- I like to use Cocoa Krispies but you can also use regular Rice Krispies or Cocoa Pebbles.
- If you don’t have a chocolate bar, you can substitute chocolate chips. I prefer the not-too-sweet taste of dark chocolate, but if you prefer milk chocolate feel free to sub that, too.
- Feel free to pick whatever flavor of ice cream you like!




What a great idea! We eat ice cream almost every night and sometimes I just want something a little different. I like to buy a lot of plain vanilla so I can add in whatever I want. I can see coming up with lots of yummy custom creations to turn into an ice cream pie. Even the crust can be customized using the Rice Krispies as a base. Thanks so much for sharing this twist on eating ice cream!