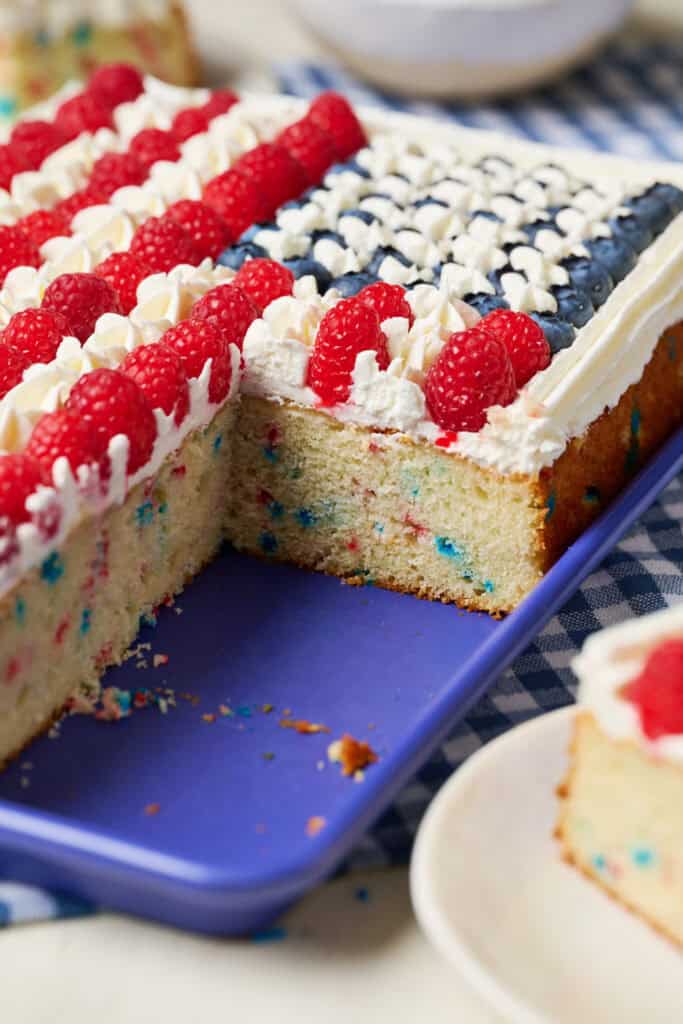
My made-from-scratch American Flag Cake is super moist and fluffy with red, white and blue funfetti sprinkles mixed in. Top it off with homemade tangy cream cheese frosting and fresh fruit.
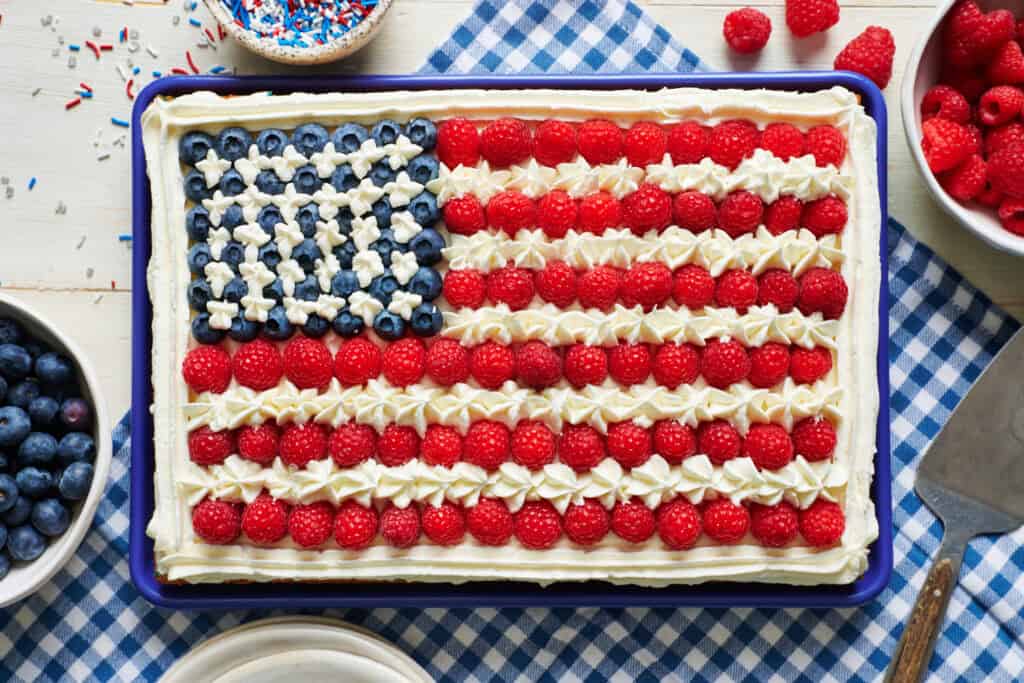
I've served this flag cake for 4th of July, and brought it to Memorial Day and Labor Day Parties. One year my youngest famously requested it for his birthday cake. No matter the celebration, this cake's a winner.
The Secret Ingredient: Greek Yogurt
I love using low-fat (2%) Greek Yogurt in baked goods for multiple reasons:
- Greek Yogurt gives the cake a nice tangy flavor.
- The acid in the yogurt helps to activate the leavening agents like baking powder and baking soda.
- Low fat Greek yogurt adds a touch of richness to the cake without making it heavy.
You can substitute the Greek yogurt in this recipe with sour cream. It will yield a slightly richer texture in the final cake.
Why Use Cake Flour?
This flag cake recipe, like many cakes, it best when it's made with cake flour instead of all-purpose flour.
All flours contain protein. The more protein in a flour, the more moisture it absorbs and the more gluten it forms. Gluten makes things chewy and a stronger crumb structure.
Things like sourdough bread benefit from more gluten and thus why they call for bread flour which has a higher protein content.
Cake flour, on the other hand, has less protein in contrast to bread flour and all-purpose flour. It contributes to a lighter cake. Plus, less protein means the flour absorbs less water. This will give you a delightfully moist cake.
Recommended Tools
9 x 13 Cake Pan
I use this pan for so much more than cakes. It's my go-to for cinnamon rolls, brownies, focaccia, deep-dish pizza, and more! It's truly the best non-stick pan.
Flour Sifter
It might seem like I'm being extra by recommending you sift the flour. However, it does make a difference in this recipe.
I did a test of this cake using flour straight from the box and it baked up with a more uneven crumb texture and a bumpy top. It was still tasty, but for me, worth the extra step to sift.
Pastry Bag & Piping Tips
I love decorating cakes. If that's not your bag (literally) feel free to spread the frosting onto the cake with a spatula, add your fruit and enjoy!
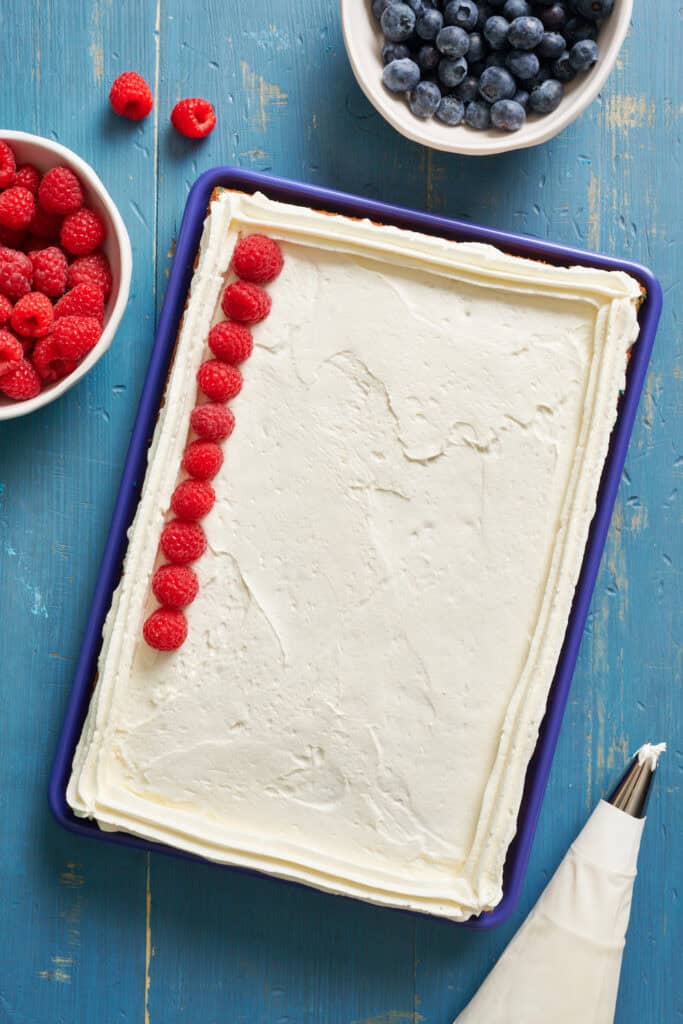
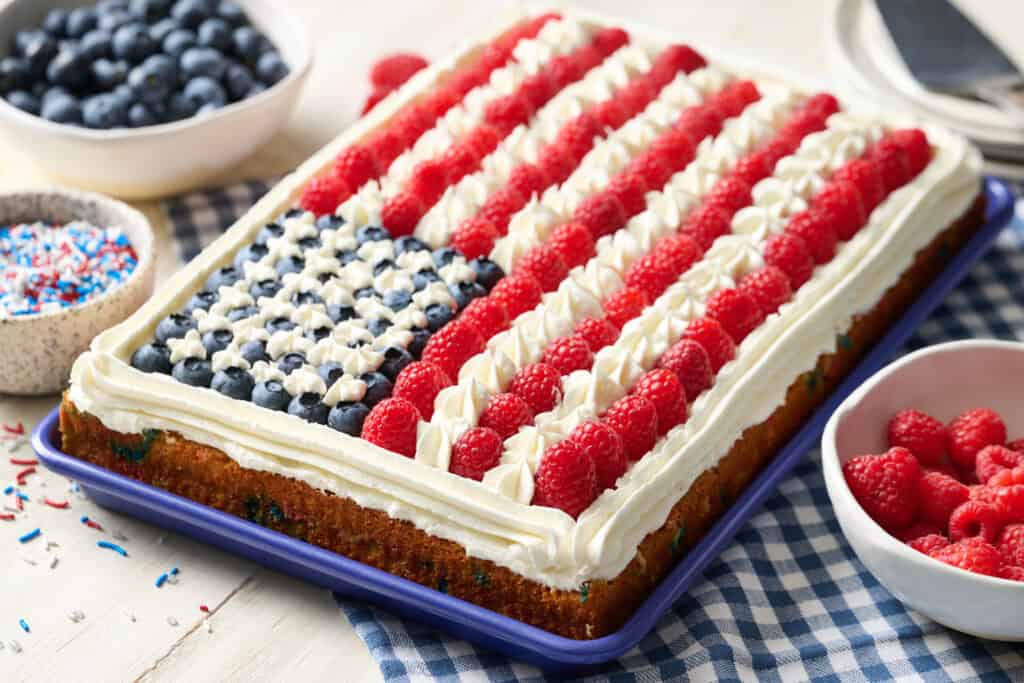
If you are into decorating, I filled this large pastry bag with the frosting and used a large star piping tip to pipe the border around the whole cake and the white stripes between the raspberries.
I used a small piping bag and small star tip to pipe between the blueberries.
Instant Read Thermometer
One of the things that changed the baking game for me was using a thermometer. I always struggled to know if my baked goods were done or not.
The recommendation to poke cakes with a toothpick and to see if it came out clean just never felt precise enough. I'd still end up with underdone and overdone cakes and breads.
The most precise way to gauge doneness? Stick an instant-read thermometer into the center of the cake and take its temperature. I do this for bread, too!
Different types of baked goods have different target temperatures. For most cakes, you're aiming in the 200F - 205F range. This ensures the cake is fully cooked without going too far.
Overbaked cakes turn out more dry and crumbly. Underbaked cakes often sink in the middle and have a gummy texture.
The Right Sprinkles for Funfetti
Not all sprinkles are ideal for funfetti cakes.
The little round nonpareils will bleed and you will end up with smeared, muddy colors when you start to fold in your sprinkles. This is due to the way that they are manufactured.
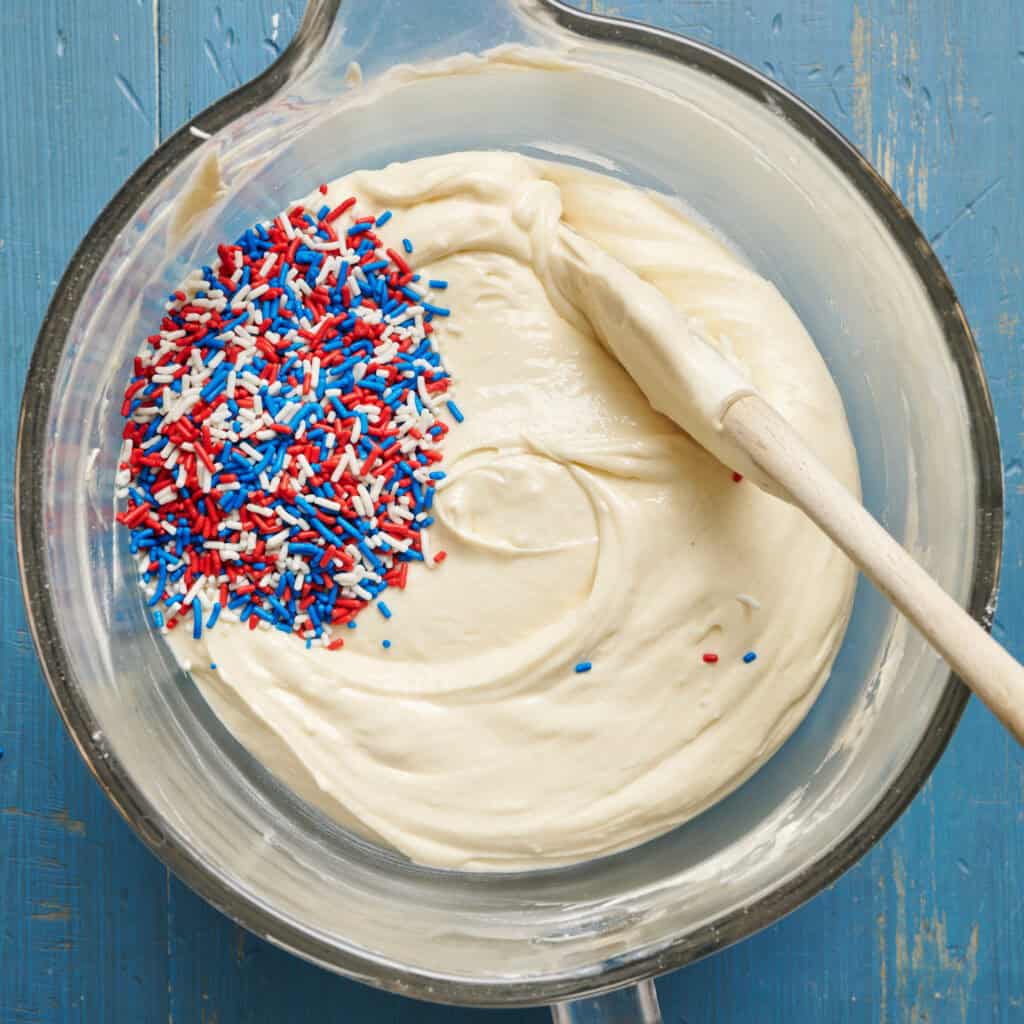
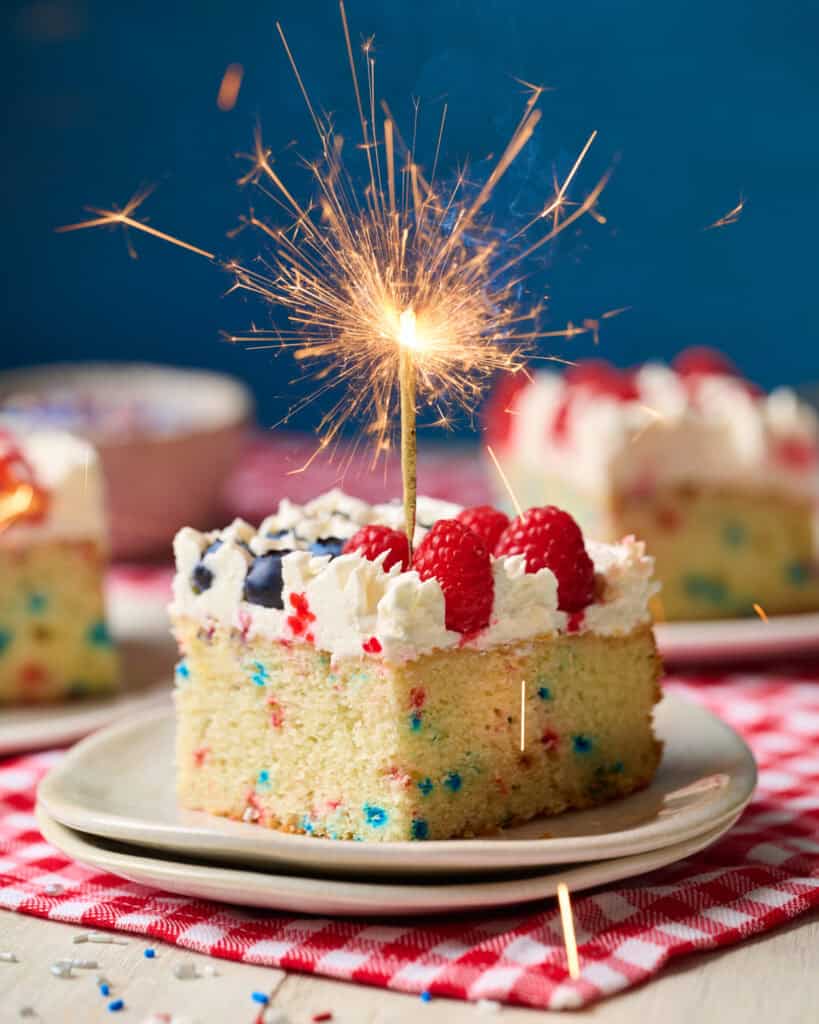
The kind you want for this cake are called jimmies. They are thin strands of cut sprinkles. They hold on to their color when mixed and baked and are perfect for funfetti-style cakes.
The sprinkles are optional in this flag cake recipe. But, given the chance, I will always opt to add a little extra flair. I used red, white and blue jimmies.
Fun Holiday Treats Recipes
- Black Velvet Cupcakes for Halloween
- Kifle Cookies for Christmas Parties
- Gingerbread Cake with Cinnamon Molasses Frosting for Christmas
Joanie's Balanced Bites: Enjoying Flag Cake
This is a celebration cake. What I call a "worth it" treat. It takes a little extra intention to enjoy while keeping blood sugar steady, but it's absolutely worth that effort. The tender crumb, the tangy cream cheese frosting, the fresh berries, the red, white, and blue funfetti in every slice.
How to Enjoy It
Enjoy it after a balanced meal — A slice of cake after BBQ chicken, and my fresh Caprese Salad hits differently than cake on an empty stomach. The protein and fat from your meal help buffer the sugar.
Give yourself permission — One of the most important parts of my health journey was learning to enjoy treats like this without guilt. Guilt and restriction fueled overeating and pushing past the point of satisfaction. A small slice after a balanced meal likely won't send glucose skyrocketing, but a giant slice in reaction to prior restriction will most certainly send you on the blood sugar roller coaster.
Browse ➡️ Blood Sugar-Friendly Recipes
Description
This patriotic flag cake is a super moist and fluffy yellow sheet cake with funfetti. Made from scratch! Top it off with homemade tangy cream cheese frosting and fresh fruit.
Ingredients
The Cake
- 3 cups (360g) cake flour, sifted
- 2 ½ tsp baking powder
- ½ tsp baking soda
- ½ tsp salt
- 1 cup (227g) unsalted butter, softened
- 1 ½ cups (298g) granulated sugar
- 4 whole large eggs, room temperature
- ¾ cup (180g) whole milk, room temperature
- ⅔ cup (170g) 2% Greek yogurt, room temperature
- ¼ cup (55g) vegetable oil
- 1 Tbs vanilla
- ½ cup jimmies
The Frosting
- 2oz cream cheese, softened
- 1 cup (227g) unsalted butter, softened
- 3 ¾ cups (460g) powdered sugar
- ¼ cup (60g) heavy cream, room temperature
- 1 tsp vanilla
- 1 pinch salt
Garnish
- 2 half pints of fresh raspberries
- 1 half pint of fresh blueberries
Instructions
Prepare the Cake
- Preheat oven to 325F.
- Prepare a 9 x 13 cake pan by greasing it with butter or spraying it with nonstick baking spray.
- Combine cake flour, baking powder, baking soda and salt in a mixing bowl. Whisk to combine and set aside.
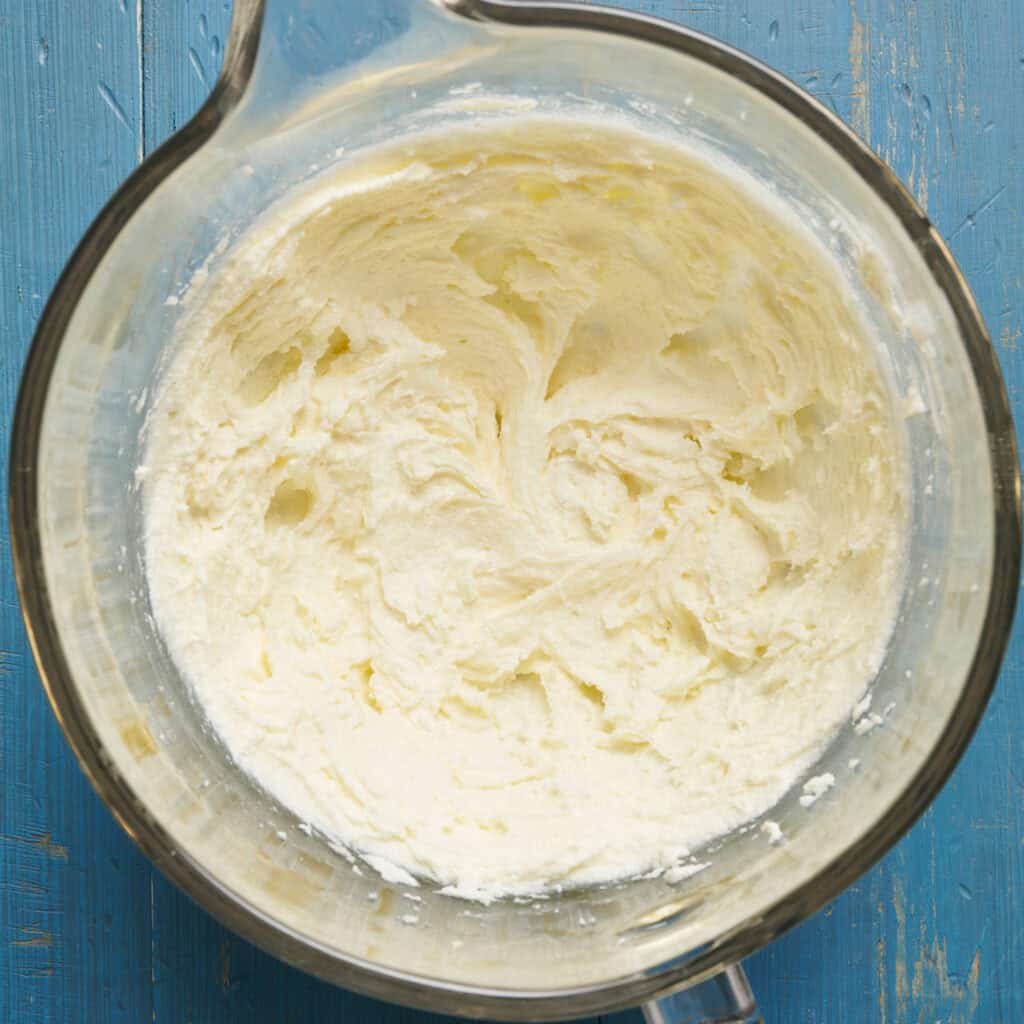
- Add the butter and sugar to the bowl of a stand mixer with the paddle attachment and beat the butter and sugar on medium speed for 3 minutes until the sugar is well incorporated and the mixture lightens in color.
- Add each egg, one at a time, to the butter with the mixer on medium speed, stopping to scrape down the sides of the bowl periodically to make sure everything is fully incorporated.
- In a separate bowl, combine the milk, Greek yogurt, vegetable oil and vanilla and whisk together until fully combined.
- Add half of the flour mixture you set aside earlier to the bowl of your stand mixer and mix in on the low setting. Then add in half of the Greek yogurt mixture to the mixer. Repeat to finish adding in the dry ingredients and the wet ingredients. Mix the batter for another 10 to 20 seconds so that the batter is nice and smooth.
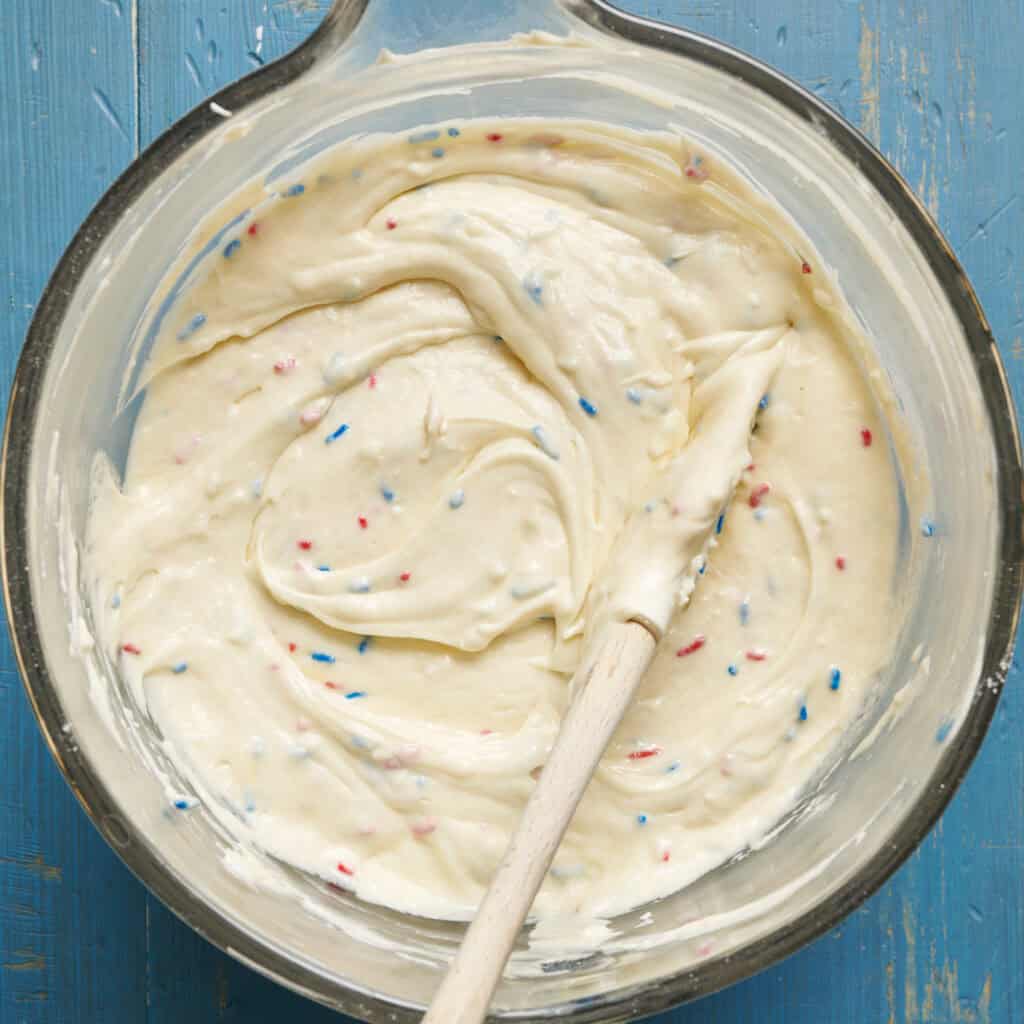
- Take the bowl off of the stand mixer and fold the jimmies into the batter.
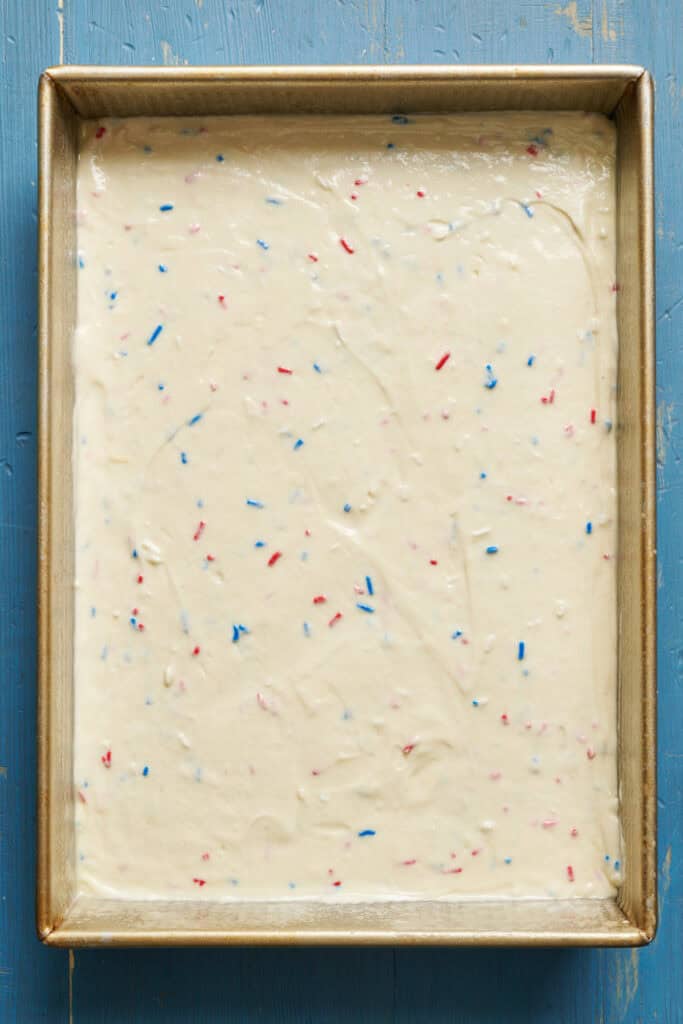
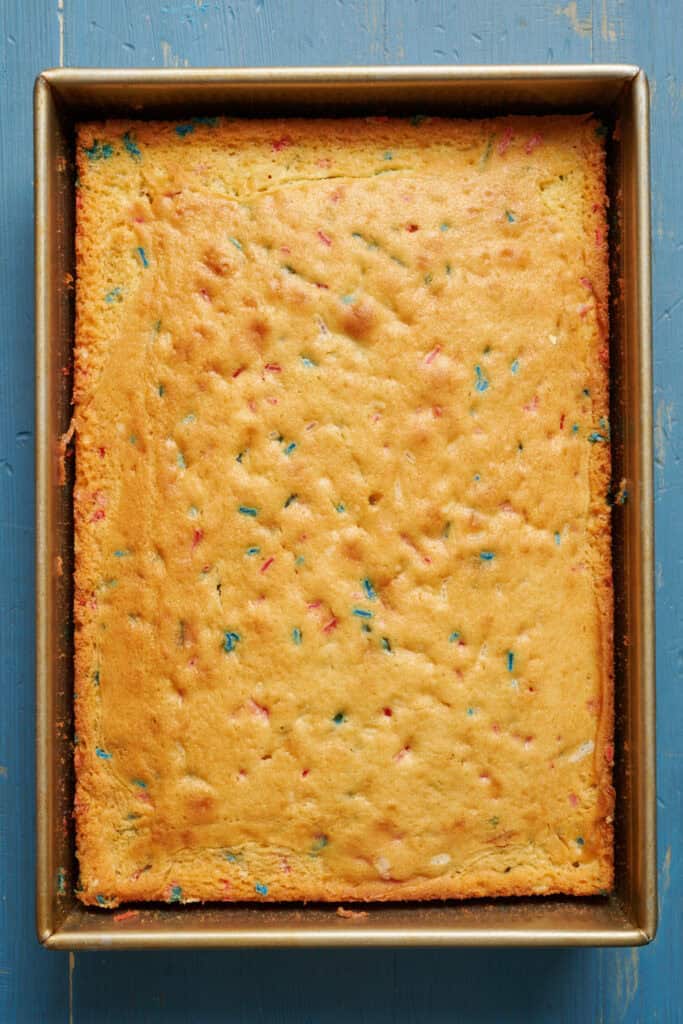
- Pour the batter into your prepared 9 x 13 pan and bake at 325 for 45 - 50 minutes. It is done when the top is a nice golden color and an instant read thermometer inserted into the center reads 200F - 205F.
- Once the cake is done, remove the pan from the oven and put it on a cooling rack to cool for two hours. Do not add frosting to the cake before it is fully cooled.
- Once the cake has cooled, you can either keep it in the pan to decorate it, or invert it onto a platter.
Prepare the Frosting and Decorate
- While the cake cools, make your frosting by combining the cream cheese, butter, and powdered sugar together in a bowl. You can use a stand mixer or hand mixer. Mix the cream cheese, butter and sugar for 1 minutes until they are all mixed together and nice and smooth.
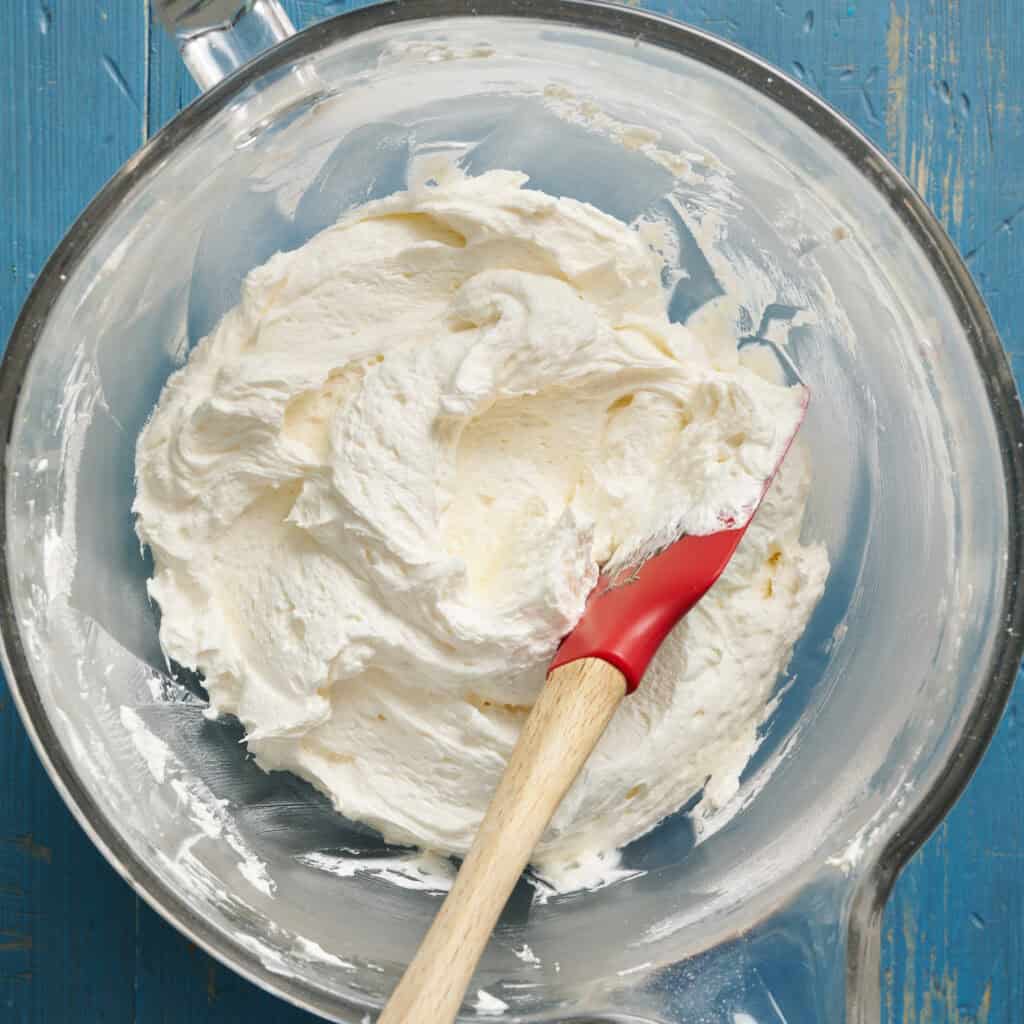
- With the mixer on medium speed, slowly pour the heavy cream into the frosting until it is all added. Then add in the vanilla and salt. Set the mixer on high and beat the frosting for 2 minutes until it gets light and fluffy. It should also be nice and stiff. If it seems too soft, add more powdered sugar by 1 Tbs at a time until you reach the desired consistency.
- When you are ready to decorate your flag cake, spread half of the frosting on top of the cake, then add the remainder into a piping bag fitted with a star tip. Decorate the top of the cake with raspberries, blueberries and more frosting to create stars and stripes.
Notes
- The cake can be kept at room temperature until ready to serve. If you want to refrigerate it to keep it for longer, be sure to take it out of the refrigerator about 30 minutes before you want to serve so that the frosting softens. Since it’s primarily made of butter it’s rather firm when cold.
Nutrition
- Serving Size: 1 slice
- Calories: 596
- Sugar: 54.3 g
- Sodium: 155.7 mg
- Fat: 31.9 g
- Carbohydrates: 80.5 g
- Fiber: 3.5 g
- Protein: 6 g
- Cholesterol: 114.3 mg

Did you make this recipe? Let me know!