Super moist black velvet cupcakes don't require any black food coloring and taste just like Oreo cookies. Black cocoa powder is the key ingredient for this dramatic, decadent dessert, perfect for spooky season or a black-and-white themed party.
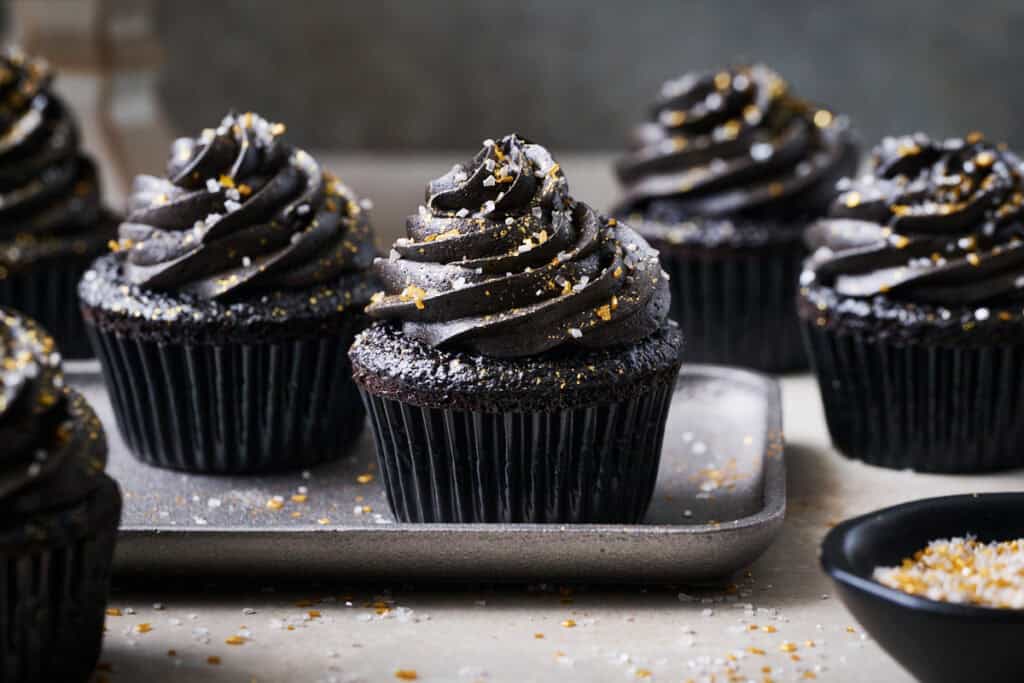
I was tasked to bring dessert to our family's annual halloween party and got inspired to develop this play on red velvet cupcakes. I used black cocoa powder to create the dark color. No black food coloring required!
My husband is an Oreo cookie fanatic and his eyes lit up with he tasted these.
The Recipe Testing Process for Perfect Black Cupcakes
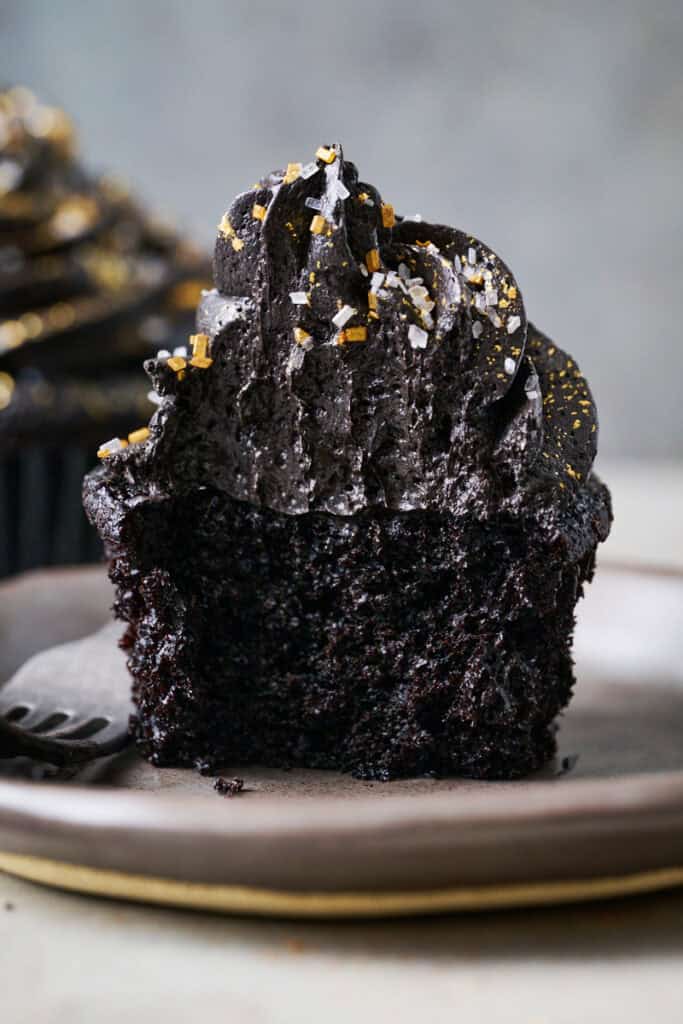
The big challenge to overcome in developing this recipe was the texture of the cake. Black cocoa powder is dutch processed, meaning it's been alkalized, treated with potassium carbonate which neutralizes the cocoa.
That means you end up with a richer cocoa flavor, but it also removes the acidity which helps activate the leavening agents found in most traditional chocolate cupcake recipes. This acidity also helps to develop a tender crumb texture.
I was able to use buttermilk to provide the acid required to help activate the baking powder and baking soda in this recipe. But I was still having challenges with the cupcakes being too crumbly. I needed a binder. That's when I tried adding an extra egg yolk in addition to one whole egg. That did the trick! The extra yolk added some fat for extra tenderness and I struck the perfect balance of fluffy, tender and moist cake.
Coffee is the Secret Ingredient
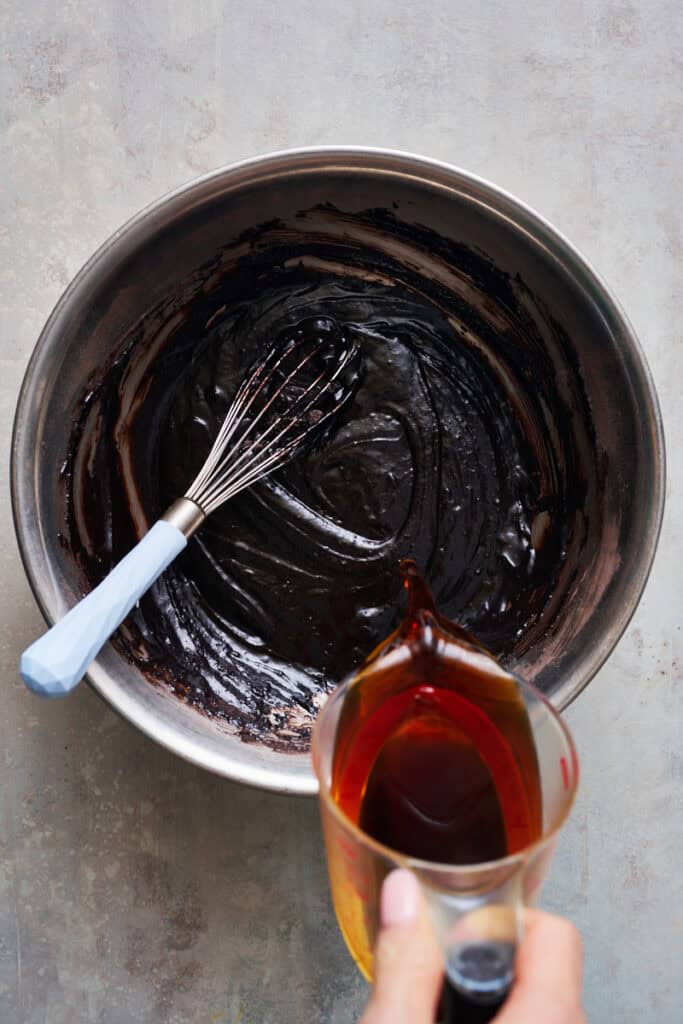
I was first turned on to adding hot coffee or hot water to chocolate cake recipes by Ashley at Baker by Nature. It's a lesser-known technique that helps to bring out all of the flavors of the cocoa powder and makes for a richer chocolate flavor in the cake.
Tips for Making Black Velvet Cupcakes
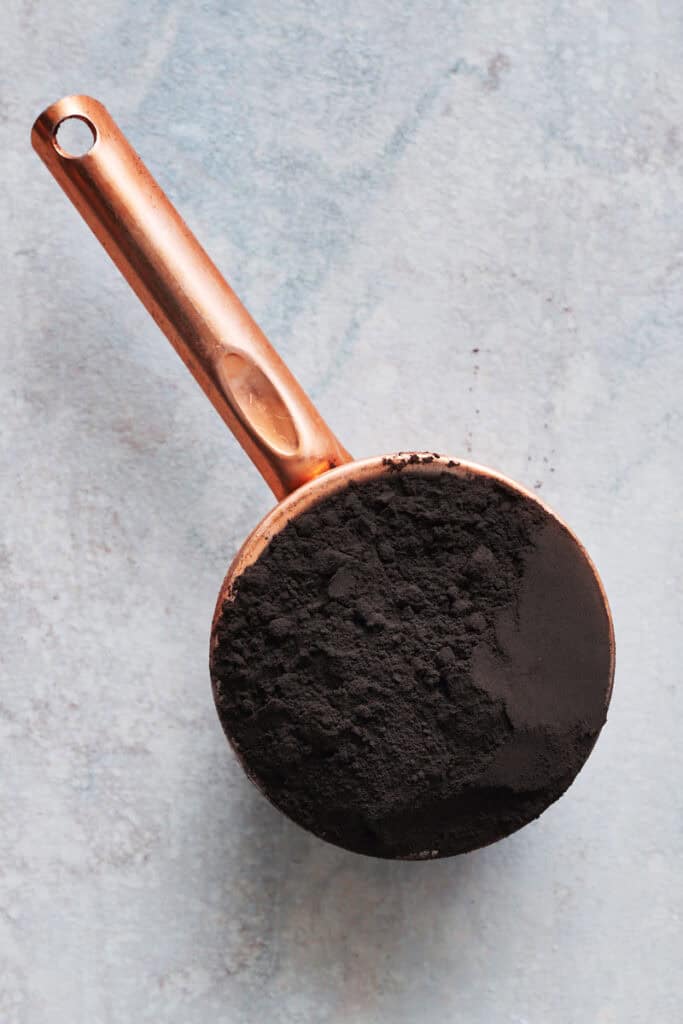
Black Cocoa Powder: I used a super black cocoa powder for the deep black color. Some varieties of black cocoa powder aren't quite as dark and could affect the color of your final baked goods.
Non-Stick Baking Spray: I use non-stick baking spray inside the cupcake liners before adding the batter. This helps make it easier to peel away the wrapper when you're ready to enjoy your cupcakes.
Measure by Weight: For the best results, use a kitchen scale to measure ingredients. It's a much more precise method of measurement, especially for things like flour and cocoa powder that can vary from cup to cup depending on how you scoop them. Plus, I prefer to weigh ingredients because there's less cleanup. I just dump ingredients into my bowl while it's on the scale and it saves me from having to clean a bunch of measuring cups.
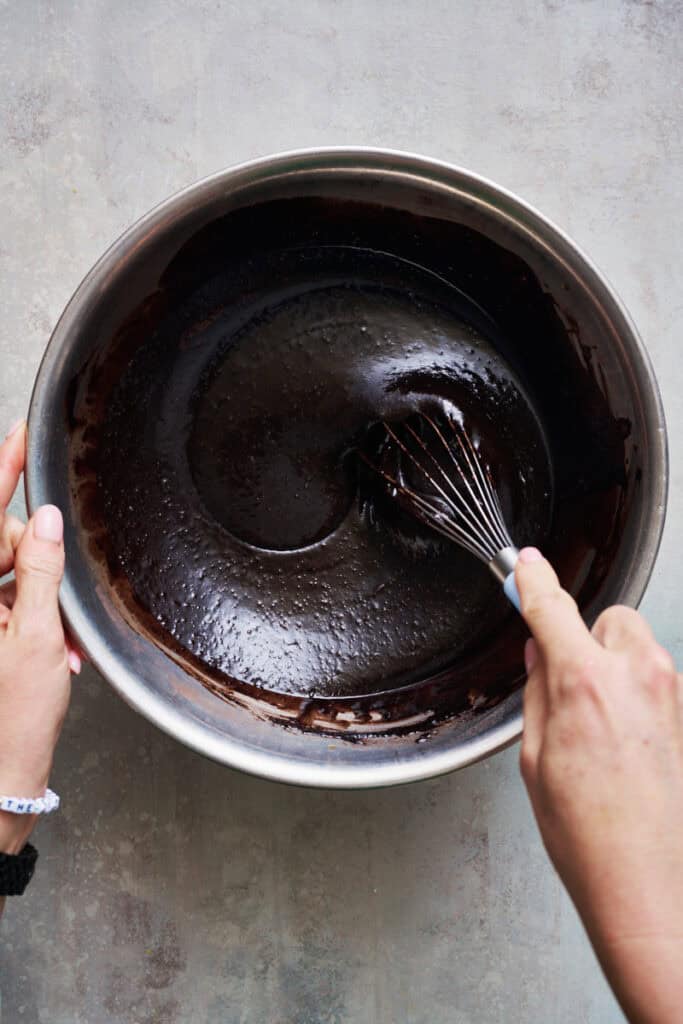
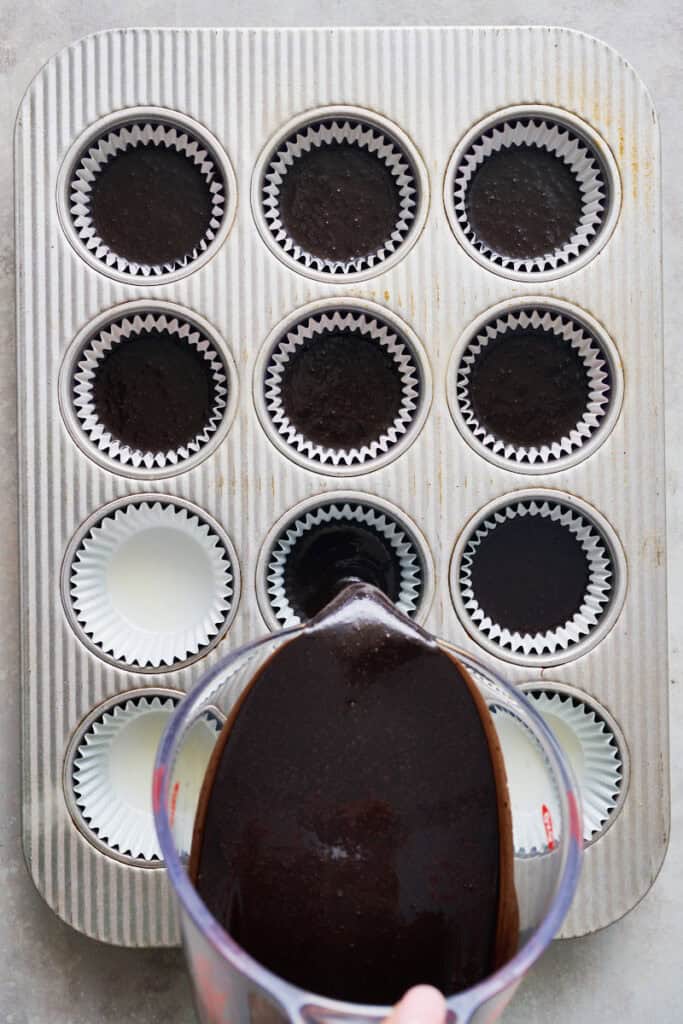
Wet Batter: You'll see this makes a very wet batter. I found it easiest to pour into a large spouted measuring cup and then use that to pour batter into the cupcake liners.
How Do I Prevent Cupcakes from Sinking?
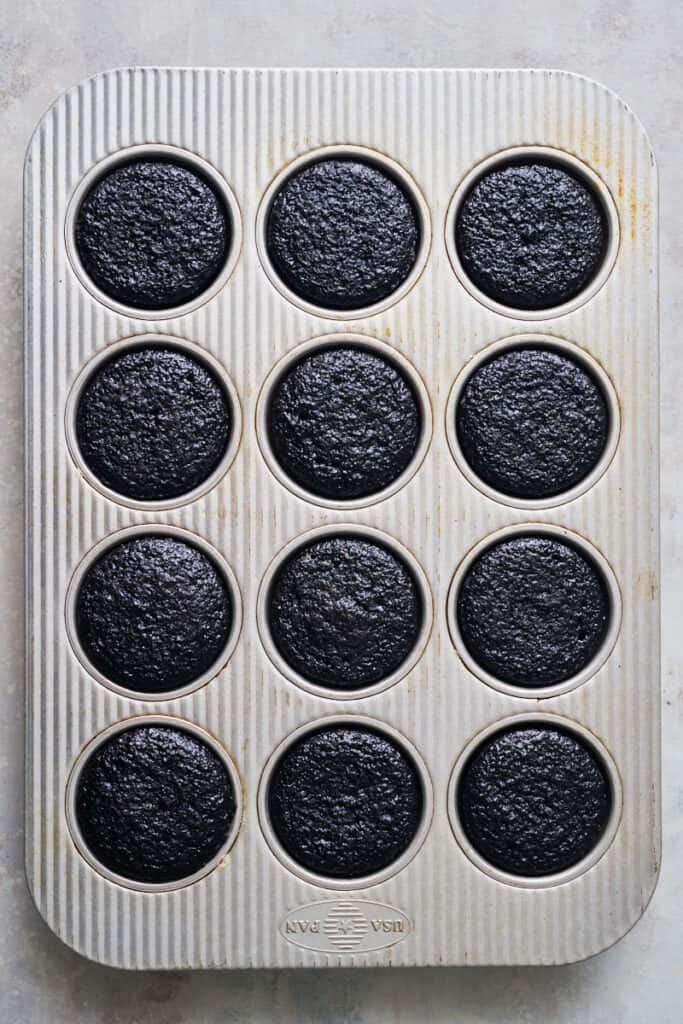
Perfect cupcakes have a flat top. No dome, but also no sinking.
One of the major culprits of sunken cupcakes is overfilling the pan. In several of my tests of this recipe, I tried fitting all the batter into 12 cupcakes. I had filled each liner to ¾ full. The problem is that when the cups are too full, they can tend to rise up too quickly above the pan and then with nowhere to go they cave inward.
This recipe works best when the cupcake tins are filled to ½ full, making 18 standard sized cupcakes.
It's also important to fully bake your cupcakes. They'll sink if they're underdone. The best way to know your cupcakes are done is that they spring back quickly when you press your finger gently into the top. You can also use an instant read thermometer. The cupcakes are done when the temperature reaches 205F when the thermometer is inserted into the center of a cupcake.
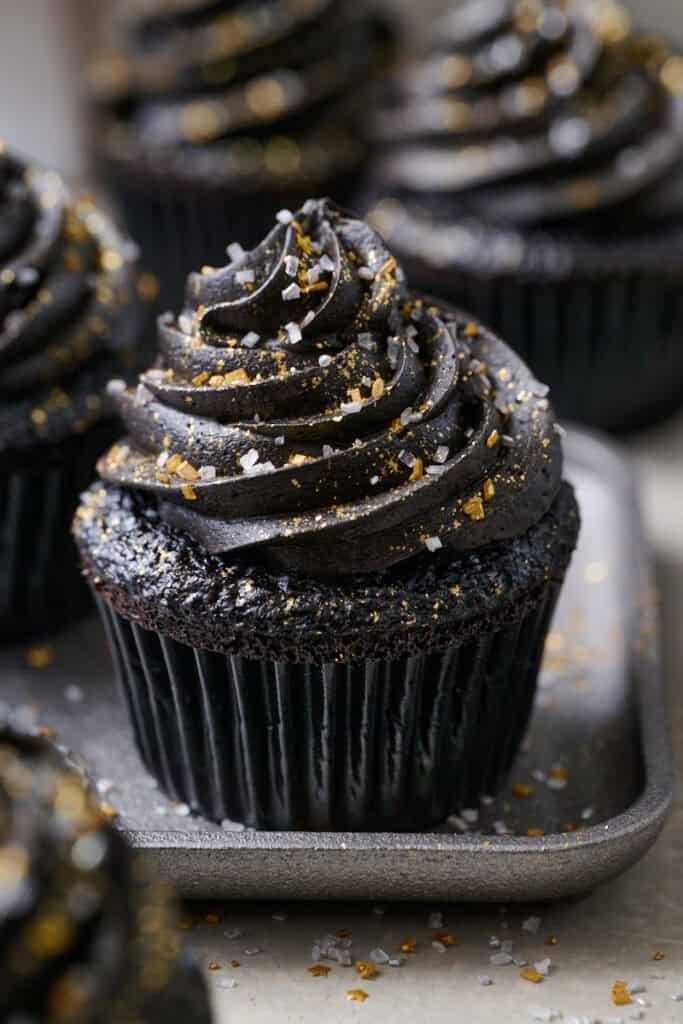
Decorating Cupcakes
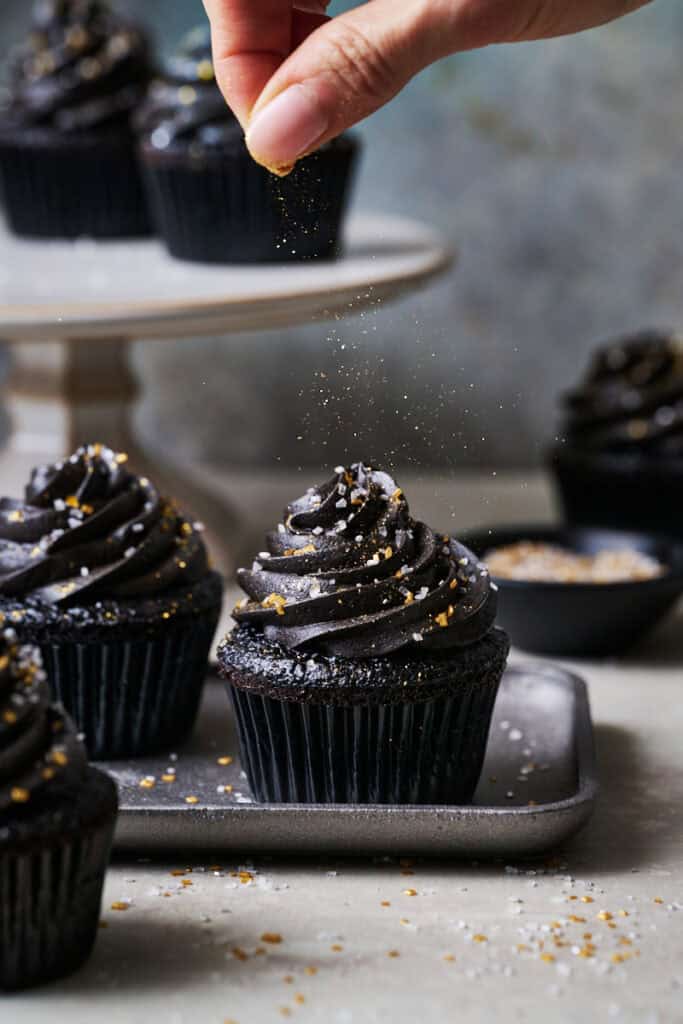
Feel free to have fun decorating your cupcakes. I used Silver and Gold star sprinkles and gold Prism Powder to make my cupcakes shine. I love a black and gold combo!
Description
Super moist black velvet cupcakes are made with black cocoa powder for their signature color and taste just like Oreo cookies.
Ingredients
Black Chocolate Frosting
- 1 cup (226g) unsalted butter, room temperature
- 2 cups (250g) powdered sugar
- 1 cup (85g) black cocoa powder
- 1 tsp pure vanilla extract
- pinch of salt
- 2 Tbsp heavy cream or whole milk
Black Cupcake Batter
- 1 cup (120g) all purpose flour
- 1 cup (200g) granulated sugar
- ½ cup (50g) black cocoa powder (dutch processed)
- 1 tsp baking powder
- ¾ tsp baking soda
- ¼ tsp salt
- ½ cup (120g) buttermilk
- ¼ cup (55g) vegetable oil
- 1 Egg + 1 egg yolk
- ½ tsp vanilla extract
- ½ cup (120g) hot brewed coffee or hot water
Instructions
- Make the black frosting first so it has time to sit and get darker before using it. Start by adding 1 cup of butter to the bowl of a stand mixer with the paddle attachment or a large bowl and using a hand mixer and beat on medium speed for 3 minutes until the butter is light and fluffy.
- Whisk together 2 cups of powdered sugar and 1 cup of black cocoa powder and then add half of it to your creamed butter, mixing in slowly until it's incorporated, then add the remaining powdered sugar and cocoa powder along with 1 teaspoon vanilla extract, 2 Tbs of heavy cream and a pinch of salt and slowly mix it in until incorporated. Scrape down the sides of the bowl as needed to get everything evenly mixed together, then increase the speed on the mixer to medium speed and continue to mix the frosting for 2 minutes until it's smooth and fluffy. If the frosting is too thick, mix in an extra tablespoon of cream or milk. If it's too thin, mix in an additional tablespoon of powdered sugar.
- At this point you can either put the frosting in a piping bag, ready to use when your cupcakes are completely cooled. Or if you want to decorate later, put the frosting in an airtight container and store it in the fridge until you're ready to use it. When you're ready to use it, take it out of the fridge for 30 minutes to come back to room temperature and mix it up again in the stand mixer or with a hand mixer to bring back the proper texture. The color of the frosting will get darker over time.
- To make the cupcakes, preheat the oven to 350F.
- Prepare two 12-muffin tins by adding 18 cupcake liners (6 muffin spaces will be unused). If you have non-stick baking spray, spray it into your cupcake liners to help them easier to peel off when they're going to be eaten.
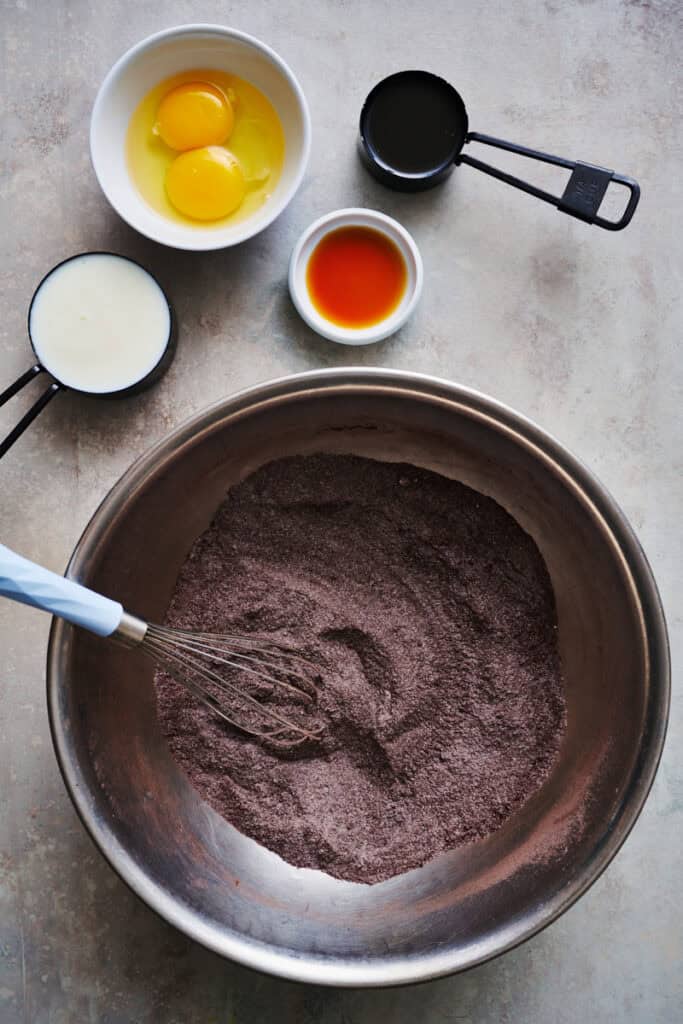
- In a large bowl, combine 1 cup all purpose flour, 1 cup granulated sugar, ½ cup black cocoa powder, 1 teaspoon baking powder, ¾ teaspoon baking soda, and ¼ teaspoon salt and whisk until fully combined.
- To the dry ingredients, add ½ cup buttermilk, ¼ cup vegetable oil, 1 egg and 1 egg yolk and ½ teaspoon vanilla extract and whisk until fully combined.
- Add the ½ cup of hot brewed coffee or hot water to your batter and let it sit for 60 seconds, then whisk the batter until everything is fully mixed. The batter will be quite thin.
- Transfer the batter to a large measuring cup or container with a spout for easy pouring. Pour batter into the 18 prepared cupcake liners, filling only halfway up. Don't overfill!
- Bake one tray at a time in the preheated 350F oven for 16 - 18 minutes until the muffins have puffed up and spring back quickly when the top is pressed or an instant read thermometer inserted into the center of a cupcake reads 205F.
- Cool the cupcakes on a wire rack for at least 1 hour before decorating.
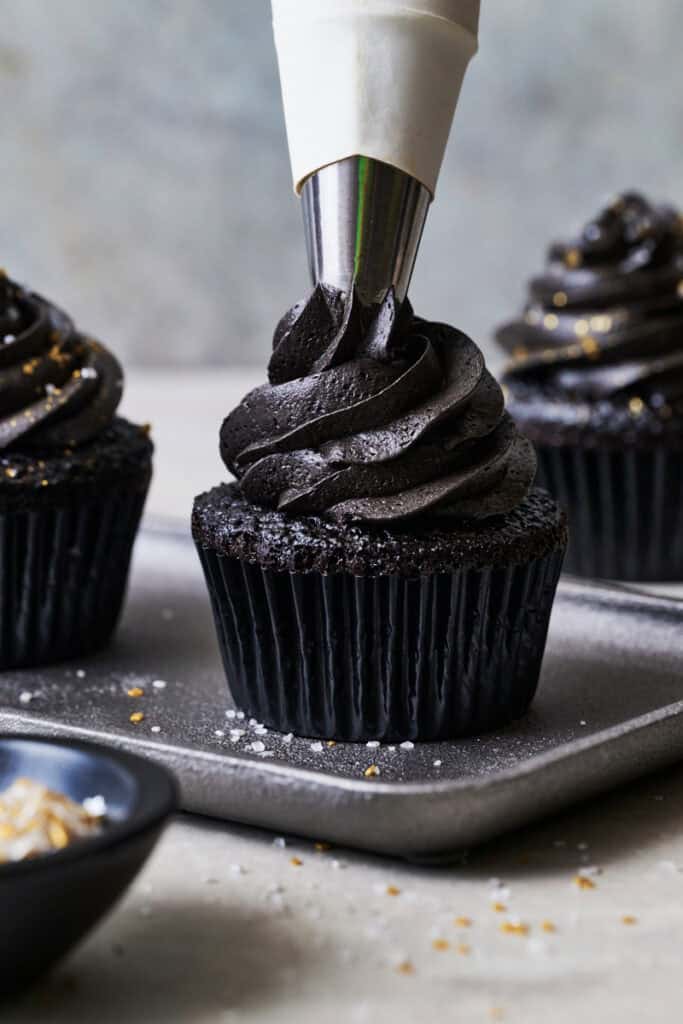
- To decorate, fill a piping bag fitted with your preferred large tip (I use a star tip) and pipe frosting onto the tops of all of your cupcakes and add sprinkles if so desired.
- Store the cupcakes in an airtight container until ready to serve. They're best enjoyed within a day or two.
Nutrition
- Serving Size: 1 cupcake
- Calories: 311
- Sugar: 31.4 g
- Sodium: 261.8 mg
- Fat: 16.9 g
- Carbohydrates: 41.1 g
- Fiber: 1.8 g
- Protein: 3 g
- Cholesterol: 55.7 mg

Did you make this recipe? Let me know!