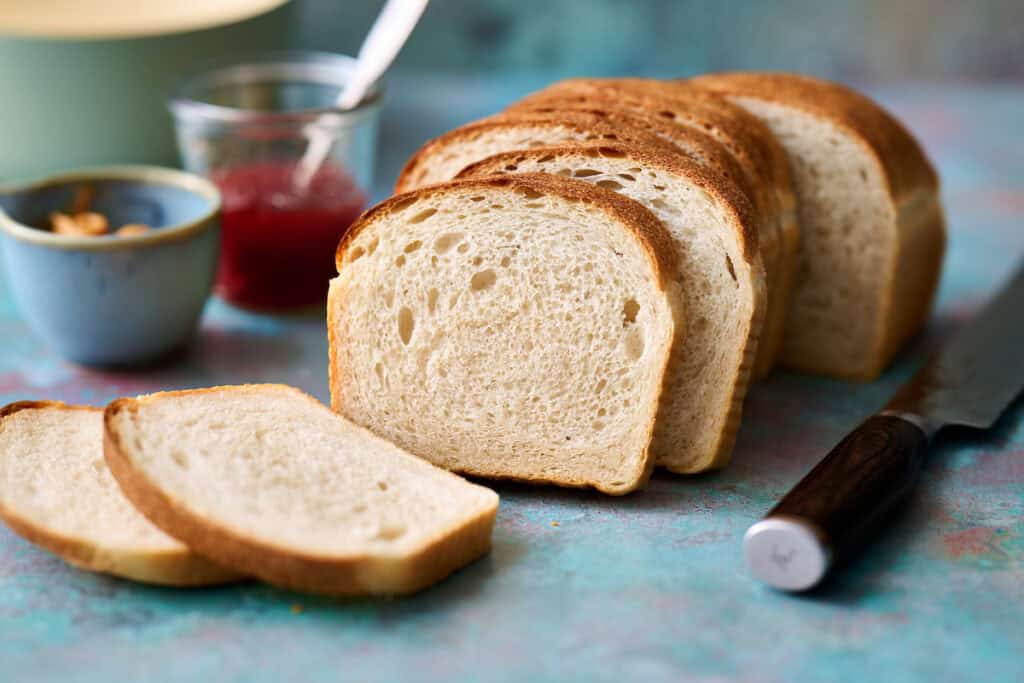
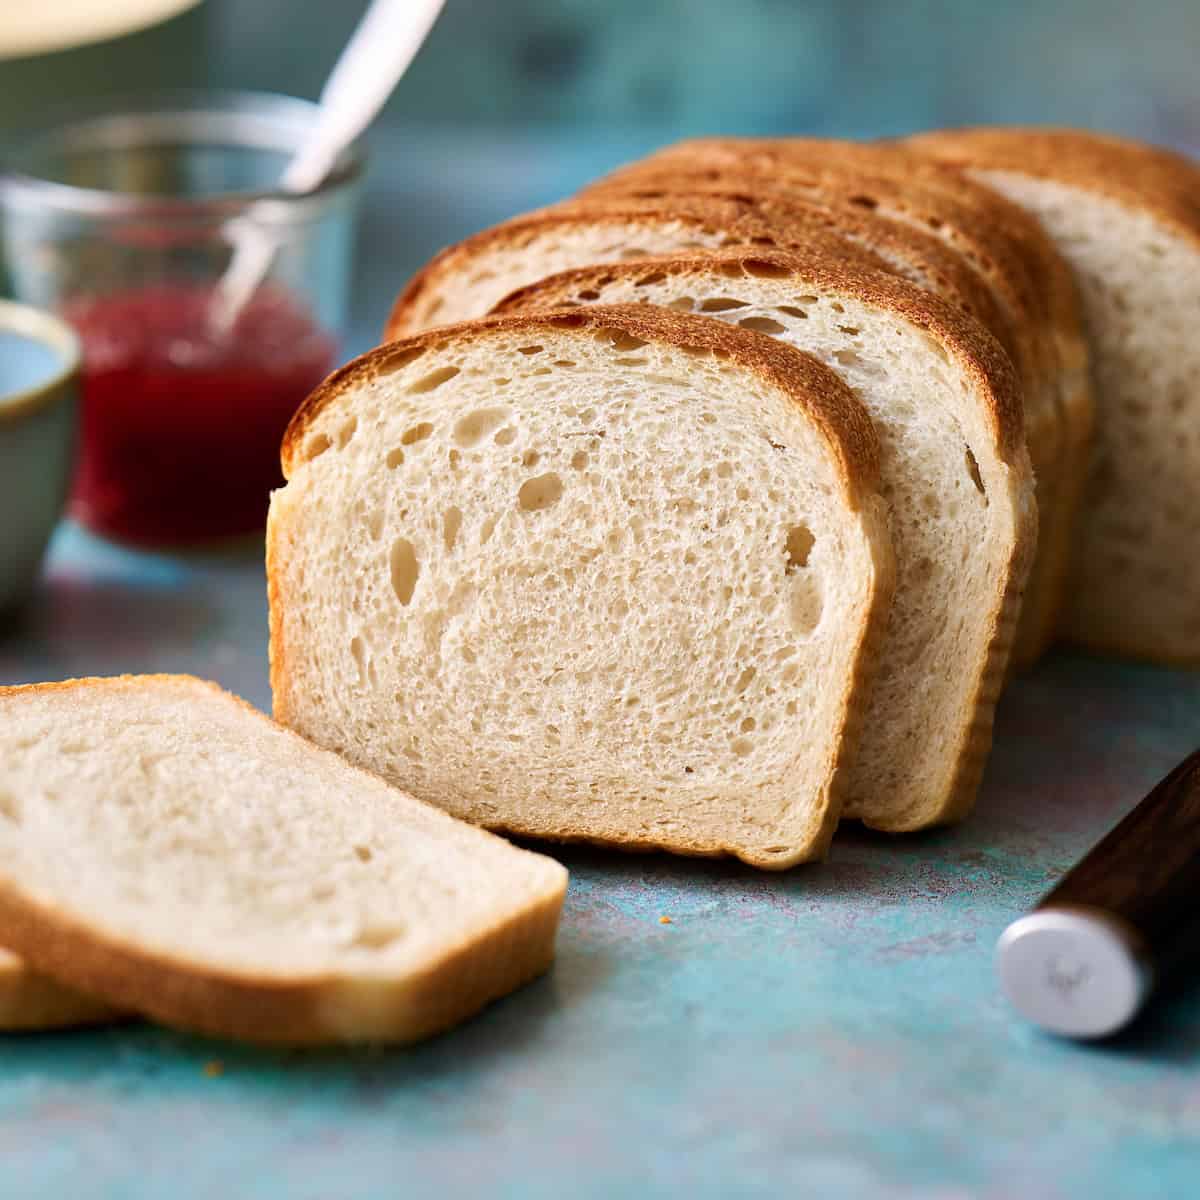
After months of testing, this is the sourdough sandwich bread that finally fits perfectly in my kids' lunch bags. Also happens to be better for you than conventional sandwich bread!
New to Sourdough?
Check out my Sourdough Beginner's Guide. Sourdough not only feeds my family but it’s a rewarding past time.
I purchased my starter, Frodough, from Basil & Bloom and it’s been amazing!
Once you get hooked on sourdough, two of my favorite beginner recipes are Discard English Muffins and my super popular sourdough discard dinner rolls. Or if you want a loaf, check out my standard sourdough loaf recipe.
Essential Equipment
You don't HAVE to have these things, but they sure do make the job easier.
- Kitchen Scale - MyWeight Kitchen Scale - ensures consistent, precise measurements and best results for baking.
- 1.25lb Loaf Pan - USA pans rock - Perfect sandwich size.
- Thermometer - Instant-read model Use it to know when bread is done at 195-201°F.
- Silicone Bowl Scraper - Silcone Bowl Scraper - I love to use this when removing the dough from the bowl to my work surface.
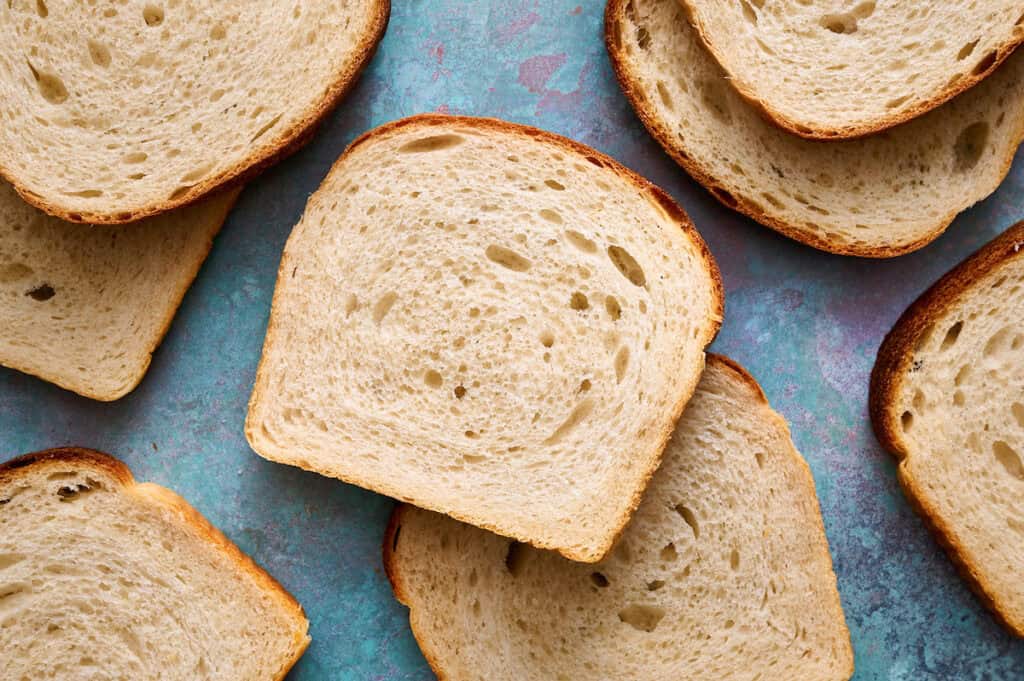
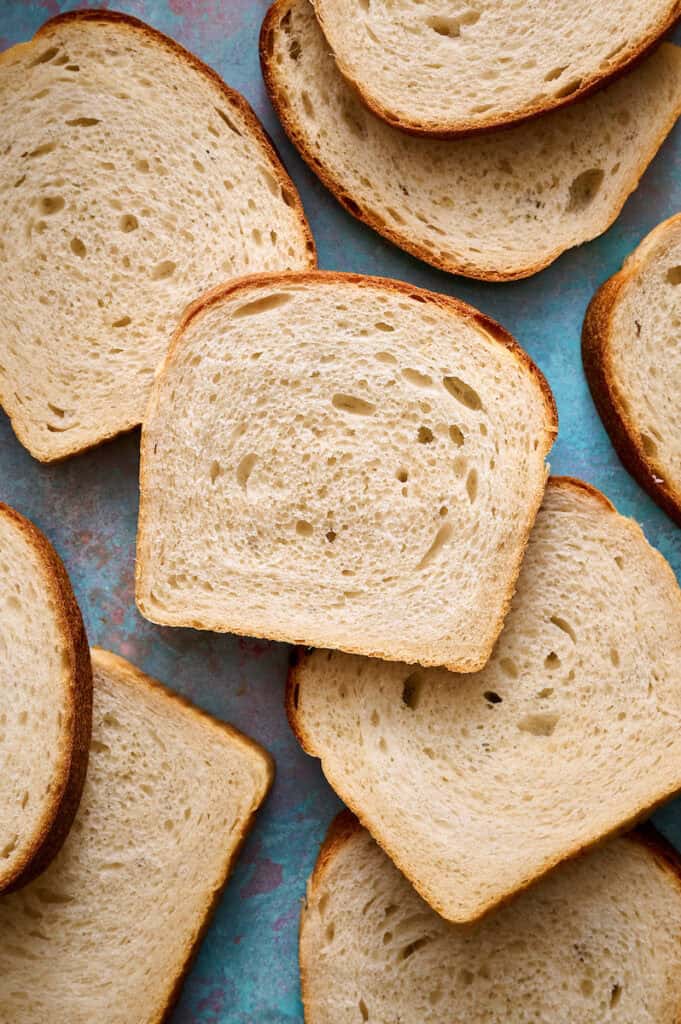
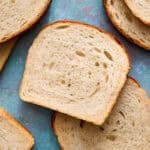
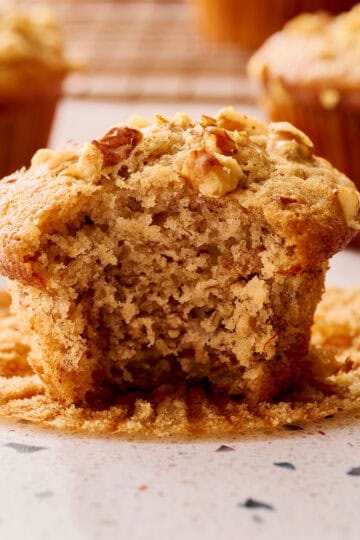
Sourdough Sandwich Bread That Stays Soft
I love an artisan loaf, but when it comes to sandwiches my kids and I love soft slices. The difference in this recipe is an enriched dough. We add butter or oil and honey to create a crumb that stays fresher and softer for longer.
The Bread That Doesn't Spike Blood Sugar
When we found out my husband was pre-diabetic, I thought bread was off the table. But I was thrilled when I learned that sourdough has a secret that makes it blood-sugar friendly!
The natural fermentation process breaks down starches and creates acids that slow glucose absorption. What makes sourdough different:
- Wild fermentation pre-digests some of the carbs
- Lactic acid slows down glucose release
- Lower glycemic response than regular bread
- More nutrients become available through fermentation
Browse more Blood Sugar Friendly Recipes →
Want help while you make this recipe?
Click to have your favorite AI analyze this recipe and provide assistance as you go:
Step by Step Guide to Making Sandwich Bread
I like making two loaves at once. One to enjoy and one to freeze. You'll find directions for both a single or a double loaf in the recipe card at the bottom of the page.
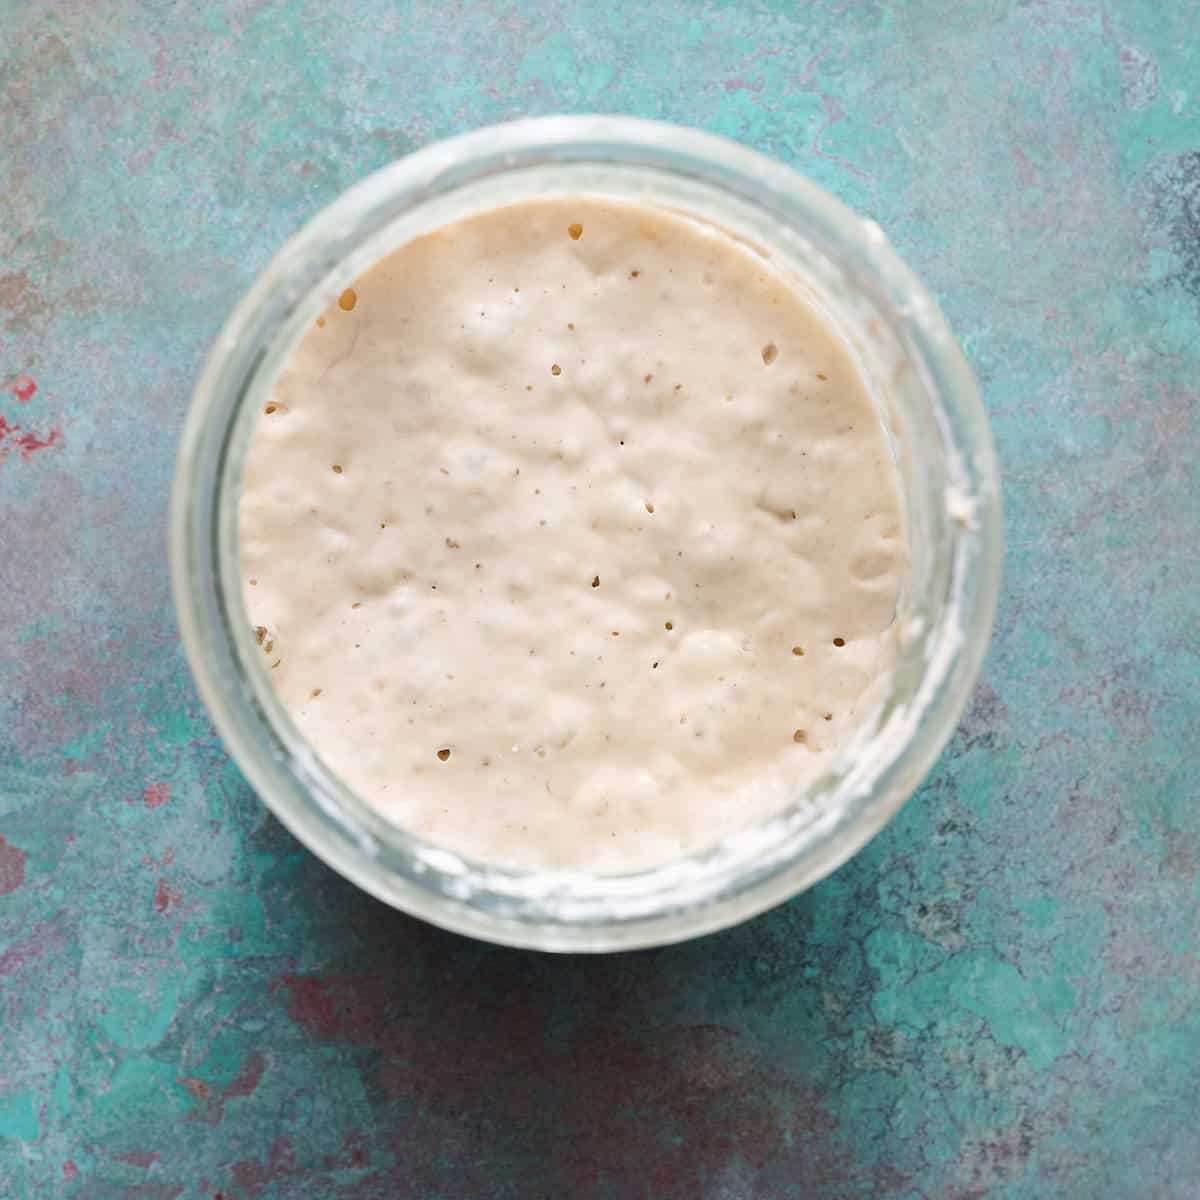
Prepare the starter: Make sure your sourdough starter is active and bubbly before you begin.
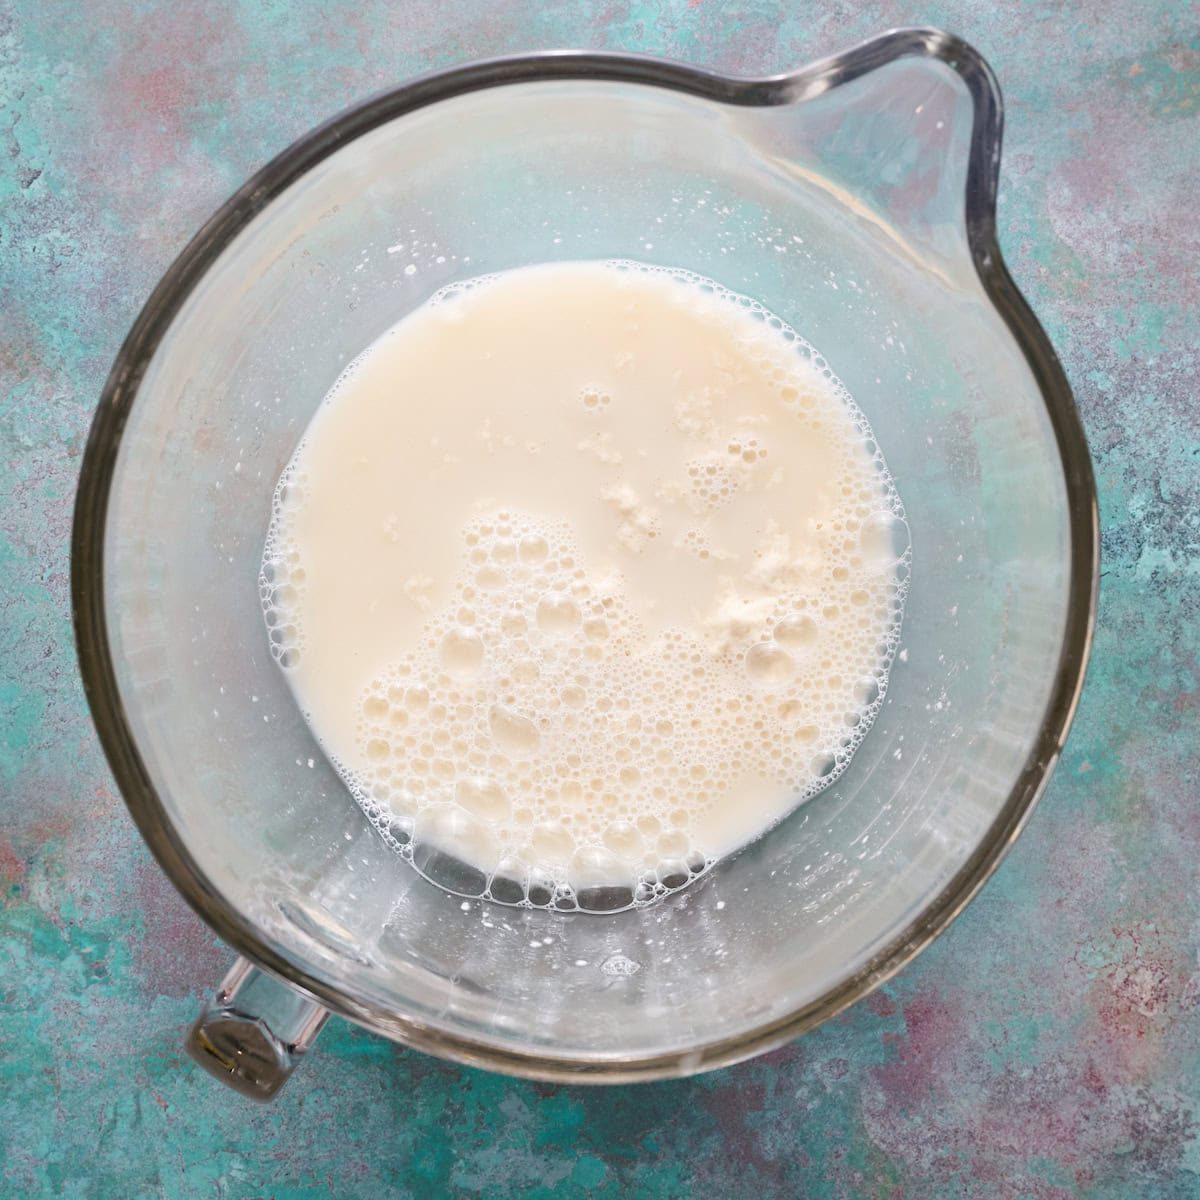
Mix starter and liquids: In a large mixing bowl, stir together the sourdough starter, room-temperature water, and honey until the mixture looks foamy.
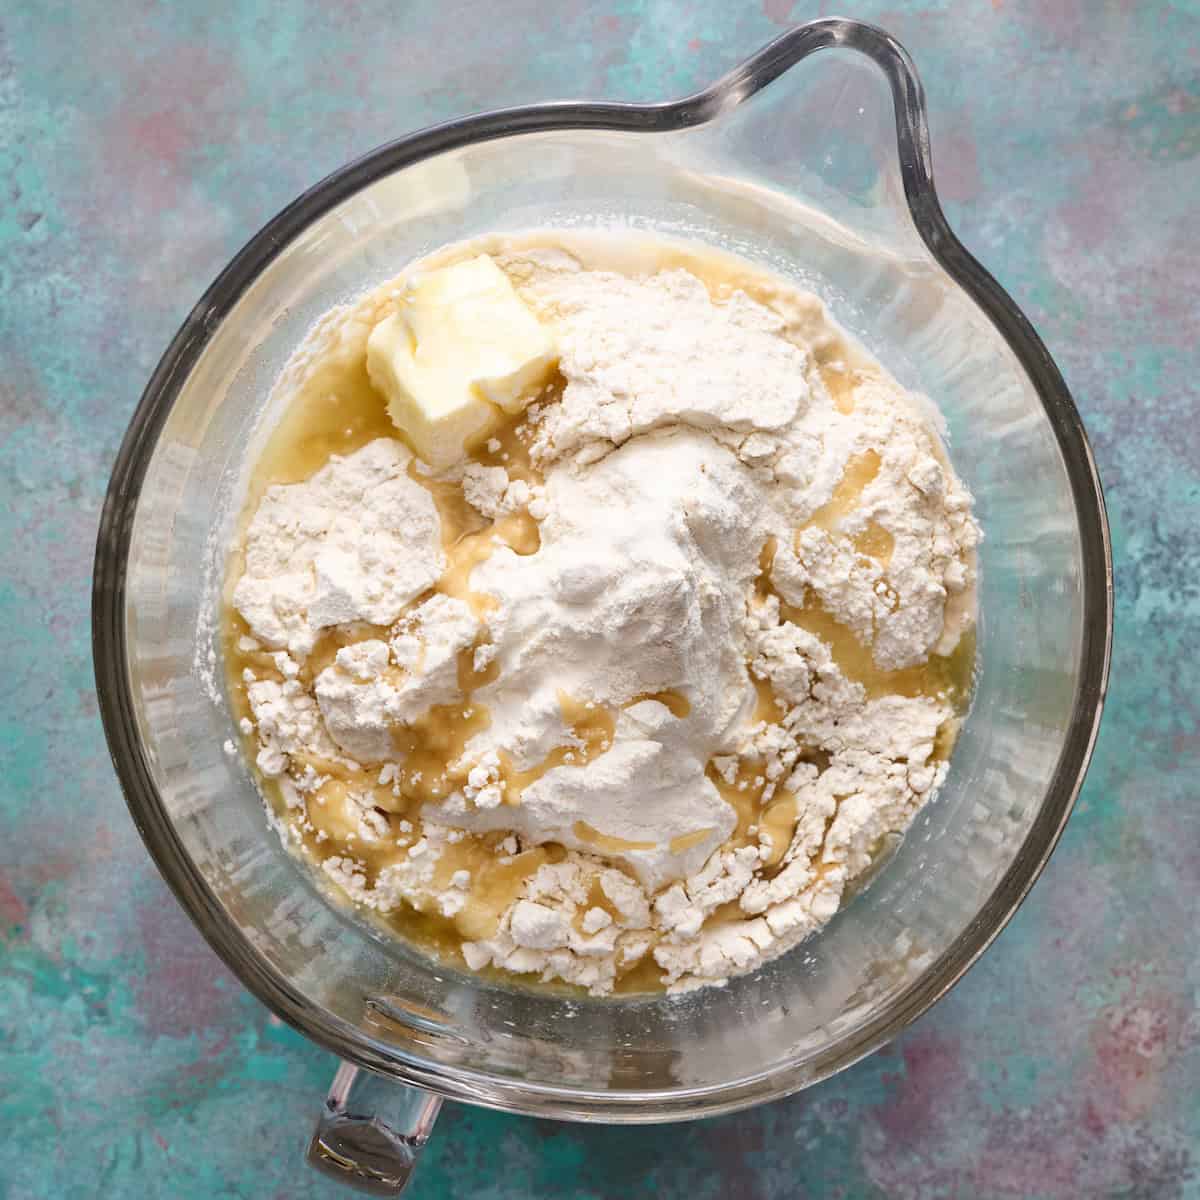
Add remaining ingredients: Add the flour, salt, and softened butter to the starter mixture. Stir until a shaggy dough forms.
Knead the dough: Knead on a lightly floured surface or with a dough hook for 8–10 minutes, until the dough is mostly smooth, though a little sticky but pulls away cleanly from the sides of the bowl. Add more flour in increments of 25g if the dough is too sticky.
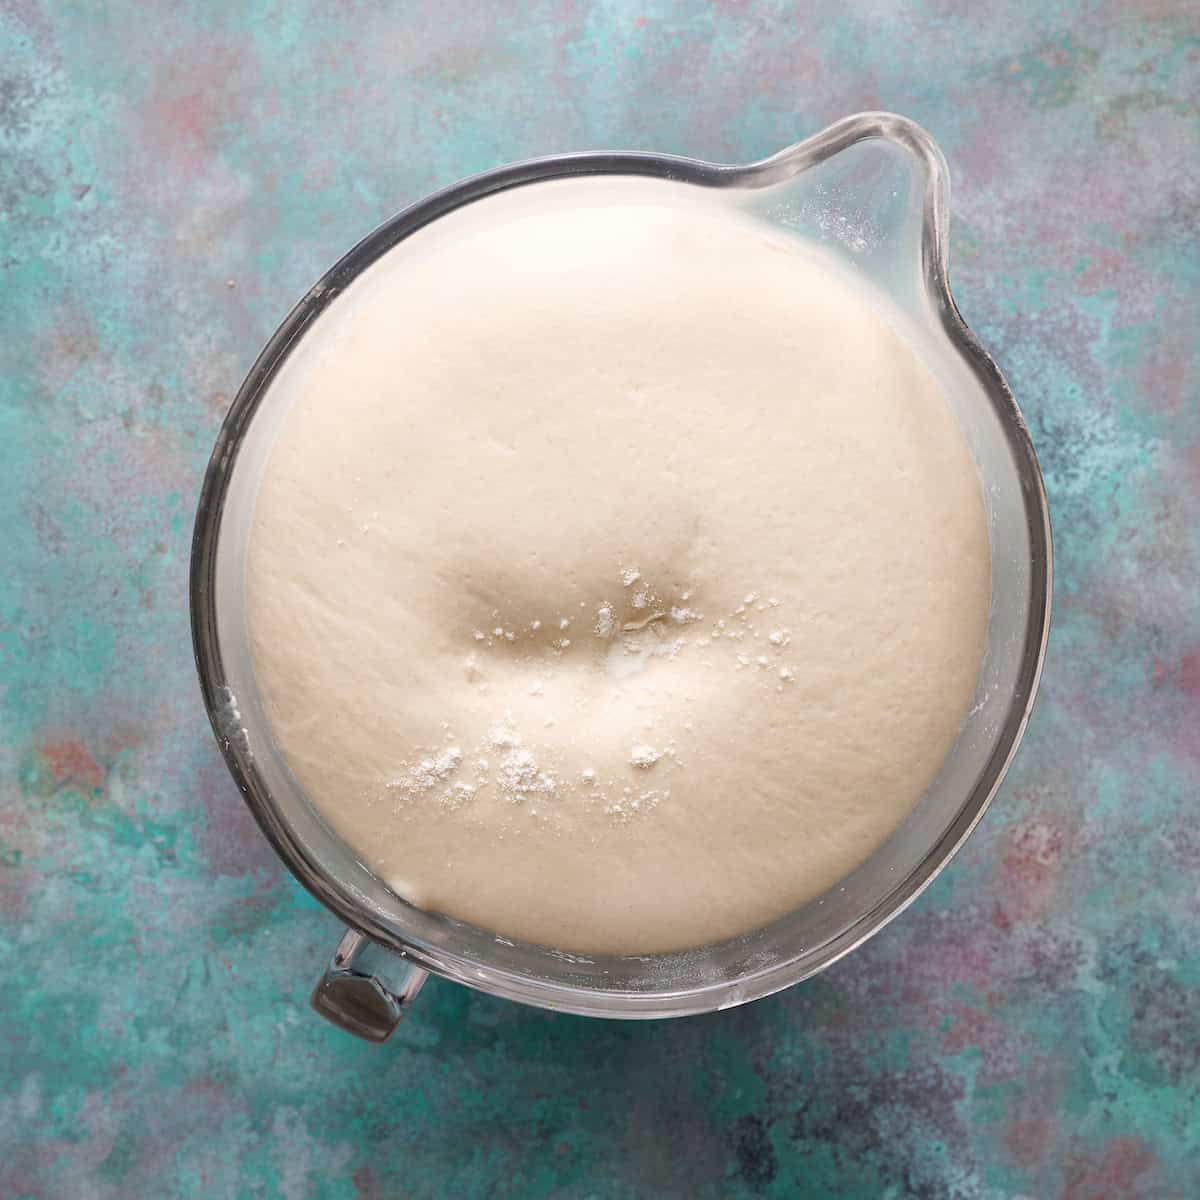
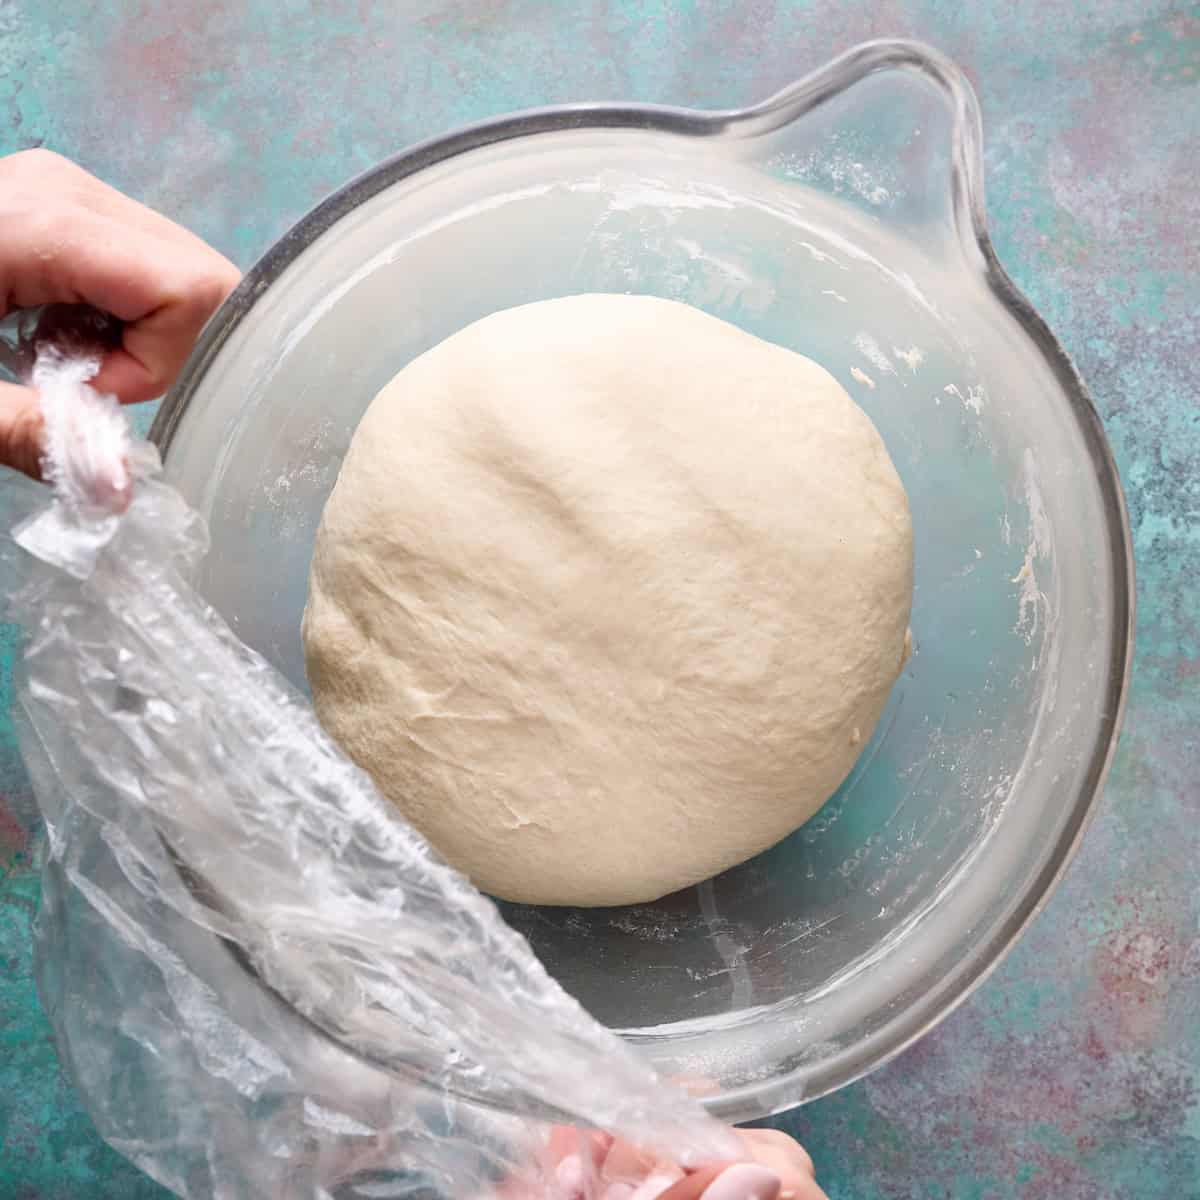
First proof: Place the dough in a clean, greased bowl. Cover and let it rise at room temperature for 6–12 hours, or until doubled in size and it passes the poke test (see details below).
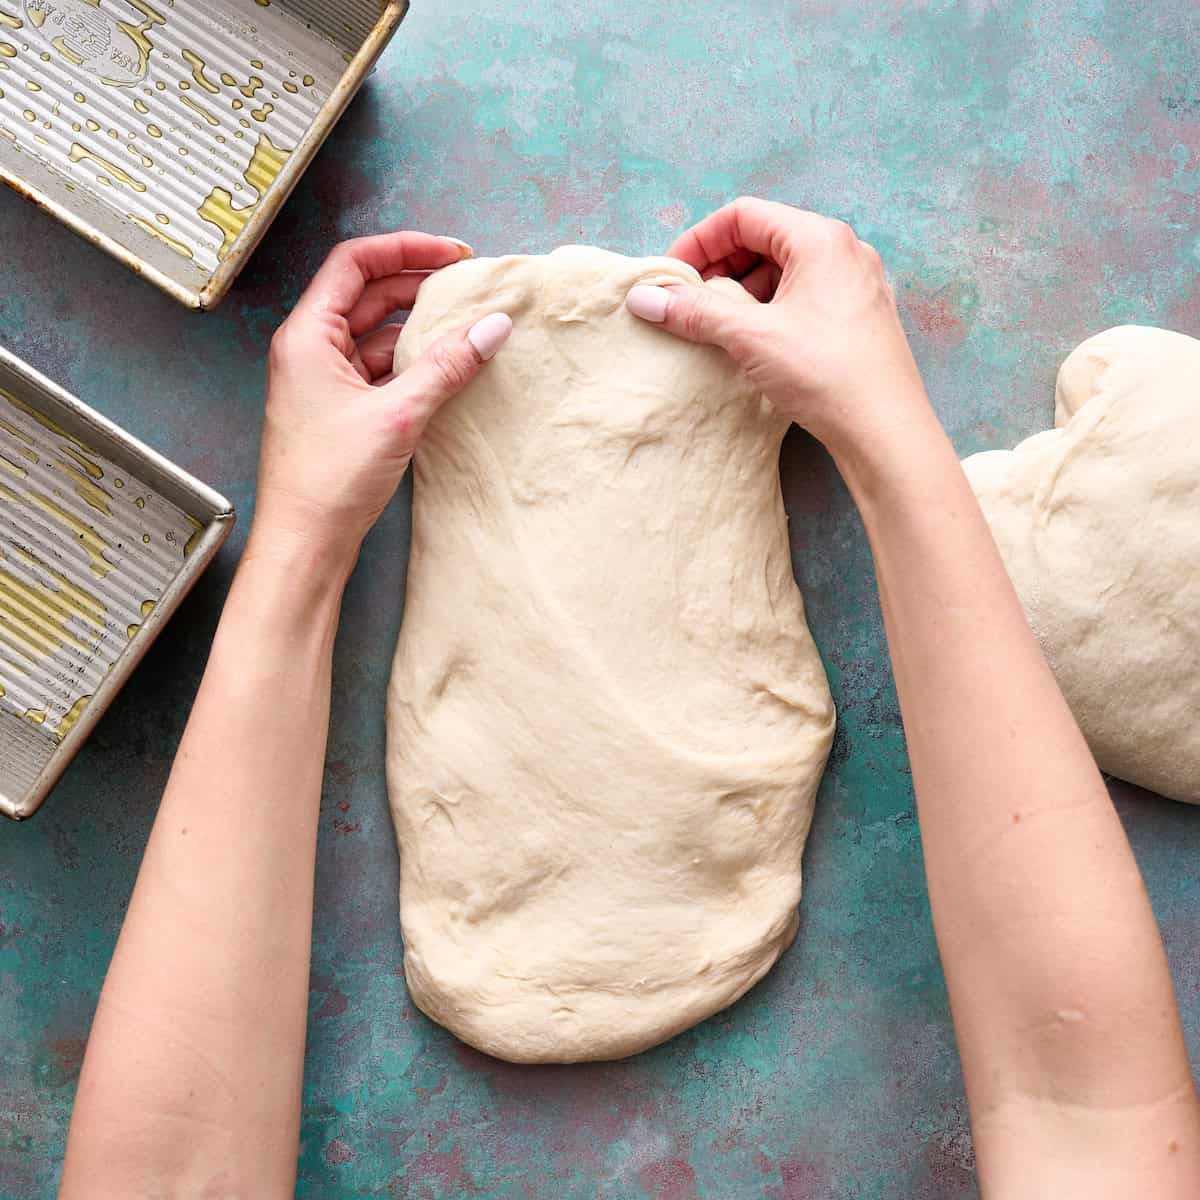
Divide and shape: Scrape the dough out of the bowl onto a floured work surface then divide it into two equal pieces. Working with one at a time, stretch each piece into a long rectangle about the width of your loaf pan.
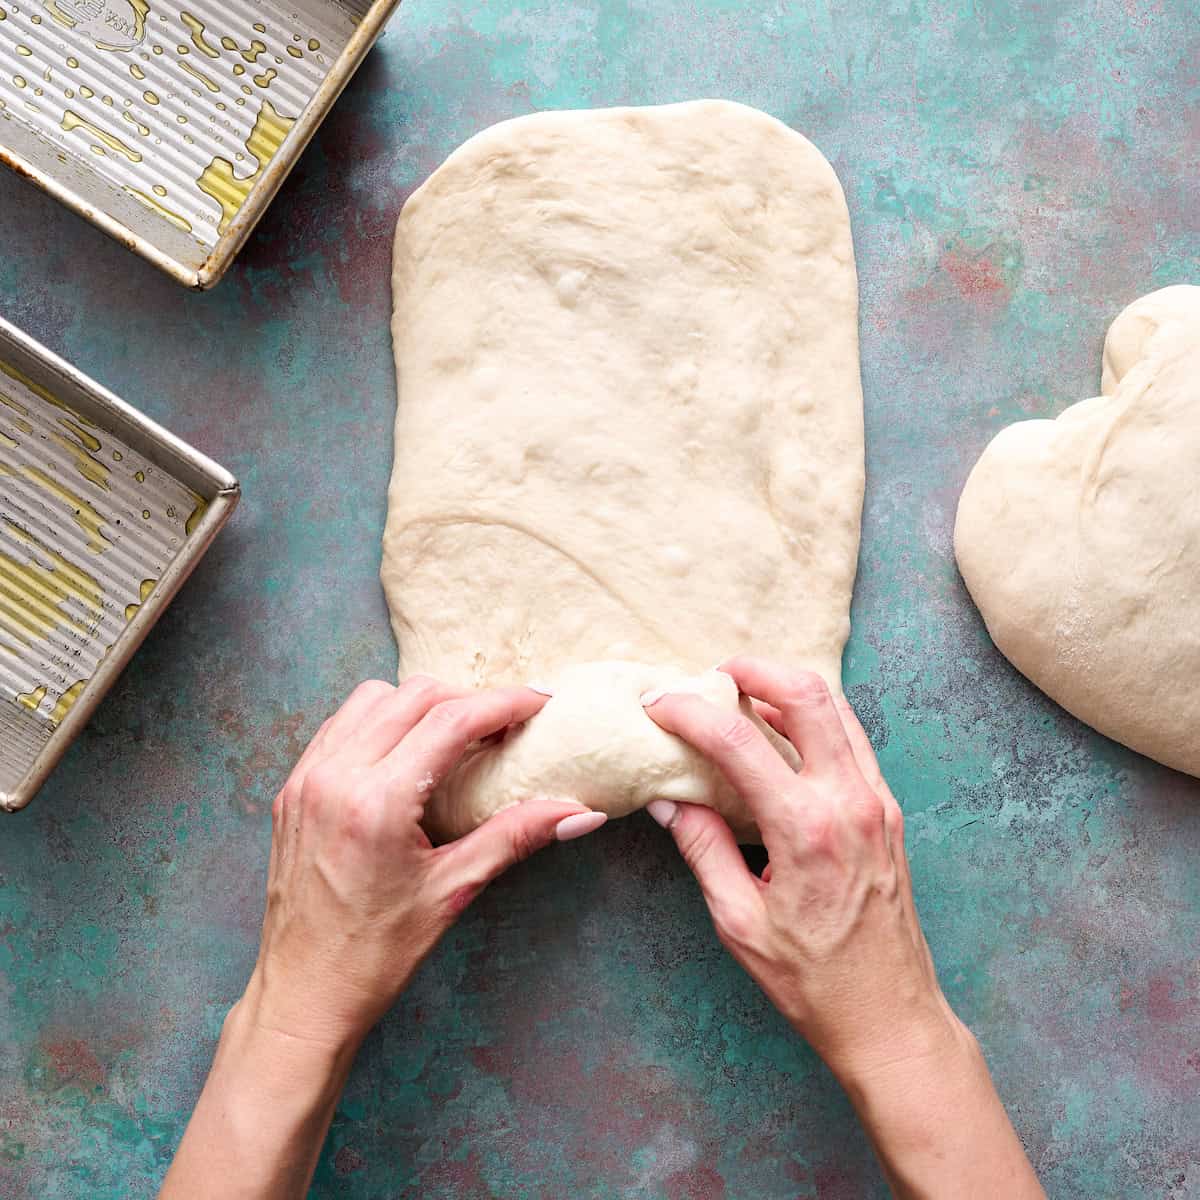
Roll and tension: Starting from the short side, roll the rectangle up tightly to create surface tension. Pinch the sides closed and seal the bottom seam.
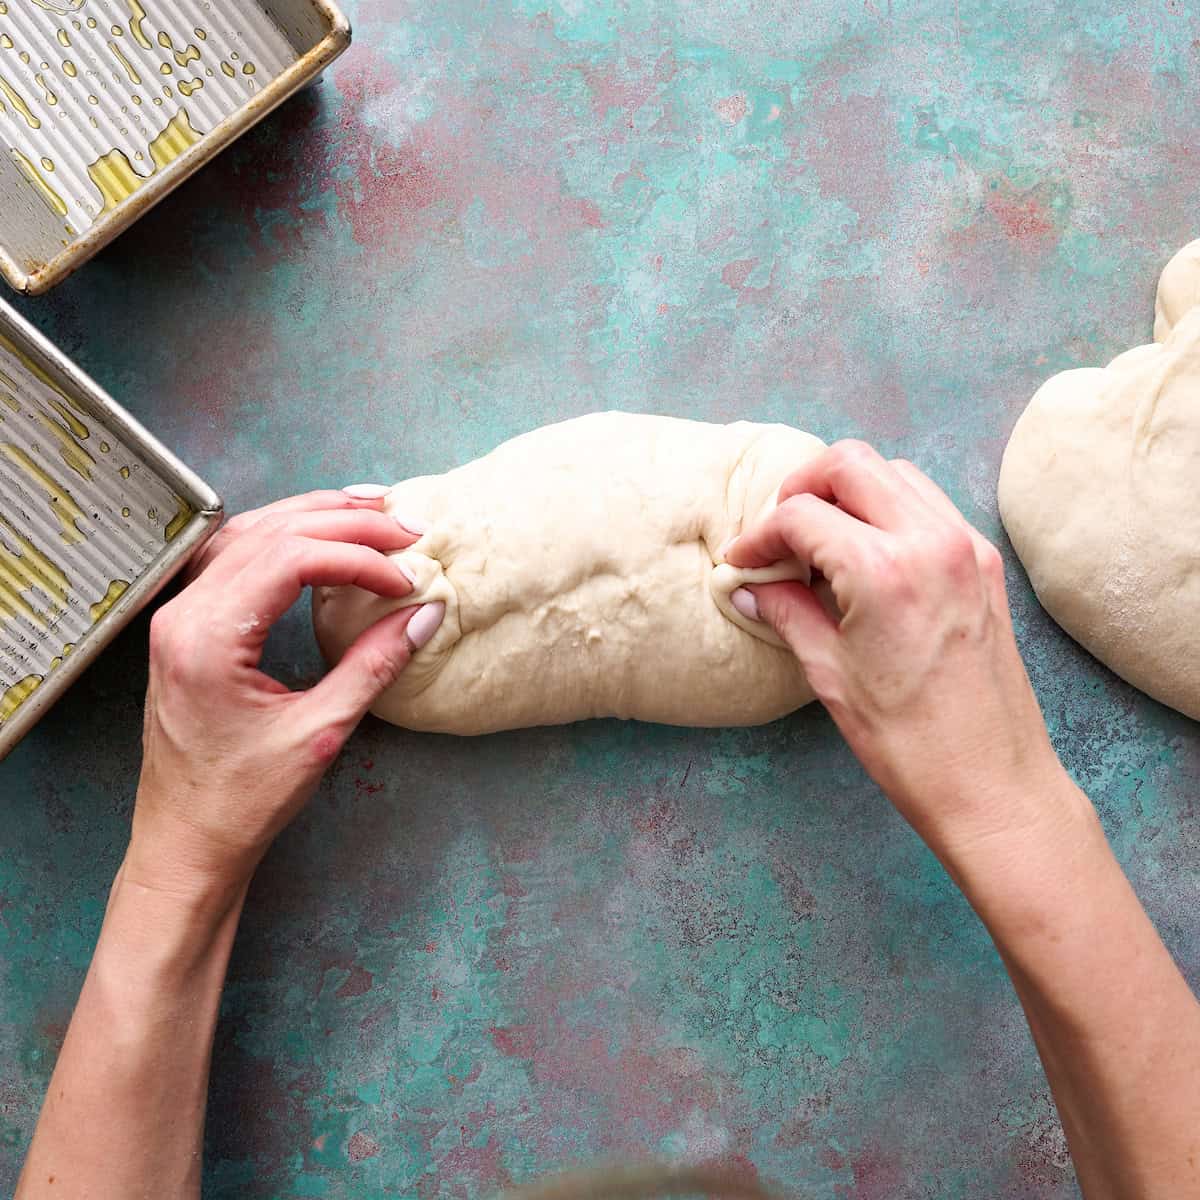
Into the Pan: Place each loaf seam-side down into a 1.25lb oiled loaf pan. Cover loosely with plastic wrap.
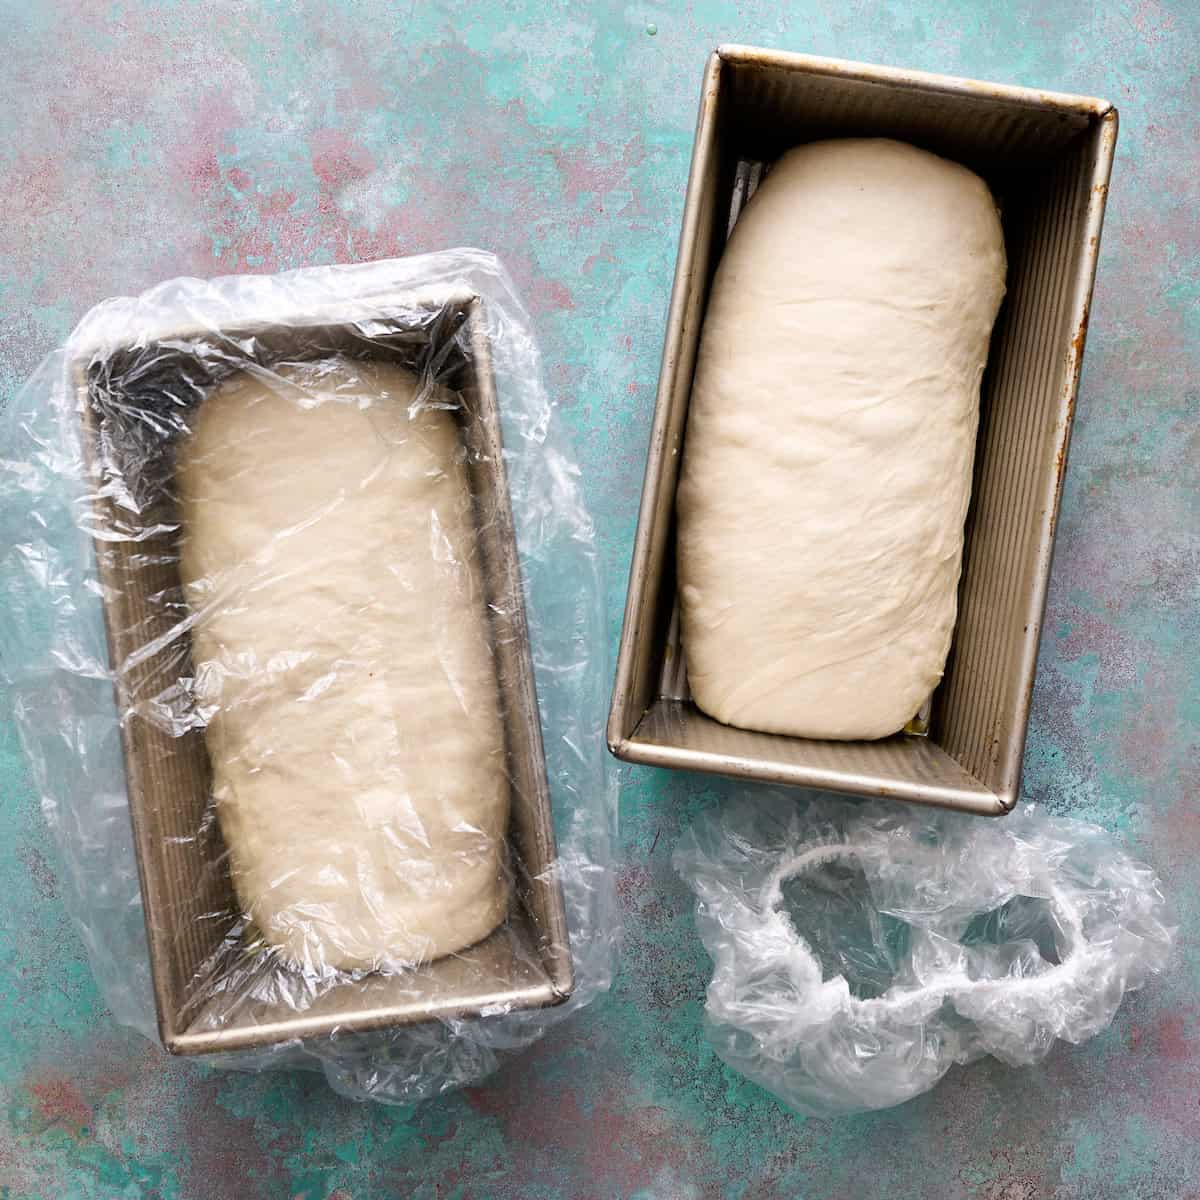
Second proof: Let the loaves rise for 2–4 hours, until the dough has filled the pan, is slightly above the rim, and passes the poke test (see below). Or if you want to cold proof and bake the next day, stick the loaves in the fridge for 8 - 24 hours. Then remove it from the fridge 30ish minutes before you want to bake it.

Bake: Preheat the oven to 475°F. Once again, apply the poke test to see if your loaf is ready to bake. If it quickly bounces back when you press in with a floured fingertip, then give it more time. If it slowly bounces back, then it's properly proofed and ready to bake. When you’re ready to bake, reduce the oven temp to 400F and bake for 35 minutes, or until the crust is golden brown and the internal temperature reads 195–200°F.
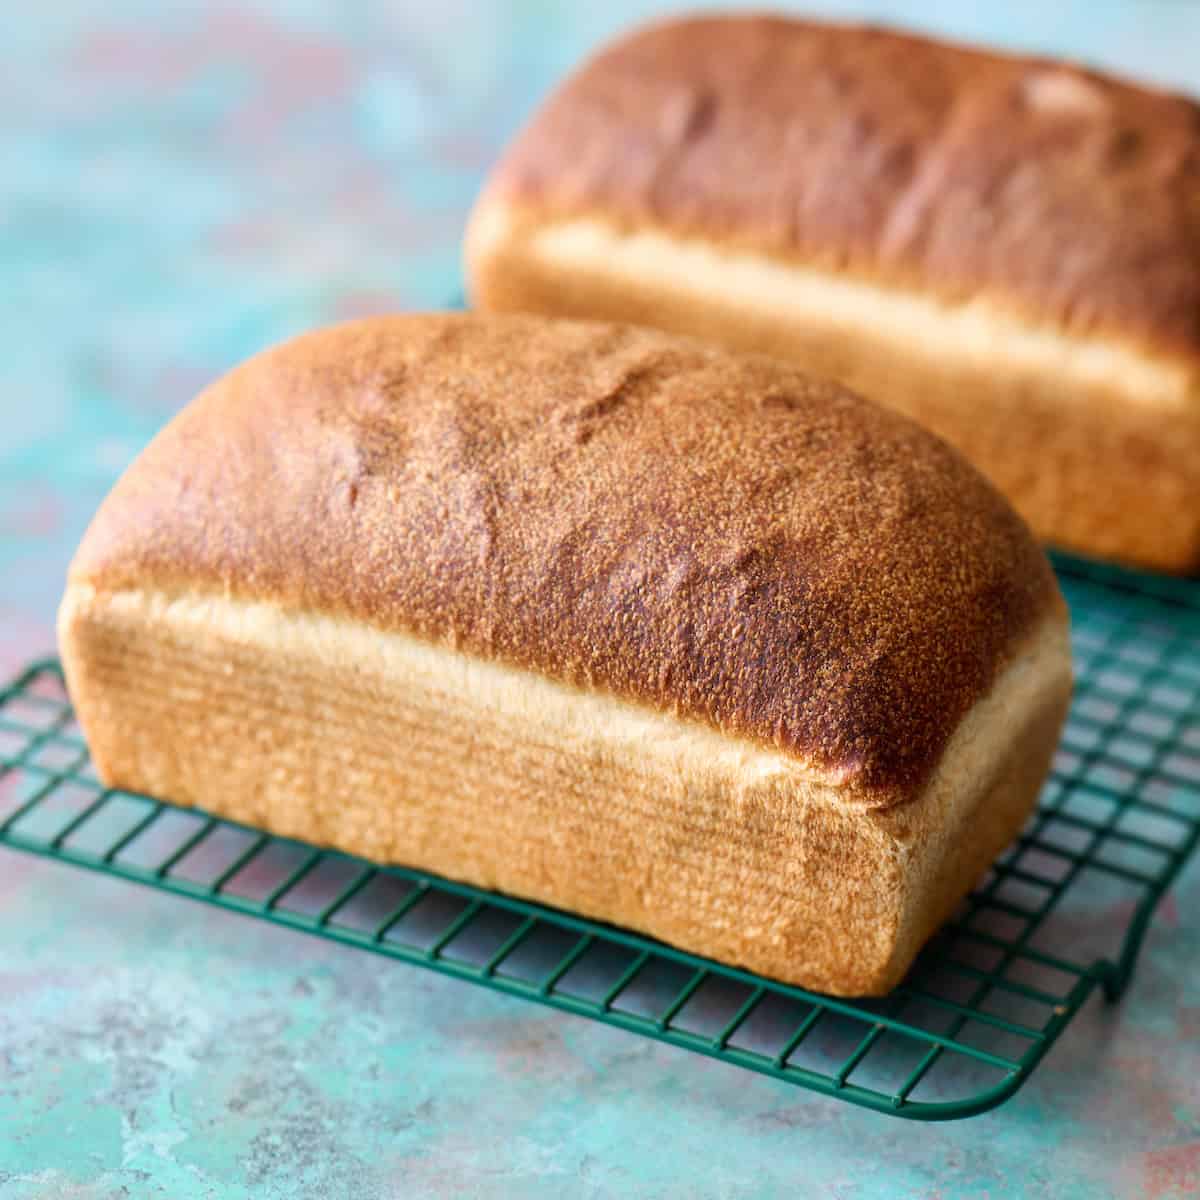
Cool: Remove the loaves from the pans and cool on a wire rack for at least 2 hours. Rub the tops of then with butter while they're still warm to soften the crust.
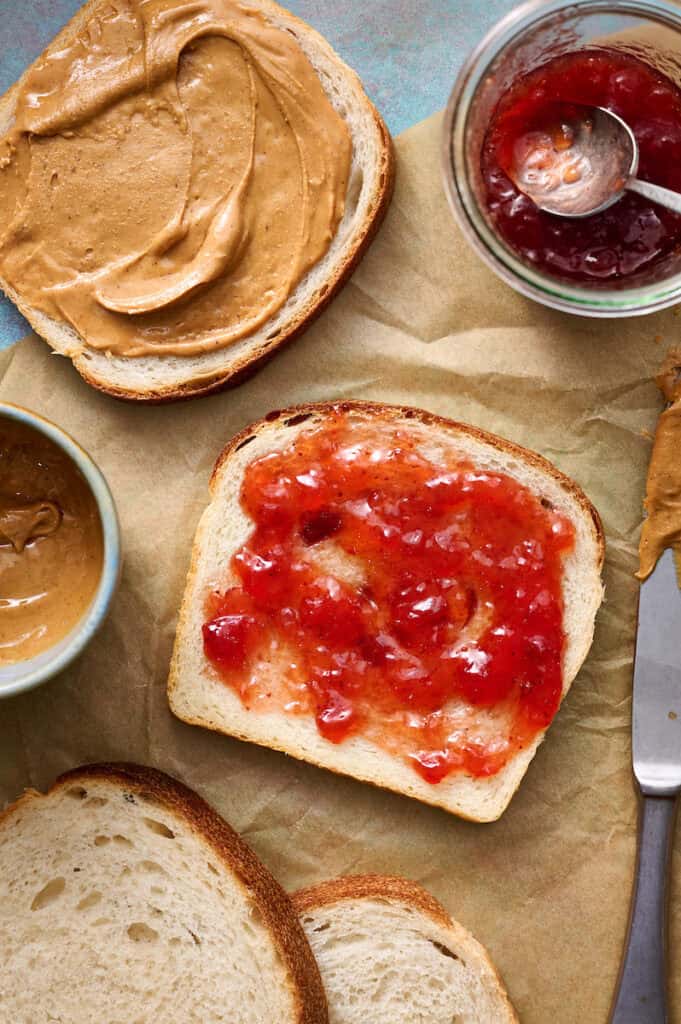
Slice & Enjoy!
The Poke Test - Your Proof Guide
The poke test tells you exactly when your dough is ready to bake - no guesswork needed.
How to do the poke test:
- Gently press your finger about ½ inch into the risen dough
What the results mean:
- Springs back quickly - under-proofed, needs more time
- Springs back slowly - perfectly proofed, ready to bake
- Doesn't spring back at all - over-proofed, bake immediately and anticipate a less than fluffy loaf
Why this matters for blood sugar-friendly bread:
- Properly proofed dough creates the best texture and fermentation benefits
- Over-proofed bread can collapse and become dense, losing some blood sugar advantages
- Under-proofed bread will be heavy and won't have completed the beneficial fermentation process
Pro tip: The poke test works for both the initial bulk fermentation and the final proof in the pans. For sourdough, that "slow spring back" is your sweet spot.
Top Tips for Freezing & Storage
Freezing
- Pre-slice before freezing - slice the entire cooled loaf
- Use freezer-safe bags - remove as much air as possible
- Keeps for 3 months in the freezer
- Toast directly from frozen - no thawing needed
Room Temperature Storage
- Never refrigerate - the fridge dries out bread and ruins texture
- Stays fresh 5-7 days at room temperature
Description
This sandwich sourdough bread is an easy beginner sourdough bread recipe and makes light, fluffy, bread with the perfect texture and size for sandwiches. Recipe makes 1 loaf.
Ingredients
- 90g peaked sourdough starter
- 240g room temperature water (70 - 80F)
- 18g honey
- 450g unbleached all-purpose flour or unbleached bread flour
- 6g fine sea salt
- 46g unsalted butter, softened (or neutral flavored oil)
Instructions
- Combine starter, water, and honey in the bowl of a stand mixer and whisk until fully incorporated and looks milky.
- Then add flour, fine sea salt and unsalted butter to your starter mixture and using the dough hook attachment on a stand mixer, knead for 8 to 10 min. You are looking for a smooth elastic dough that pulls away from the bowl when on medium speed but is still sticking to the bowl at the bottom. If your dough isn't pulling away, add more flour in increments of 25g at a time.
- Leave the dough in the bowl and cover with a towel, bowl cover, plastic wrap or a shower cap.
- Let the dough proof at room temperature until it has doubled in size (6-12 hours depending on the temperature of your space).
- Take the proofed dough and turn out onto a lightly floured work surface.
- Stretch and press out dough into a rectangle shape, then roll it over itself into a log and pinch the ends to close.
- Put seam side down into a greased 1.25lb loaf pan.
- Cover and proof for 2 - 4 hours at room temperature until puffed up and just above the rim of the loaf pan. Or if you want to cold proof and bake the next day, stick the loaf in the fridge for 8 - 24 hours. Then remove it from the fridge 30ish minutes before you want to bake. You can use the poke test described in the post above for further confirmation that proofing is done.
- Preheat oven to 475, then once it is preheated, put your bread in the oven on the middle rack and reduce the heat to 400F and bake for 35 minutes or until the internal temp of the bread is 195 - 201F.
- Once the loaf is fully baked, turn it out onto a cooling rack using oven mitts.
- Optional: While it is still hot, you can rub butter over the top of the loaf to further soften the crust.
- Let the loaf completely cool for at least 2 hours before slicing
Notes
I use King Arther Unbleached Bread Flour and Unbleached All-Purpose flour
To make two loaves, simply double the quantity of ingredients. You can mix two loaves worth of dough in a standard stand mixer, then divide the dough after the first rise / bulk fermentation.
Nutrition
- Serving Size: 1 slice
- Calories: 153
- Sugar: 1.2 g
- Sodium: 194.9 mg
- Fat: 3.3 g
- Trans Fat:
- Carbohydrates: 26.9 g
- Fiber: 0.9 g
- Protein: 3.5 g
- Cholesterol: 7.8 mg
Frequently Asked Questions
Initial proofing (bulk ferment) generally takes 6–12 hours at room temp, depending on your environment. The second proof (in pan) usually takes 2–4 hours. A light poke test (the dough springs back slowly) helps you know when it’s ready.
Faster rise usually indicates a warm environment; slower means cooler. Adjust timing, or proof in a cooler/warmer spot accordingly and trust the poke test demonstrated above.
You can bake it as a free-form loaf (boule) on a baking stone or sheet. Adjust baking time as needed (likely less than the pan version) and watch for an internal temp of 195–201°F.
You may substitute part of the flour with whole wheat or spelt, but expect a denser texture and possibly a shorter rise. Adjust hydration as needed.
To get a soft crust and crumb, use an enriched dough with butter or oil (like in this recipe) and brush the top with butter immediately after baking.


Madison says
I’ve tried multiple other sourdough sandwich, bread, recipes, and my kids never like them. When I finally made this one, they absolutely loved it and now we make it once or twice a week love being able to make their bread instead of buying it! Thanks for this recipe Joanie!
Joanie Simon says
Yahoo! So glad to hear it! I did recently test out different quantities for this recipe because I wanted slightly smaller slices for kids' sandwiches. Worked out great!
60 g peaked sourdough starter
240 g room temperature water (70–80°F)
18 g honey
400 g unbleached all-purpose flour or bread flour (or a mix)
6.5 g fine sea salt
46 g unsalted butter, softened (have also subbed in avocado oil and worked just as well)
Sandra says
If I don't have a stand mixer- can I knead by hand? Anything different that needs to be done?
Joanie Simon says
During the kneading step, you'd just need to knead by hand until smooth. It might take a bit longer than the 8 minutes it would on a stand mixer, but otherwise the recipe reads the same.
S Stubbs says
Just wondering why the starter for one loaf isn’t half the two loaves but everything else is? Is that a typo or do you need less. Thanks!
Joanie Simon says
Great catch! Math was never my strongest subject 🙈 It should read 90g of starter for the single loaf. Thanks for catching that!
Clarissa says
Hello,
Can a Pullman loaf pan be used?
Joanie Simon says
I've never used one, but it would be a fun experiment!
Barbara Kiang says
why is there no stretch and folds in this recipe?
Joanie Simon says
Great question! The ingredients ratios plus the kneading you do at the start of the recipe and the desired texture for sandwich bread specifically, you'll get all the gluten development you need through that. The process for this recipe is more comparable to making sourdough rolls versus an artisan loaf with stretch and folds.
Jolene says
How many mini loaves will this make?
Joanie Simon says
Hi! I haven't made this as mini loaves before so I can't say for certain. But doing some math conversions, I'd expect it to make approximately 6 to 9 mini loaves, depending on the size of your pans.
Jolene says
Do I cover during baking?
Joanie Simon says
No need to cover. Keeping it open will give you a nice browned top.
Angela Persicke says
Made this today and WOW! This bread is fantastic! The perfect texture and flavor. Thank you!
Jolene says
Just made this recipe. I know I over proofed. Still haven’t got this part down. I made 1 large loaf and 3 small. Flavor was great and surprisingly tasty and texture wasn’t too bad considering. Will try again for sure
Maria says
Hi Joanie,
this is the second of your sourdough recipes that I've made and the verdict is 10/10.
My son loves the crusty & chewy sourdough bread I usually make but can't eat it as he has retainer wires on his teeth since having braces. He is careful not to eat any foods that might break the wires as they cost about $400 each to replace.
Yesterday I made your Soft Sourdough Sandwich Bread, hoping it would be suitable for him. It is perfect for sandwiches and he also had it with butter and home-made peach jam.
I will be making this weekly now. Thank you and best regards,
Maria.🙂
Joanie Simon says
This brings me so much happiness I can't even tell you! Your son is one lucky fella to have you as his mom <3