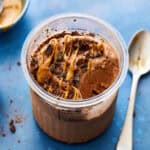
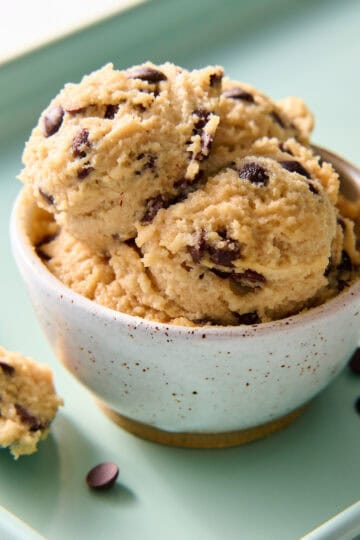
Super creamy chocolate peanut butter protein ice cream packed with 44g+ protein and anti-inflammatory ingredients perfect for fueling recovery.
When I had surgery recently, my surgeon emphasized getting enough protein for proper tissue repair and recovery. She suggested daily protein shakes.
The problem is I've never been a fan of protein shakes. But I do love ice cream and the Ninja Creami provided the perfect protein-packed solution!
Why This Recipe Works
This Ninja Creami recipe became my go-to during post-surgery recovery (and beyond!) because:
- High protein content - Perfect for tissue repair and recovery
- Low sugar - I used a monkfruit / allulose blend to sweeten this ice cream, a low-glycemic natural sweetener that doesn't spike blood sugar
- Anti-inflammatory ingredients - Turmeric, cinnamon, and flaxseed support healing
- Meal replacement worthy - Satisfying enough to replace a meal with a good mix of fat, fiber and protein
- Batch-friendly - I love to make several containers ahead of time and bought extra containers to stock my freezer
Browse more ➡️ Blood Sugar-Friendly Recipes
Versatile Mix-In Options
Transform this base recipe by adding:
- Fresh berries for fiber
- Shredded coconut for healthy fats
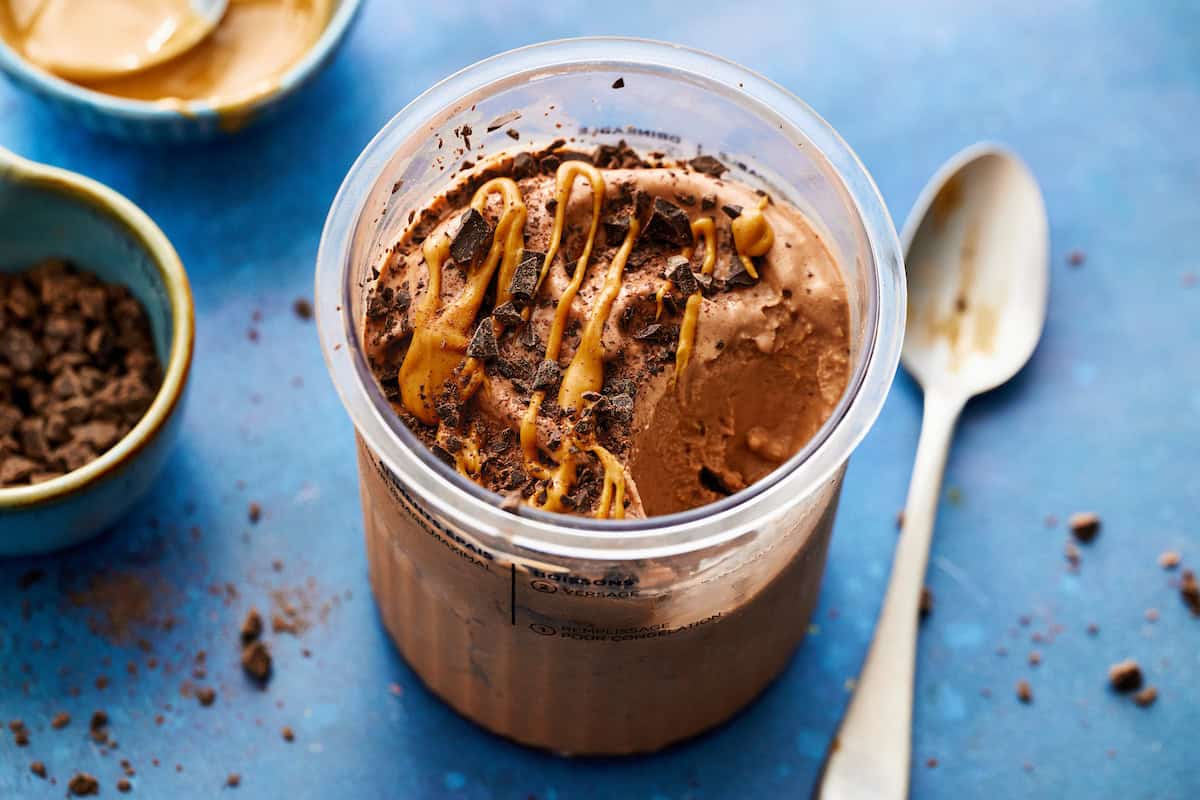
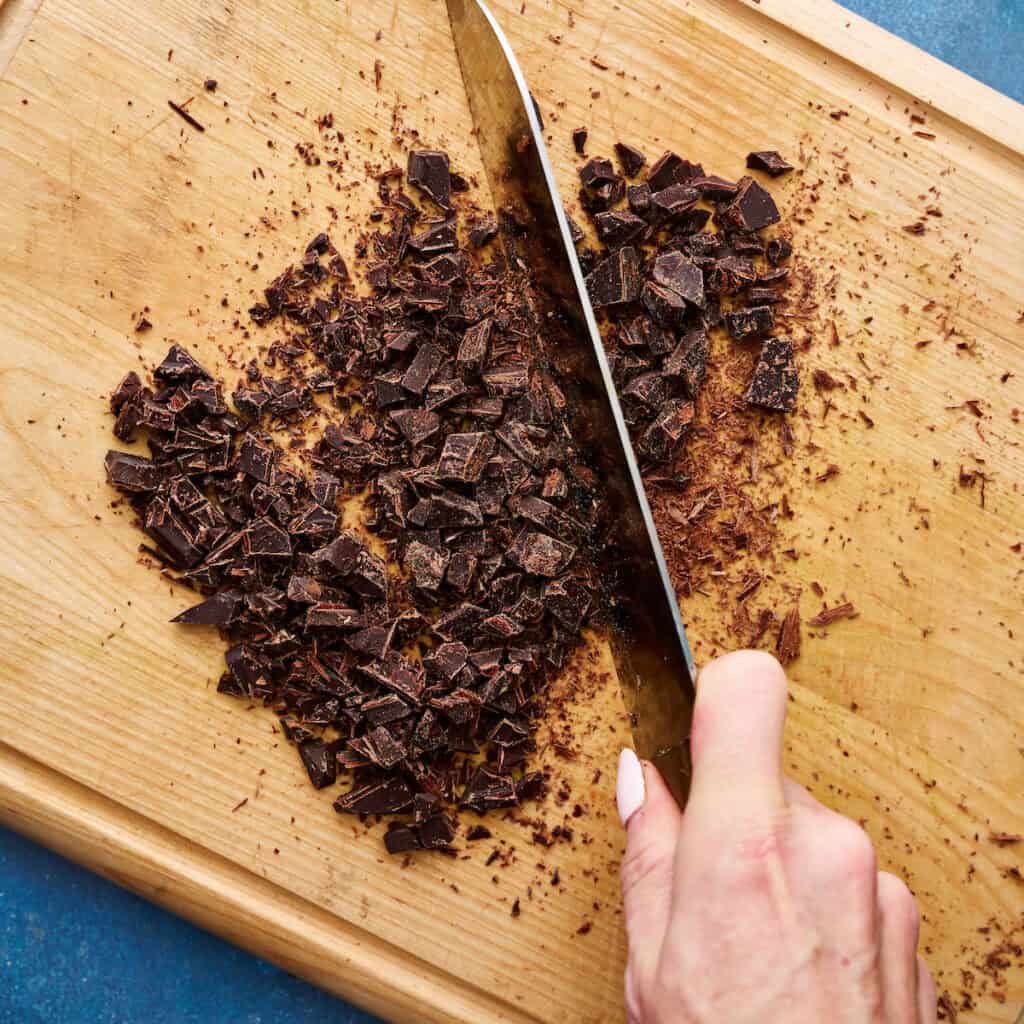
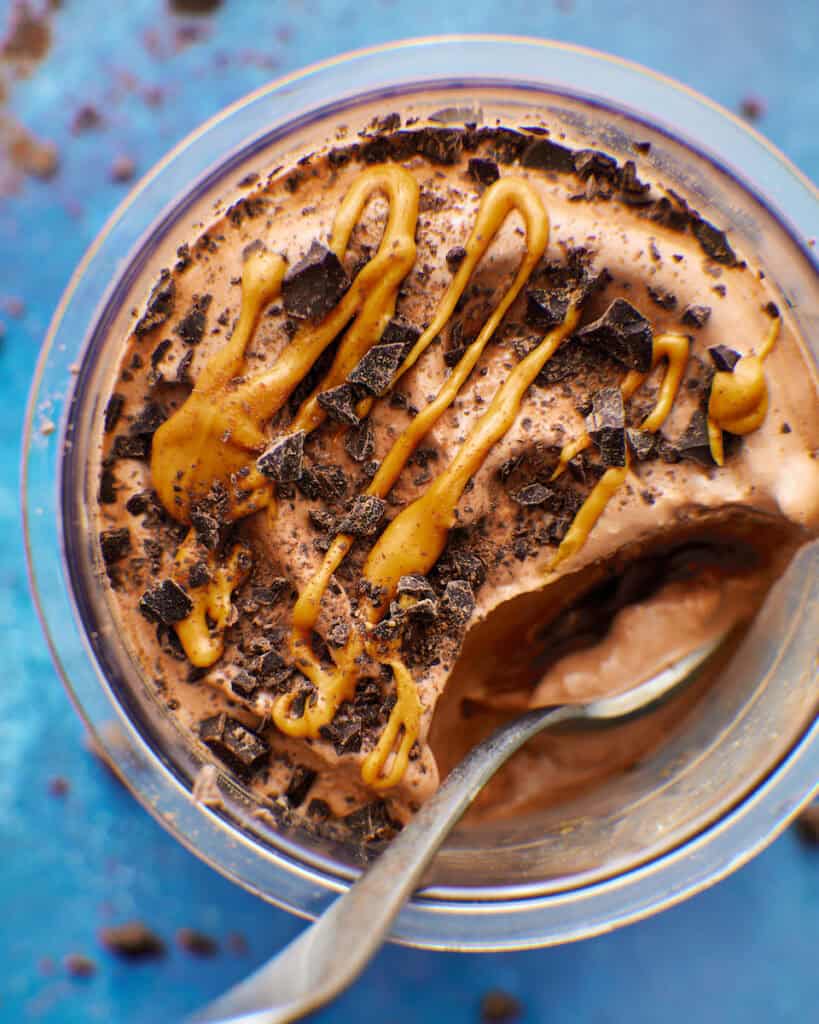
- Chocolate chips or chopped chocolate bar (72% cacao dark chocolate helps ensure a hefty dose of antioxidants and lower sugar)
- Chopped nuts for extra protein and crunch
- A drizzle of nut butter for richness
My Favorite Products for This Recipe
Feel free to use your favorites in each category. These just happen to be mine based on their quality, diabetes-friendly ingredients.
Collagen: Vital Proteins Unflavored Collagen Peptides - dissolves completely with no grittiness
Protein Powder: Be Well by Kelly Grass-Fed Beef Chocolate - I love the flavor and how smoothly it blends
Peanut Butter: Kirkland brand all-natural peanut butter for the Costco fans out there
Step by Step Instructions
It takes 24 hours to freeze the base. I make several batches at once so I can pull a Creami out of the freezer any time.

- Step 1: Combine all the ingredients in a blender
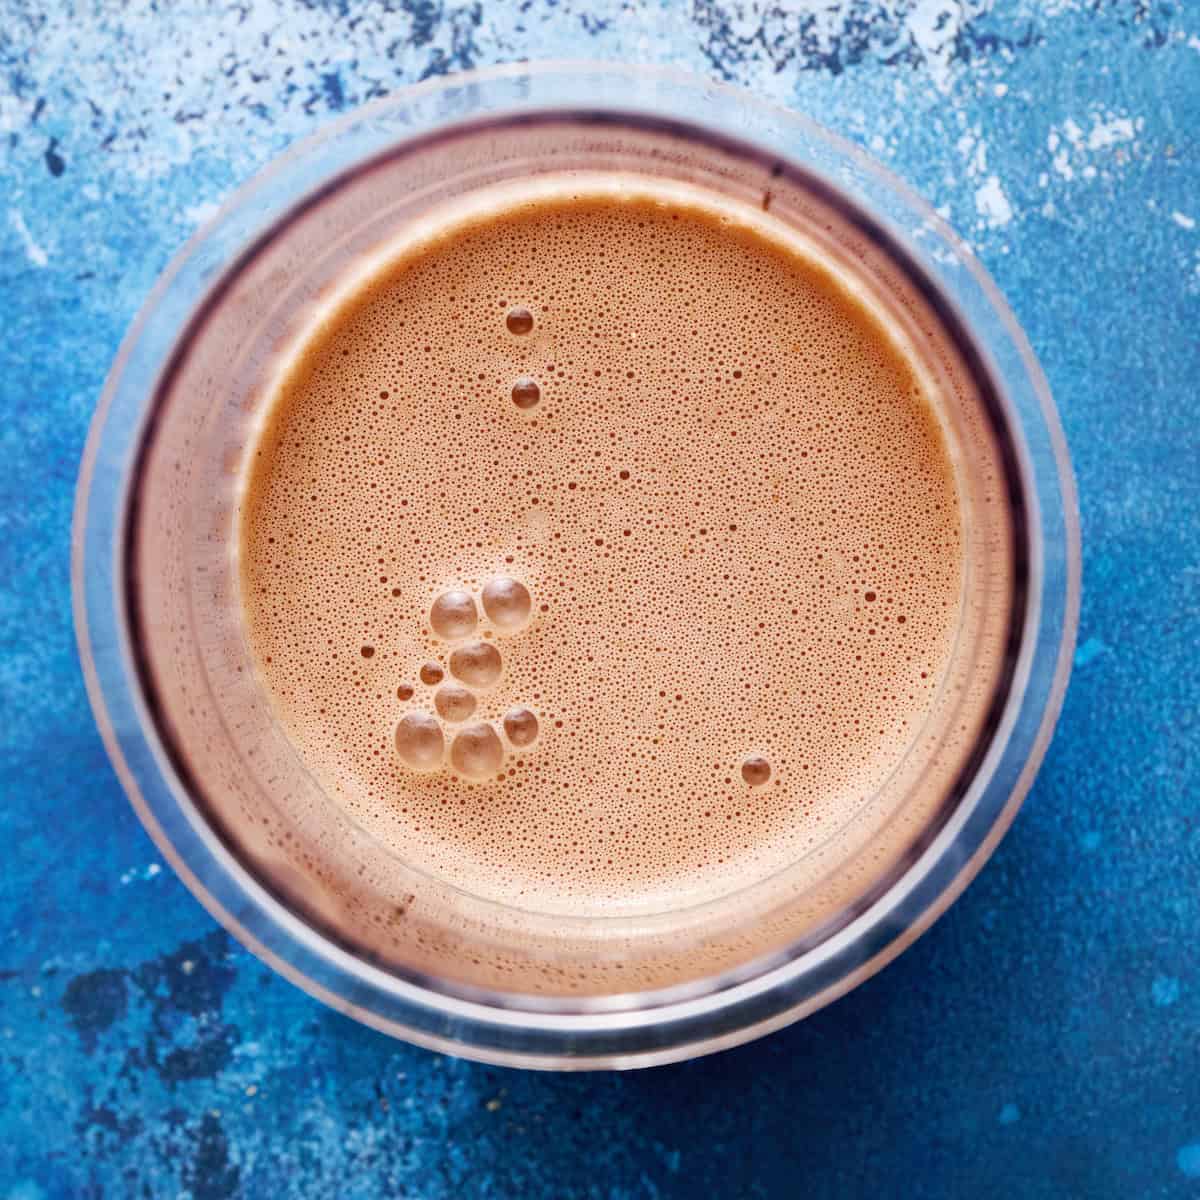
- Step 2: Blend until smooth and pour into your Ninja Creami container and place in the freezer with the lid off to freeze for 24 hours
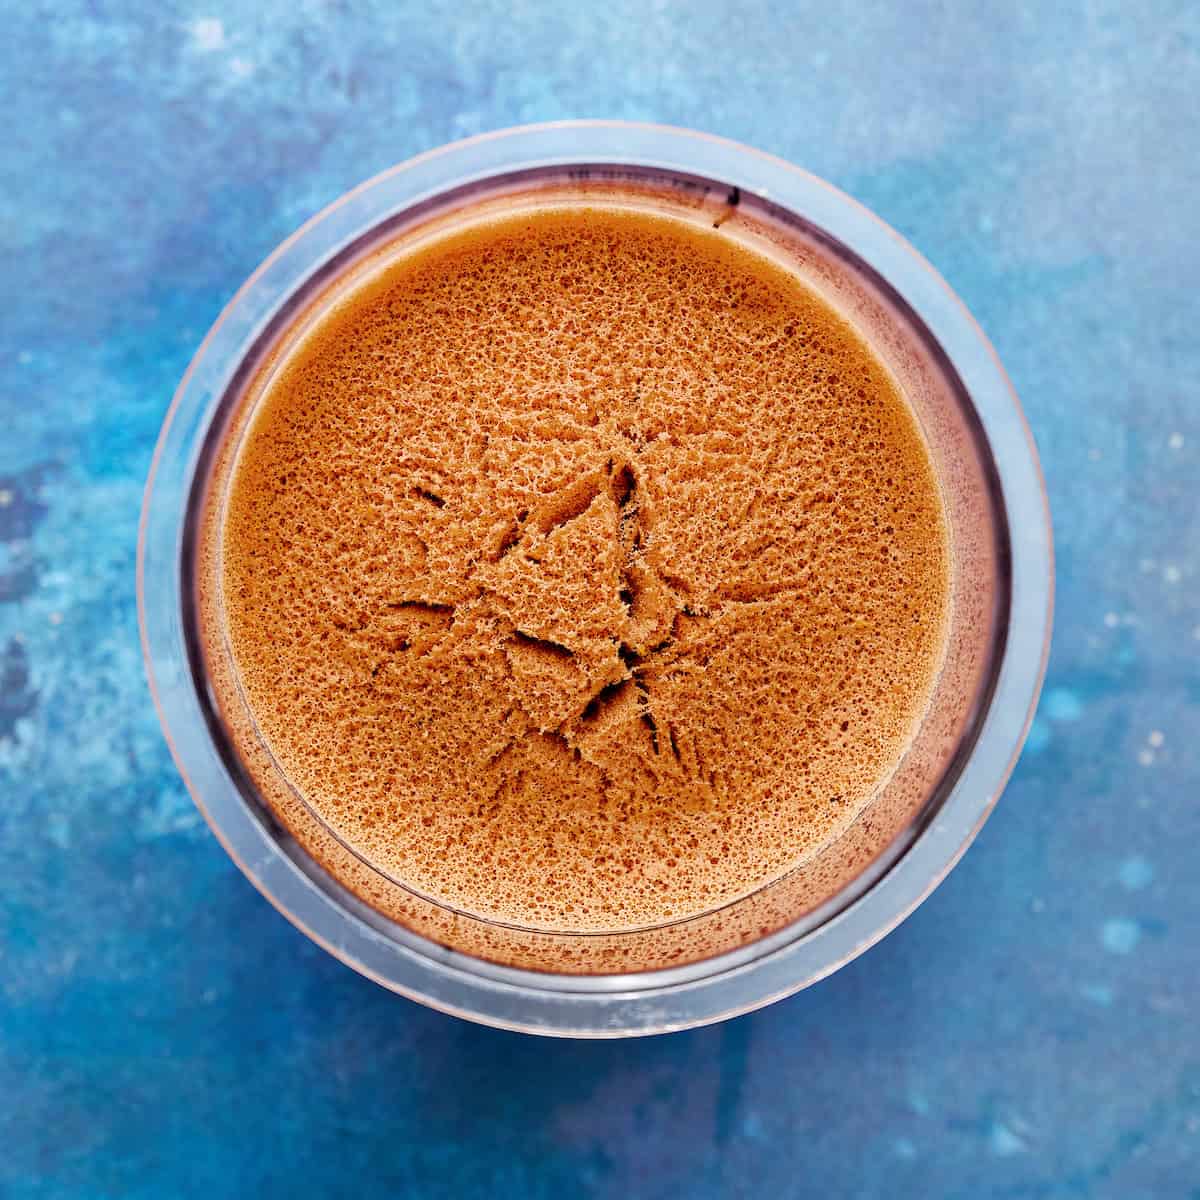
- Step 3: Pull the base out of the freezer and let it hang out at room temp for 15 - 20 minutes to help make it easier to blend and creates a creamier consistency
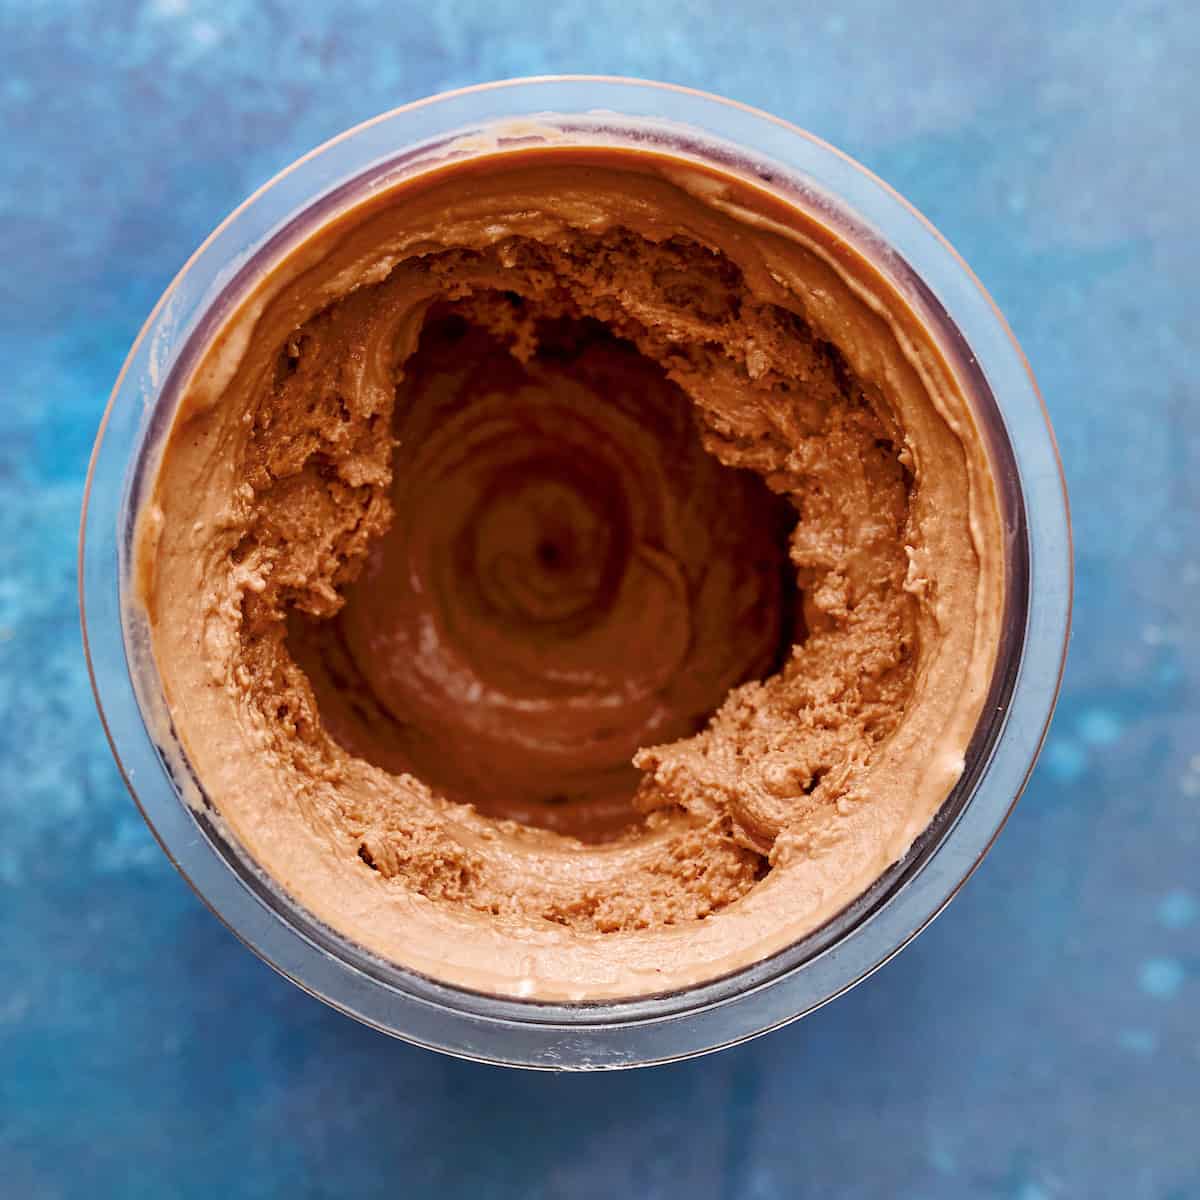
- Step 4: Use the "ice cream" setting or "frozen yogurt" setting (frozen yogurt is softer) following the manufacturer's instructions. Once the base is blended, add your mix ins and use the "mix in" setting to blend them into your final treat
Ninja Creami Tips
- Avoid an icy texture: Take the frozen container out of freezer 15 - 20 minutes before blending. This ensures a smooth creamy texture.
- Flat top: I leave the lid off the Creami container when I first put it in the freezer. This helps lessen the dome that forms on top of the base which can be hard on your Ninja Creami machine over time
- Storage: If you have leftovers, cover the container with a lid and then repeat the process next time you want to enjoy the rest.
Description
Creamy chocolate peanut butter protein ice cream made in the Ninja Creami with 44g protein and anti-inflammatory ingredients. Perfect meal replacement that tastes like dessert.
Ingredients
Base Ingredients:
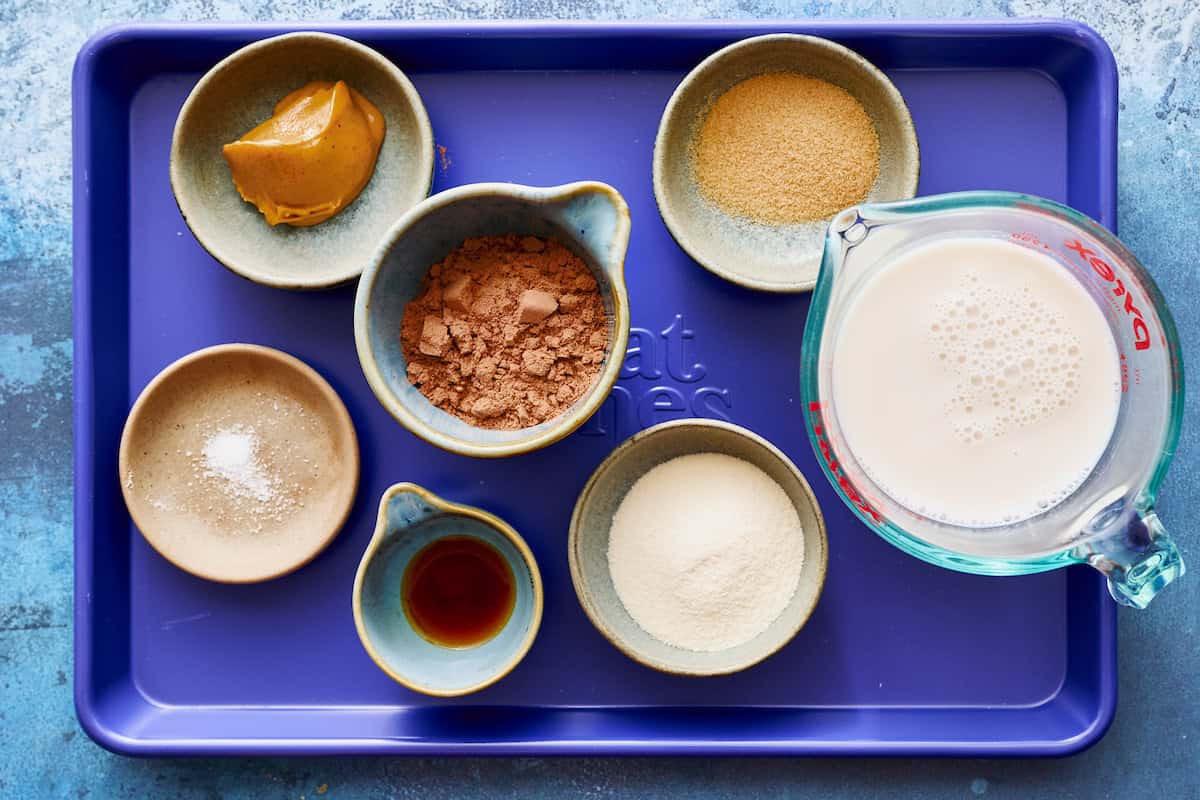
- 1 cup (240ml) unsweetened cashew or almond milk
- 1 scoop (30g) chocolate protein powder (whey or plant-based)
- 2 tablespoons (15g) Vital Proteins collagen peptides powder
- 1 tablespoon (16g) natural peanut butter
- 1 tablespoon (12g) monkfruit sweetener (or preferred granulated sweetener)
- 1 teaspoon (5ml) vanilla extract
- Pinch of sea salt
Optional Anti-Inflammatory Boosters:
- 1 tablespoon unsweetened cocoa powder (flavonoids)
- ⅛ teaspoon ground cinnamon (anti-inflammatory)
- ½ tablespoon ground flaxseed (omega-3s)
- ½ teaspoon turmeric powder (potent anti-inflammatory)
Instructions
- Blend: Add all ingredients to a blender and blend until completely smooth with no lumps.
- Pour: Transfer mixture into a Ninja Creami pint container, leaving about ½ inch of space at the top.
- Freeze: Cover with storage lid and freeze for 24 hours until completely solid.
- Thaw slightly: Remove from freezer and let sit at room temperature for 15 - 20 minutes to ensure the best creamy texture.
- Process: Process on "Ice Cream" setting for a firmer ice cream or "Frozen Yogurt" for softer consistency.
- Re-spin if needed: If mixture appears crumbly add 1-2 tablespoons of your milk of choice. Re-spin on "Re-spin" setting.
- Add mix-ins (optional): For chocolate chips, nuts, or other add-ins, use "Mix-in" setting for 1 cycle.
- Serve: Enjoy immediately. Any leftover ice cream, cover the container with a lid and freeze to enjoy another time.
Nutrition
- Serving Size: 1
- Calories: 352
- Sugar: 2.6 g
- Sodium: 2762.7 mg
- Fat: 12.1 g
- Carbohydrates: 17.1 g
- Fiber: 2.4 g
- Protein: 44.7 g
- Cholesterol: 3.4 mg
The protein powder is important in this particular recipe for both the nutrition profile and texture. Without it, you'd lose the protein benefits and the ice cream may be too icy.
Yes, but the collagen adds extra protein and helps create a creamier texture. If you skip it, consider adding an extra half scoop of protein powder.
Absolutely! Use plant-based protein powder and milk. To keep the sugar in check, ensure your milk of choice is unsweetened.
It's best consumed within 2 hours of spinning for optimal texture. It can be stored in the freezer for up to 1 month. Just let it sit at room temperature for 15 - 20 minutes before scooping or re-spin in the Creami.
Did you make this recipe? Let me know!